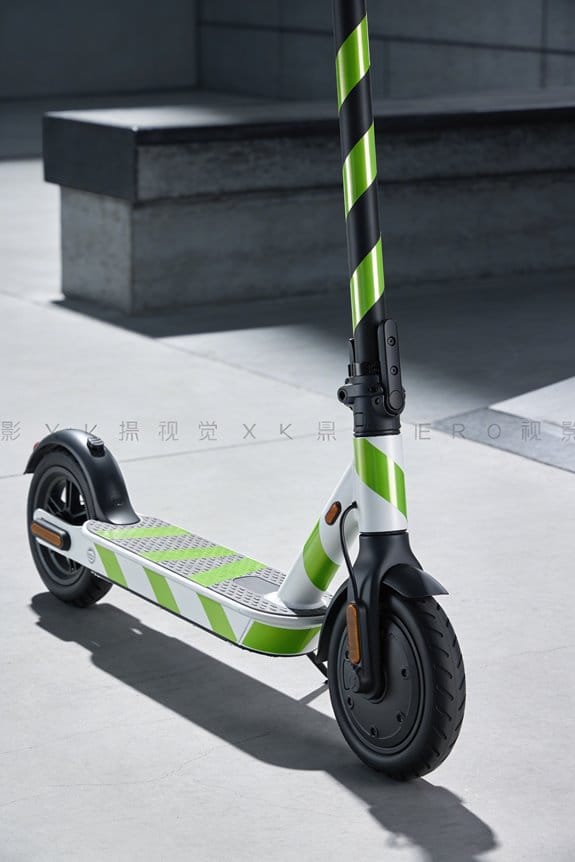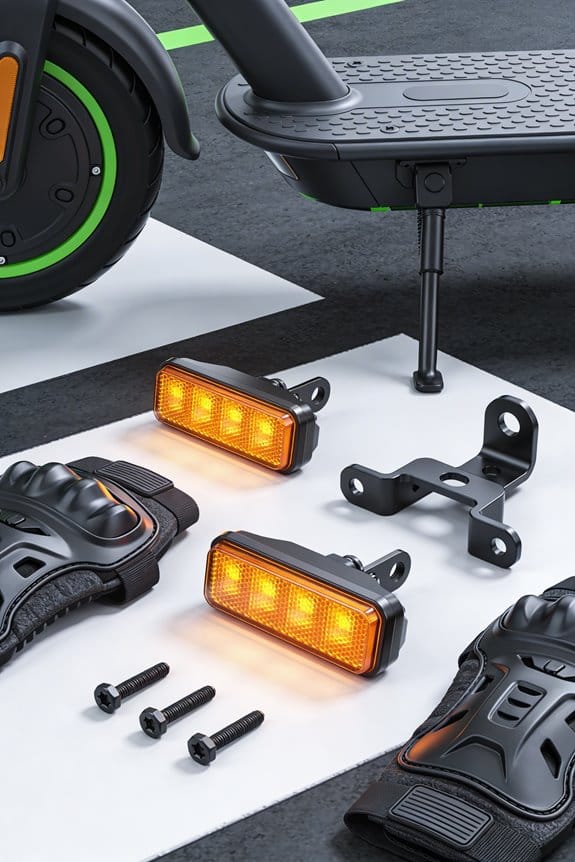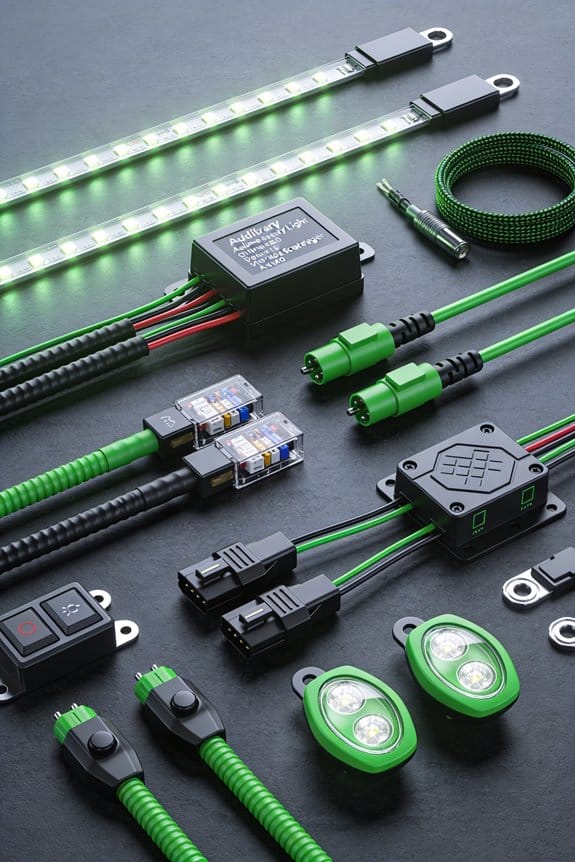

I use a 12 V, 20 A automotive relay with a 20 A fuse near the battery, tap an ignition‑switched headlight wire using a needle‑type piercer, run the relay’s switched contact to the lights with 12 AWG cable, ground all parts to the chassis, and add a 12 V, 10 A push‑pull switch for independent control. The fuse protects the circuit, the ignition tap keeps lights off when the scooter is off, and the switch lets you turn them on or off while riding. Continue for more detailed steps.
Key Takeaways
- Use an ignition‑switched relay coil so the lights receive power only when the engine is running.
- Install a 20 A fuse close to the battery on the positive feed to the relay’s switched contact.
- Size the positive lead to 12 AWG (or appropriate gauge) to handle the current without excessive voltage drop.
- Ground the relay and lights directly to chassis chassis or battery negative with a solid strap.
- Seal all splices with heat‑shrink tubing and protect the wiring from moisture and vibration.
Pick the Right Relay and Fuse for a Safe Scooter Auxiliary Light System
Ever wonder why your scooter lights flicker or drain the battery after a short ride? The trick is to add a relay and a fuse that keep the lights on only when you need them and protect the wiring from overloads.
Choose the Right Relay
Pick a 12‑volt automotive relay that can handle at least 20 amps. The coil should be 12 V so it triggers when you turn on the ignition. Look for a contact rating of 20 A or higher; a 30 A peak rating gives you a comfortable safety margin for those quick surge currents when the lights first come on. A solid‑state switch works fine, but a mechanical one is cheap and reliable too.
Pick the Proper Fuse
A 20 amp fuse placed close to the battery will guard the whole circuit. Make sure the wire gauge matches – 12 AWG is a good match for a 20 A load. Slip the fuse in a holder near the battery and keep the leads short to reduce voltage drop.
Wiring Tips
- Use heat‑shrink tubing on every connection and crimp the terminals securely.
- Mount the relay on the frame where it won’t get knocked around.
- Run the ignition‑switched trigger wire to the relay coil, then route the positive lead from the relay’s switched contact to the lights.
- Ground the lights to the chassis for a solid return path.
Why This Works
When you turn the scooter on, the ignition‑switched wire powers the relay coil, closing the contact and feeding power to the lights. When you shut off the ignition, the coil drops power, the contact opens, and the lights go dark. This stops any constant drain on the battery and keeps a short circuit from frying the wiring.
Frankly, the whole setup takes about 15 minutes with a few basic tools, and it’s a cheap way to add a reliable auxiliary light system to any scooter. Worth knowing: keep the fuse rating the same as the relay’s contact rating, and double‑check that all connections are tight before you ride.
Got it? Try this and see how much smoother your rides become.
Tap the Ignition or Headlight Wire for Scooter Auxiliary Lights Without Cutting Factory Harnesses
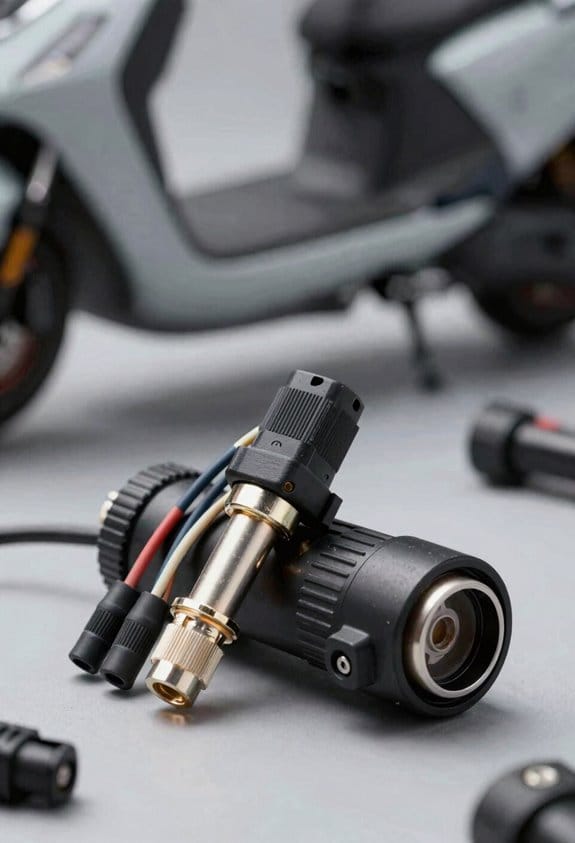
Ever tried adding extra lights to your scooter and ended up cutting the factory wires? It’s a hassle, and you risk voiding the warranty.
I’ll walk you through tapping the ignition and headlight wires without any cuts. First, find the orange ignition‑sourcing wire. Use a needle‑type piercer to make a clean hole in the insulation, then slide a 3‑mm butt connector onto it. The connector grabs the relay’s trigger lead.
Next, locate the low‑beam wire for the headlight. Pierce its insulation the same way and add a second butt connector. Both connections stay inside the original harness, so the wiring stays intact.
Now route the trigger cable to the relay, zip‑tie it down, and give it a quick test. The lights should fire only when the scooter is running.
Worth knowing:
- Keep the connectors snug to avoid loose contacts.
- Use zip ties to keep the cable out of moving parts.
Frankly, this method saves you time, keeps the warranty safe, and gives you a reliable ignition source.
Got any tips of your own for wiring tricks? Let’s hear them.
Crimp and Heat‑Shrink for Water‑Tight Wiring of Scooter Auxiliary Lights
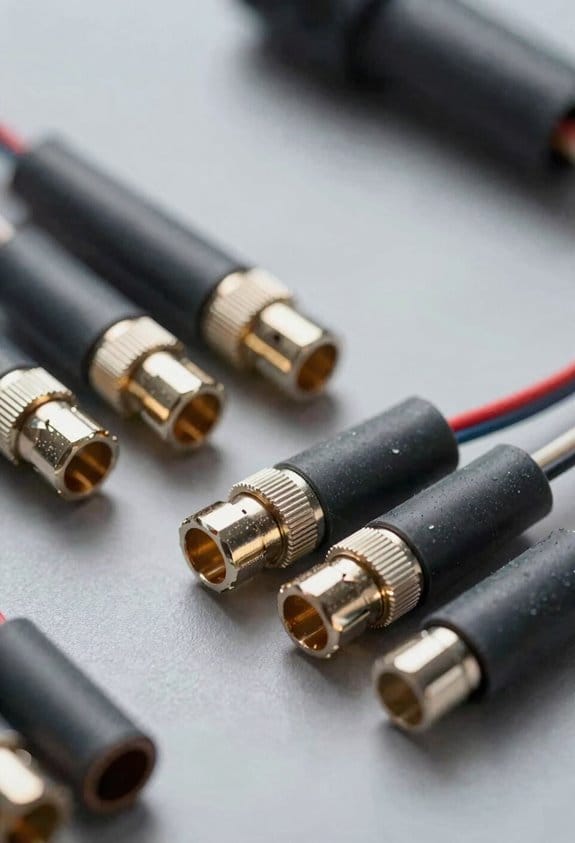
Ever had your scooter lights flicker after a rainstorm? That soggy splice can ruin a night ride fast.
Secure the connections with a proper crimp and heat‑shrink combo. I strip the wire, insert it into a Klein 10‑mm crimp barrel, and use a ratchet crimper to form a solid joint. Then I slide a 2‑mm heat‑shrink tube over the joint, apply a 60 W hot‑gun for 3 seconds, and let it cool. This method offers a reliable solder alternative and adds corrosion prevention.
Why it works:
- 100 % shrink ratio heat‑resistant coating, 5‑mm wall thickness for extra durability.
- 18‑AWG stranded copper for the positive lead, 16‑AWG for the ground, and a 20 A fuse at the battery.
Frankly, the result is a water‑tight, vibration‑resistant splice that lasts for years.
Try this: make sure the crimp is tight before you heat‑shrink, and give the tube a full 3‑second blast—no shortcuts.
You’ll notice the joint stays dry even after a puddle, and the lights stay bright.
Ready to give your scooter a leak‑proof upgrade?
Add a Push‑Pull Switch for Independent On/Off Control of Scooter Auxiliary Lights
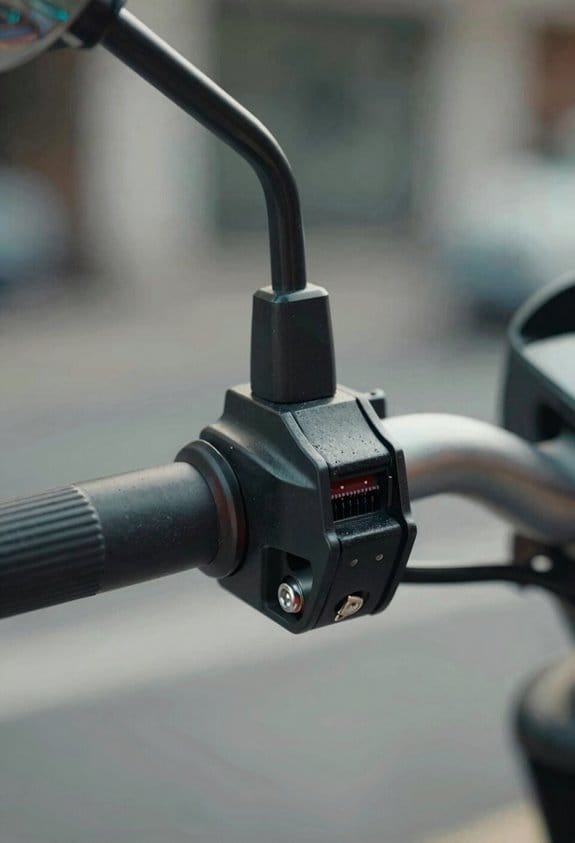
Ever found yourself fumbling for the scooter’s auxiliary lights when it’s dark, only to waste battery because they stay on all night? A simple push‑pull switch can give you full control without a hassle.
I picked a 12 V, 10 A switch with a lockable knob for safety. The knob’s lock stops the lights from turning on by mistake when the scooter’s parked. I mounted it on the handlebar housing where it’s easy to reach, even with gloves on.
First, I drilled a 12 mm hole in the housing and dropped the switch in. A nut and washer hold it tight, so it won’t wobble while you ride. Two short leads run from the ignition tap to the switch, then from the switch to the relay coil. This wiring keeps everything tidy and reliable.
Try this:
- Connect the ignition tap to the switch with a short piece of wire.
- Run another short wire from the switch’s other terminal to the relay coil.
- Make sure the switch’s lock is engaged when you’re not using the lights.
The lockable knob is a real lifesaver; you won’t accidentally leave the lights on and drain the battery. Plus, the whole setup stays simple—no fancy electronics, just a sturdy switch and a couple of wires.
Now you can flip the lights on only when you need them, saving power and keeping the scooter ready for the next ride. Have you tried a similar tweak on your bike?
Connect the Lights to the Relay and Ground for a Complete Scooter Auxiliary Light Circuit
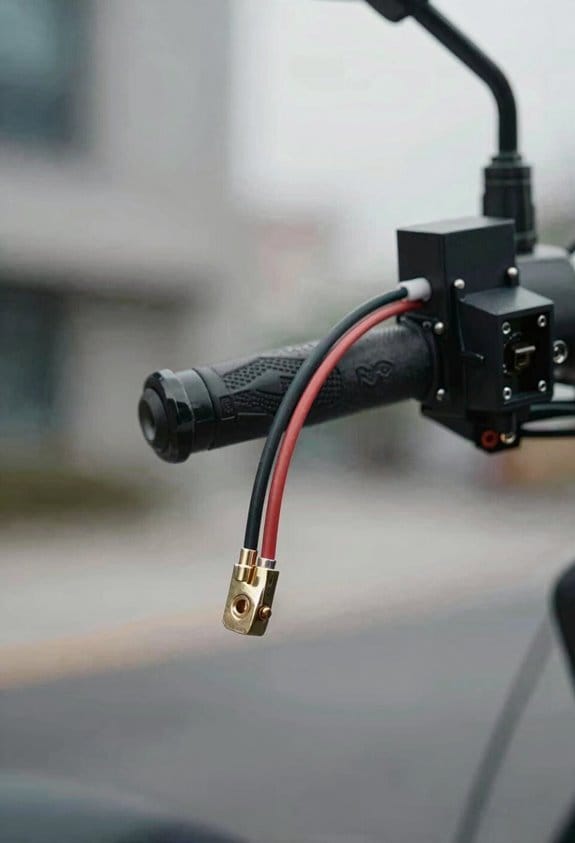
Ever tried to add extra lights to your scooter and ended up with a tangled mess? You’re not alone. The trick is to keep the wiring clean and the circuit safe, so the lights work every time you need them.
First, grab a 20 A fuse and slip it onto the positive lead that will feed each auxiliary light. Run that fused wire from the battery’s positive terminal straight to the relay’s switched output. The fuse protects the lights and the wiring if anything goes wrong.
Next, connect the relay coil. Take another piece of wire from the battery’s positive side, run it to the coil, and then hook the coil up to your push‑pull switch. When you flip the switch, the coil gets power and the relay clicks, sending electricity to the lights.
Now for the grounding side. Grab a short black wire and attach one end to the relay’s ground terminal. The other end goes straight to the battery’s negative terminal. Tie the chassis into the same ground point, too. This simple bonding cuts down voltage drop and keeps stray currents from causing buzzes or flickers.
A few quick tips to keep things tidy:
- Use heat‑shrink tubing on every connection. It protects against moisture and keeps the wires from rubbing raw.
- Before you bolt anything down, check each joint with a multimeter. A quick continuity test will tell you if a connection is solid or if you need to re‑solder.
Frankly, once you’ve got the fuse, the coil, the switch, and a good ground, the auxiliary light circuit is ready to roll. You’ll notice the lights come on instantly and stay bright without any weird flickering.
Worth knowing: keep the wiring away from moving parts and sharp edges. A little extra length for routing gives you room to tweak things later without having to cut and re‑wire.
Now you’ve got a clean, reliable setup that won’t let you down when you’re cruising at night. Ready to give your scooter a brighter future?
Mount Scooter Auxiliary Lights Securely on the Frame and Guard
Ever tried to add extra lights to your scooter and ended up with a wobbly mess? I’ve been there, and after a few tries I finally got a set‑up that stays solid and looks clean.
Mount the lights on the crash guard using the pre‑drilled holes and the M4 bolts that came with the kit. Tighten each bolt with a torque wrench to about 1.2 Nm—no more, no less—so they don’t loosen later. Slip a rubber washer under each bolt; it helps damp vibrations and keeps the housing from cracking over time.
Here’s the trick: run a thin line of silicone sealant over the mounting brackets. It blocks moisture and fights rust, which is a lifesaver if you ride in rain or snow. Then, guide the wiring along the frame with zip ties every 5 cm. This keeps the cables neat, protected, and out of the way of moving parts.
Make sure the lenses point forward at a 15‑degree angle. That gives you bright road illumination without blinding on‑coming traffic. After you’ve tightened everything, give each bolt a final check—snug but not over‑tightened—so the fit stays firm for months of riding.
Worth knowing: a quick visual inspection before each ride can catch any loose bolts early, saving you from a sudden wobble on the road.
Got any other scooter upgrades you’re curious about? Let’s swap tips!
Test the Scooter Auxiliary Light Circuit to Confirm Lights Run Only When the Scooter Is On
Ever wonder why your scooter’s auxiliary lights stay on even after you shut it down? That drain can kill your battery fast. The fix is pretty simple: hook the relay up to an ignition‑switched wire and protect it with a 20 A fuse. When you do that, the lights only get power while the engine’s running.
First, check that the relay’s coil isn’t tied straight to the battery. You want it to light a signal from the ignition, not a constant feed. With the ignition off, measure the voltage at the light leads—there should be zero volts. Then flip the key on and you should see the voltage jump to about 12 V, proving the relay is listening to the ignition.
Next, turn the scooter on and watch the lights come alive. They should stay lit while you ride, then go dark the moment you turn the engine off. Test it at idle, while you’re accelerating, and after you stop. If the lights behave the same each time, you’ve got a solid setup that protects your main battery.
Worth knowing: a 20 A fuse on the relay side keeps any accidental short from frying the system. It’s cheap, easy to replace, and gives you peace of mind.
Try this: after you finish wiring, give the scooter a quick spin. If the lights flicker on and off exactly when you turn the ignition, you’ve nailed it. If anything feels off, double‑check the connections and make sure the coil isn’t getting power when the ignition’s off.
Now you’ve got a reliable way to keep those auxiliary lights from draining your battery. Ready to give it a go?
Troubleshoot Common Drain and Wiring Issues After Installing Scooter Auxiliary Lights
Ever notice your scooter’s battery seems to lose power even after you’ve wired the auxiliary lights to an ignition‑switched relay? It’s a common snag that can leave you stuck with a dim light and a dead battery.
First, grab a multimeter and check the parasitic draw. With the engine off, measure the voltage drop across the battery. If it’s more than 0.2 V, something’s pulling current when it shouldn’t. That usually points to a faulty relay coil or a wire that’s stuck hot.
Next, give the wiring a once look. Cracks, chafing, or exposed conductors can short to ground without you seeing it. Make sure every connector is sealed with heat‑shrink tubing, the 20 A fuse sits right by the battery, and the ground strap is snug.
Fair warning: the ignition tap itself might not be truly switched. Turn the key off and test the voltage at the relay’s control wire. If it’s still getting power, you’ve got a constant‑hot source that needs fixing.
Try this: replace the relay, re‑seal any damaged insulation, and run the voltage test again.
If you still see a drop, double‑check the fuse placement and ground connection. A loose ground can cause a phantom draw that’s hard to spot.
Worth knowing: a good rule of thumb is to keep the fuse as close to the battery as possible—this helps protect the whole circuit from a short.
Once everything checks out, you should see the battery voltage stay steady when the scooter is off, and the lights will only come on when the ignition is on.
Got any other tricks that have saved you from a dead battery? Let’s hear them.
Frequently Asked Questions
Will I Need a Relay for LED Auxiliary Lights?
I’d say, “Relay necessity reigns; switching options simplify safely.” I’ll need a relay to protect the main battery, and I can use an ignition‑switched trigger or a toggle switch for reliable control.
Can I Use the Scooter’s Horn Wire as a Trigger?
I wouldn’t use the horn wire; its reliability’s limited and it lacks proper signal isolation, so the lights could stay on or cause interference, risking battery drain and horn malfunction.
What Gauge Wire Is Best for a 20 A Fuse?
I’d use 12 AWG for the main 20 A fuse line and step down to 10 AWG for any short runs to the lights, ensuring minimal voltage drop while keeping the wiring neat and safe.
Will a Waterproof Connector Affect the Relay’s Response Time?
I’ve found that a waterproof connector barely slows the relay; sealed contacts keep the switch crisp, and a dab of dielectric grease prevents corrosion, so you won’t notice any lag.
Is a Separate Ground Needed for Each Auxiliary Light?
I tell you you can share a common ground for all lights, so you don’t need a separate ground for each; just mount the relay in an isolated mounting spot to avoid interference.