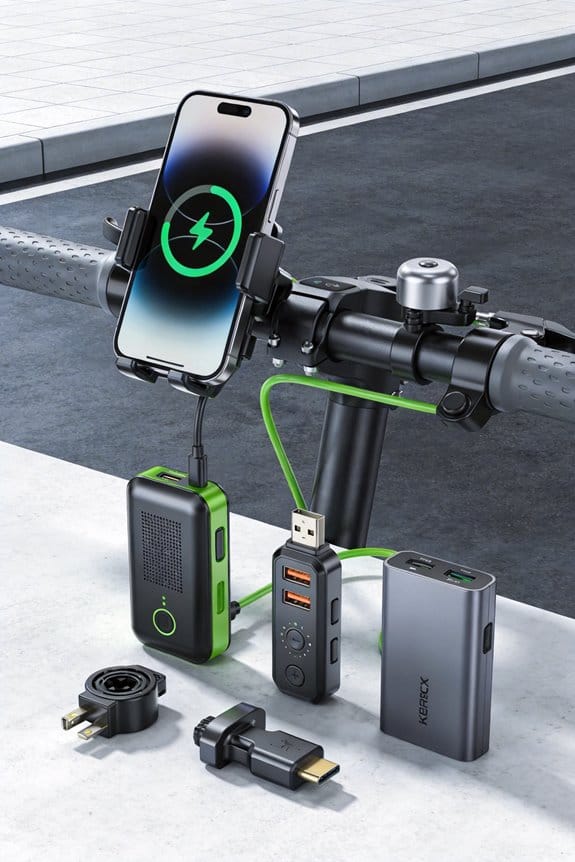

I’ve turned my 12 V scooter into a 5 V/2 A power hub using an XLR‑to‑USB adapter and a twin‑USB kit, so I can charge a phone and a Bluetooth speaker while riding 20 miles. The adapter plugs into the scooter’s 3‑pin port, supplies up to 2 A per USB, and works with a 20 000 mAh portable station that stops discharge at 5 % to protect the main battery. A weather‑sealed handlebar mount with a rubber pad, swivel base, and quick‑release button keeps the ports secure and glare‑free. Quick‑Charge 3.0 cuts phone charge time to about 30 minutes, and low‑idle draw chargers save range. If you keep checking the built‑in monitoring and follow the simple installation steps, you’ll see how these accessories boost long‑distance scooter commutes.
Key Takeaways
- Dual USB ports let riders charge phones, GPS, and fans simultaneously, extending device uptime on long rides.
- Quick Charge 3.0 and USB‑C options reduce charging time, delivering full phone charge in ~30 minutes.
- Integrated power‑management kits prevent scooter battery drain by auto‑shutoff at low‑charge thresholds.
- Weather‑sealed, swivel handlebar mounts keep ports protected and angled for easy access during travel.
- Low‑idle‑draw adapters and energy‑saving chargers minimize impact on scooter range, preserving overall mileage.
Turn Your Scooter Into a Mobile Power Hub
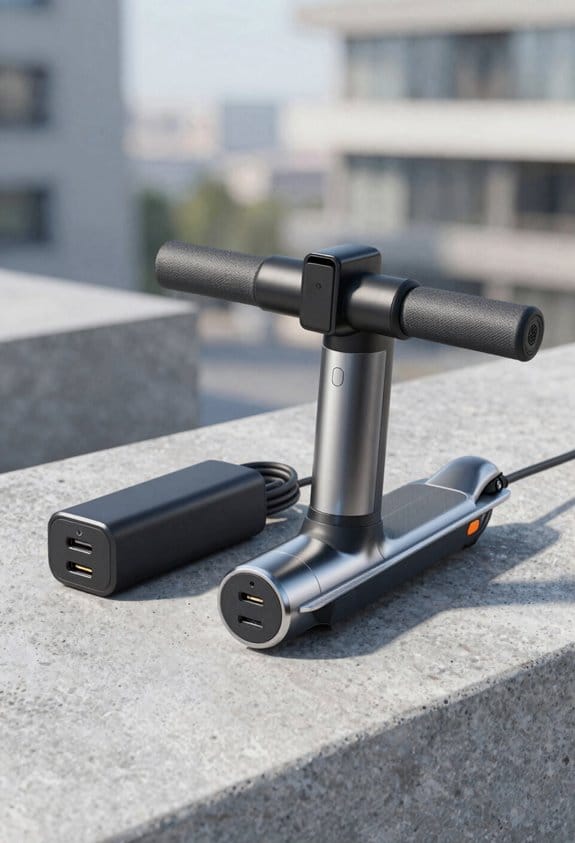
Ever find yourself on a long park ride and the phone battery dips low while the fan keeps humming? I ran into that same snag until I discovered a simple hack that turns the scooter’s 3‑pin charger into a full‑size USB outlet.
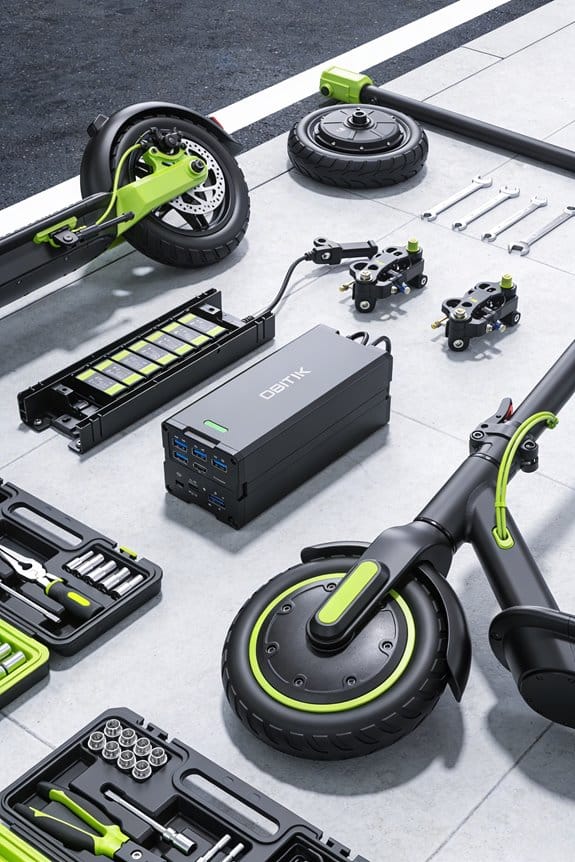
Grab an XLR USB 2.0 adapter and plug it into the scooter’s charging port. Then connect the adapter to a portable power station—my go‑to holds 20,000 mAh. The dual USB ports on the adapter let you charge a phone, a Bluetooth speaker, and a fan all at once. With a 5 V/2 A output per port, each gadget gets a quick charge while you’re cruising.
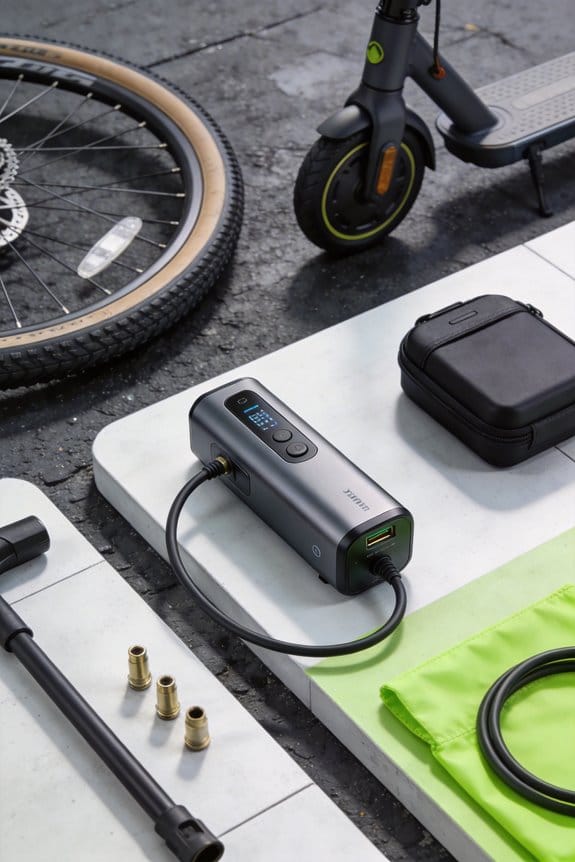
The power station does the heavy lifting for battery management. It watches the charge level, gives you a heads‑up at 20 % and stops discharge at 5 % to keep the scooter’s main battery safe. That means you don’t have to worry about over‑draining anything while you enjoy the ride.
Try this: set the power station on the scooter’s deck, connect the adapter, and plug your devices into the USB ports. On a 15‑mile park loop I kept my phone at 80 % and the fan running the whole time—no extra chargers, no tangled cords.
- 5 V/2 A output per USB port
- Power‑station alerts at 20 % and stops at 5 %
- No extra wiring or heavy gear needed
You’ll notice the difference right away. The setup feels light, the power stays steady, and you stay connected without any hassle.
Ready to give your scooter a power boost on the go?
Install XLR‑to‑USB Adapters and Twin‑USB Kits for Scooter USB Ports
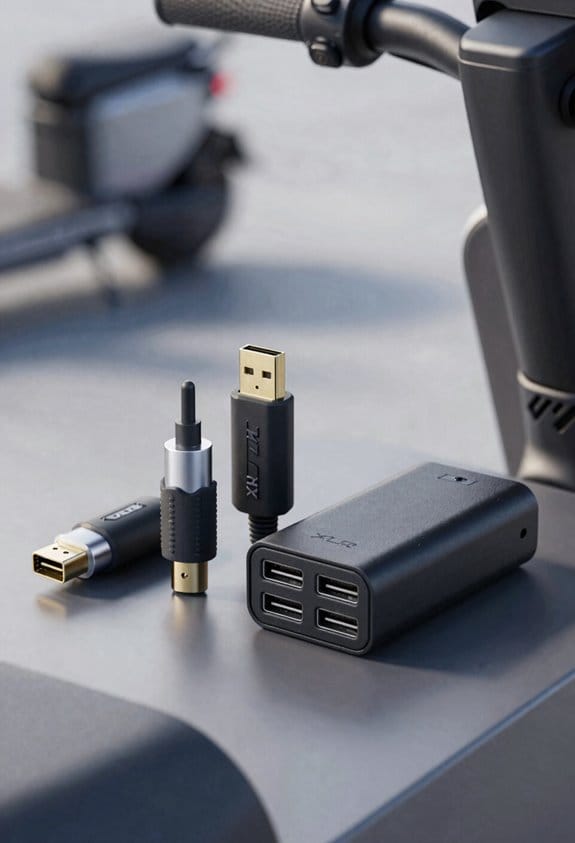
Ever get stuck on a long ride because your phone dies and you have no power source on your scooter? I was in the same spot until I added a simple XLR‑to‑USB adapter to the 3‑pin charger on my mobility scooter. It turns that tiny port into a 5 V/2 A USB outlet, so you can plug in a phone, Bluetooth speaker, or a small fan without any fuss.
I’m using the XLR‑USB 2.0 adapter because it fits most scooters and power wheelchairs. It supplies up to 2 A, which is plenty for everyday gadgets. If you need more than one device, a Twin‑USB kit is a solid next step. The kit comes with a Quick Charge 3.0 port and a USB‑C port, runs off the scooter’s 12 V DC source, and costs about $17.95.
Worth knowing:
- Use a fine‑tip soldering iron and keep the joints clean.
- Avoid overheating the plastic around the charger.
- Seal every connection with waterproof tape or silicone to keep rain out.
When you’re wiring it up, pay close attention to the soldering details. A clean joint makes a big difference, and a little silicone or waterproof tape will protect the whole setup from splashes. Once everything’s sealed, you’ll have a reliable power outlet that works on every ride.
Frankly, the whole process took me less than an hour, and I’ve been charging multiple gadgets on the go ever since. The adapter and kit are cheap, easy to install, and they really make those long trips more comfortable.
Choose USB Accessories That Maximize Battery Life on Long Scooter Rides
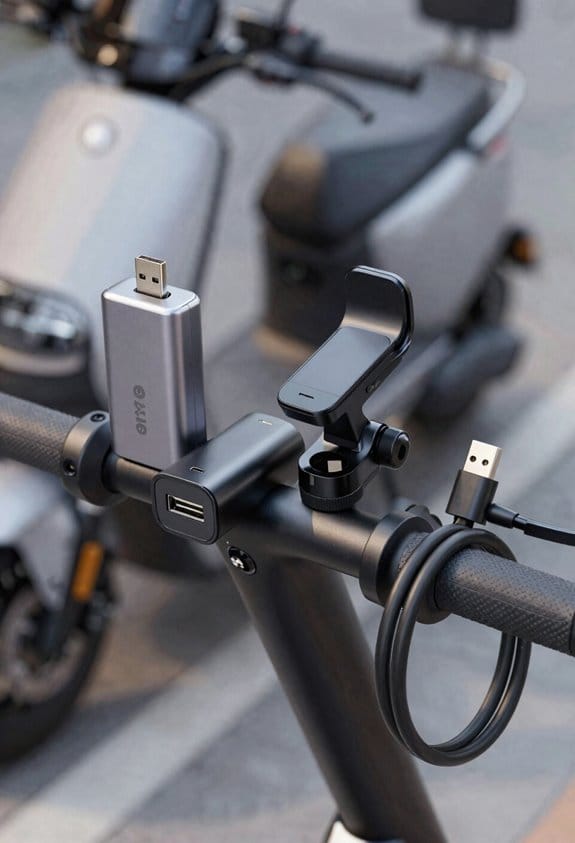
Ever felt your scooter’s battery draining faster than you’d like on a long ride? It’s frustrating when you’re halfway to work and the little LED on the dash flickers warning you to stop. The good news is that the right USB accessories can keep that battery humming longer, letting you finish your commute without hunting for a wall outlet.
First, pick a charger that matches your scooter’s power. A 5 V 2 A USB charger is a solid choice—it won’t hog the battery, but it still tops off your phone or GPS quickly. Energy‑saving chargers with auto‑shutoff are worth the extra buck; they stop drawing power the moment the device is full. If you can find a twin‑USB kit that offers Quick Charge 3.0 and a USB‑C port, you’ll only pull about 0.5 A from the 12 V scooter battery, which saves a noticeable amount of juice over a full day.
Try this: an XLR‑to‑USB adapter that adds a 2.1 A port to a 3‑pin scooter socket. It lets you run a small fan or some LED lights without draining the main battery too much. Just watch the voltage range—most adapters work between 9‑90 V, so they’re safe for most scooters. A handlebar‑mount dual outlet can keep your cables tidy and lets you flip the power off when you’re not using anything, cutting idle draw even further.
Honestly, the little details matter. Look for devices that have a low‑idle draw and a built‑in battery‑management system. Those features keep the scooter’s main pack from being constantly taxed while you’re plugged in. When you’re choosing accessories, think about how you’ll use them on the road—does the fan need a constant stream of power, or can it run off a small backup battery? Planning ahead means you won’t waste energy on things you barely use.
Worth knowing: keep an eye on the overall load you’re adding. A single 0.5 A draw might seem tiny, but over a 30‑mile ride it adds up. If you’re pulling multiple devices, try to stagger their use or power them off when you’re cruising. That way, you preserve the scooter’s range and avoid those annoying “low battery” warnings.
In the end, a few smart USB choices can stretch your scooter’s range, cut down on waste, and make long‑distance commutes feel a lot smoother. Ready to give your ride a boost?
Experience All‑Day Connectivity With Scooter USB Ports
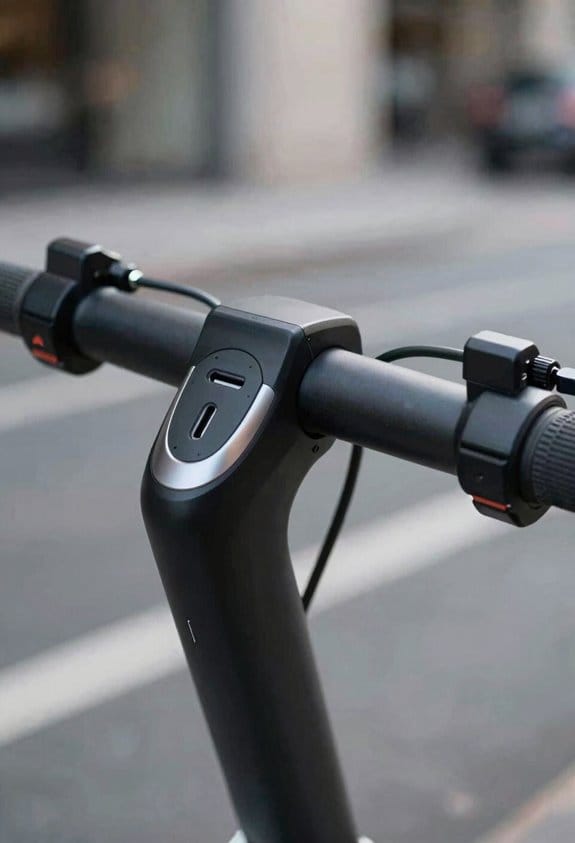
Ever found yourself stuck at a red light, phone dead, and the GPS flickering out? That’s the worst feeling when you’re trying to get somewhere on time. I’ve figured out a simple setup that keeps everything powered without a hitch.
Plug an XLR USB 2.0 adapter into the scooter’s 3‑pin charging port and you instantly get a USB outlet. It’s perfect for charging your phone while you pull up a map, so the GPS never drops out. I also add a twin USB jack with Quick Charge 3.0 and a USB‑C port; it taps the scooter’s 12 V system and can run a small fan or a Bluetooth speaker for those hot afternoons.
The built‑in USB on Monday Motorbikes shows real‑time power use, which helps you stay ahead of rain or heat. A universal dual‑USB handlebar mount accepts 9‑90 V input, works on any scooter, and even has a power switch for safety. These little upgrades keep your devices alive for the whole ride.
Worth knowing:
- The handlebar mount is easy to install and doesn’t need any tools.
- Quick‑Charge 3.0 can fill a phone battery in about 30 minutes, even while you’re cruising.
Frankly, the whole system feels like a small power hub you can carry everywhere. It’s not a fancy gadget; it’s just a practical way to avoid those annoying dead‑battery moments.
Try this: keep a spare USB‑C cable in your backpack for emergencies. You’ll thank yourself when you’re stuck in traffic and still have enough juice for a quick call.
Now you can ride longer, stay connected, and enjoy the ride without worrying about power. Ready to give your scooter a power boost?
How to Pick Safe, Hands‑Free USB Mounts for Your Scooter
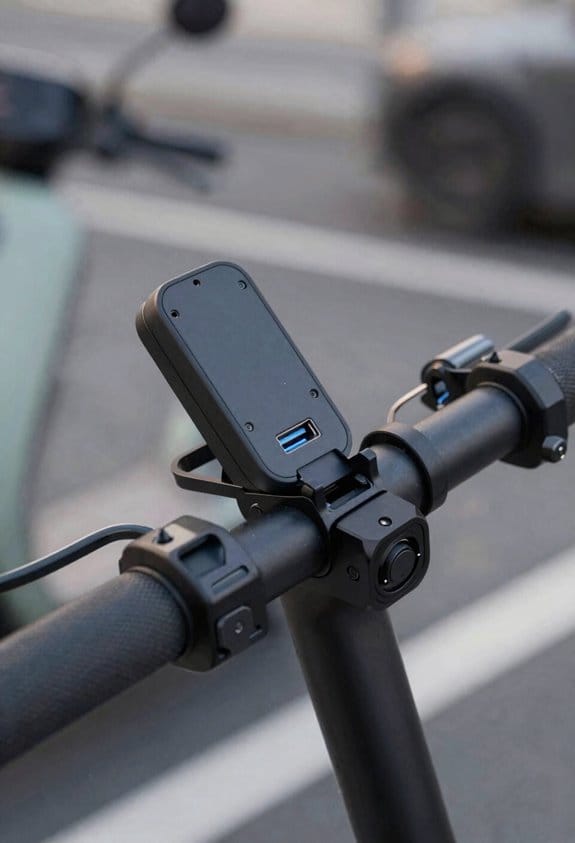
Ever find yourself juggling a phone, a map, and a bumpy ride, only to realize you can’t see the screen without taking your hands off the handlebars? A hands‑free USB mount can save you that hassle, but not every mount lives up to the promise.
I always start with weatherproofing. Look for a seal that can handle rain and dust—something rated at least IP54. That way, a sudden shower won’t ruin your phone or the mount itself. A good anti‑glare holder that tilts about 15‑30 degrees also helps keep the screen readable in bright sunlight.
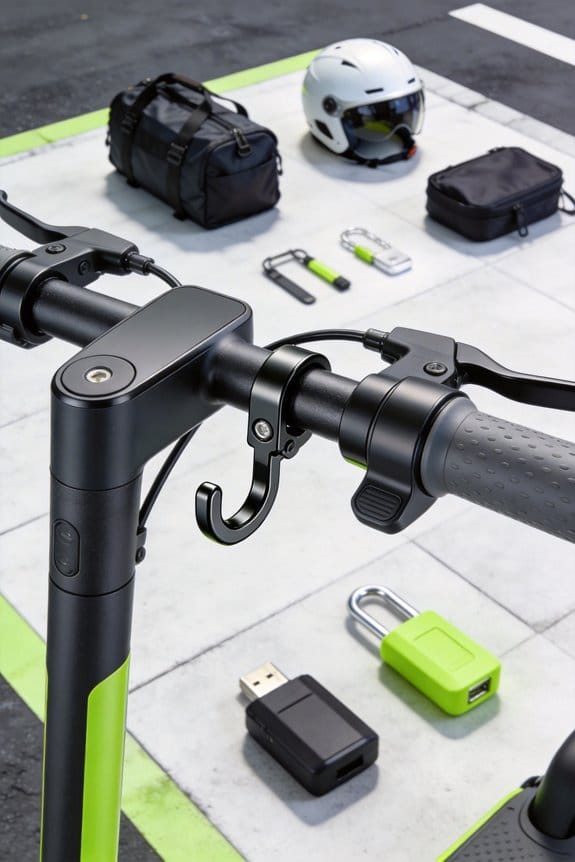
Check the clamp size before you buy. Most scooter handlebars sit between 22‑30 mm in diameter, so make sure the mount’s grip matches that range. The weight limit matters, too; aim for a minimum of 150 g to cover most phones without wobbling. A quick‑release button is a lifesaver when you need to pull the phone off fast, and a rubber pad will protect your handlebar from scratches.
Frankly, testing the lock strength is a must. Give the mount a gentle tug—if it doesn’t wobble, you’re good to go. Also, verify that the mount’s USB port matches your scooter’s output, which is usually 5 V at 2 A. That ensures steady charging while you ride.
Worth knowing: a few extra features can make a big difference. Some mounts come with a built‑in cable organizer to keep cords tidy, while others have a swivel base for easy angle adjustments. These little touches keep the setup neat and functional.
- Choose a weather‑sealed mount (IP54 or higher).
- Make sure the clamp fits 22‑30 mm handlebars.
- Verify a weight limit of at least 150 g and a quick‑release button.
- Look for anti‑glare tilt (15‑30°) and a rubber pad to avoid scratches.
- Confirm the USB port supplies 5 V/2 A for reliable charging.
Give one of these tips a try on your next ride and see how much smoother your commute feels. Ready to upgrade your scooter setup?
Frequently Asked Questions
Do Xlr‑To‑Usb Adapters Affect Scooter Warranty Coverage?
I swear the adapter could melt your warranty faster than a summer sun, but honestly, warranty implications hinge on adapter compatibility—if it fits perfectly and doesn’t tamper with factory electronics, you’re usually safe.
Can a 12V DC Source Power Both Twin USB Ports Simultaneously?
I can power both twin USB ports from a 12 V DC source, but watch for voltage drop; using a dual charging setup may reduce the voltage enough that one port struggles unless the supply’s current rating is sufficient.
What Is the Maximum Current Draw for Built‑In Scooter USB Ports?
I’ve found the max draw on most built‑in scooter USB ports caps around 2 amps, but some models list 1.5 A as the safe limit; check your port limits before plugging in high‑power devices.
Do Universal Handlebar USB Mounts Interfere With Scooter Electronics?
I’ve found that universal handlebar USB mounts rarely cause handlebar interference when they’re properly grounded; the signal grounding inside the scooter isolates the port, keeping electronics safe and functional.
Are USB Accessories Safe for Use in Rain or Wet Conditions?
Like a rain‑proof coat, I assure you USB accessories can be safe in wet conditions if they carry proper waterproof ratings and have passed thorough insulation testing, so your scooter stays dry and functional.