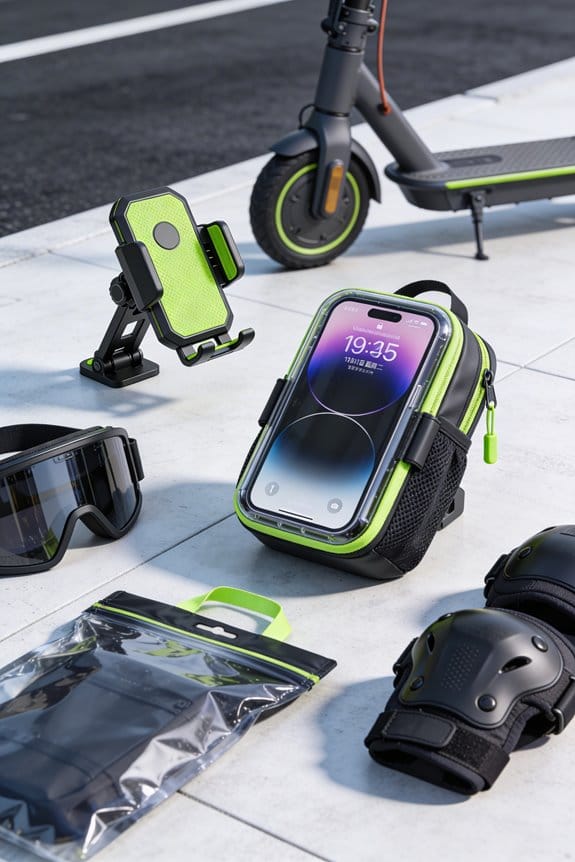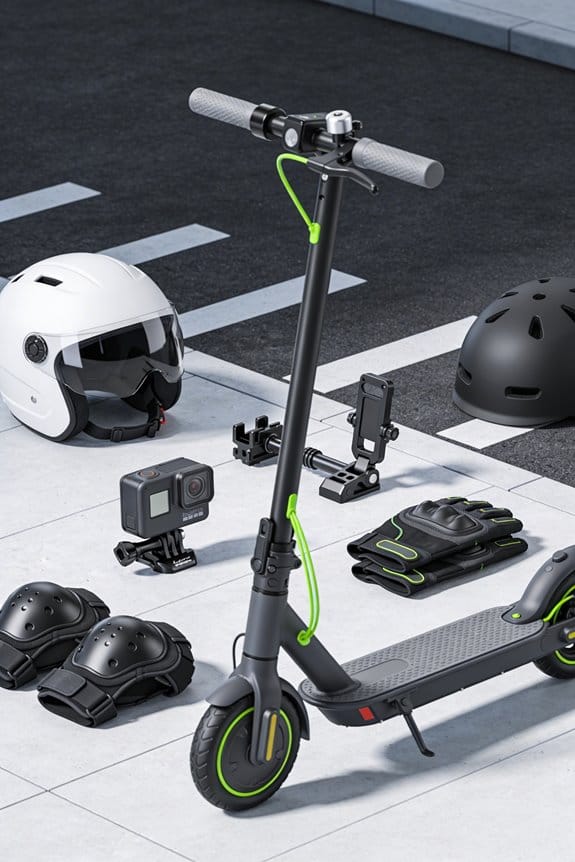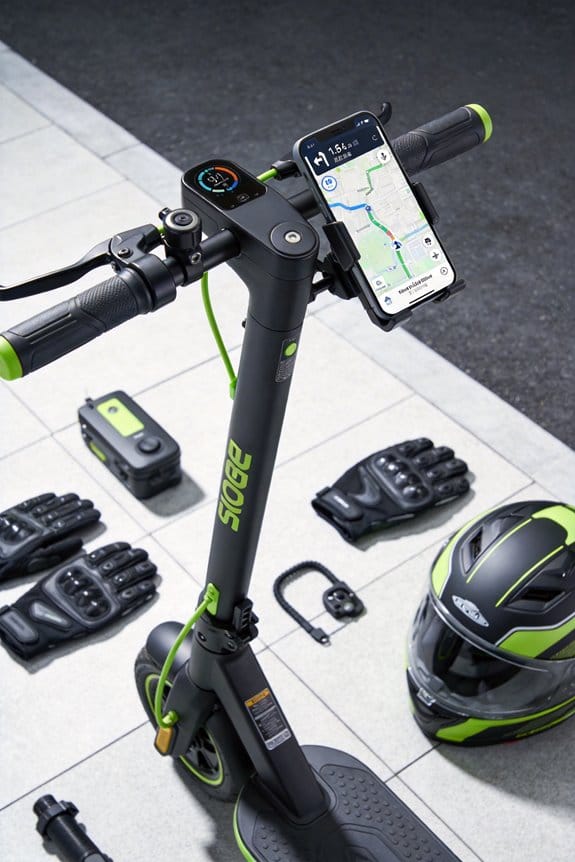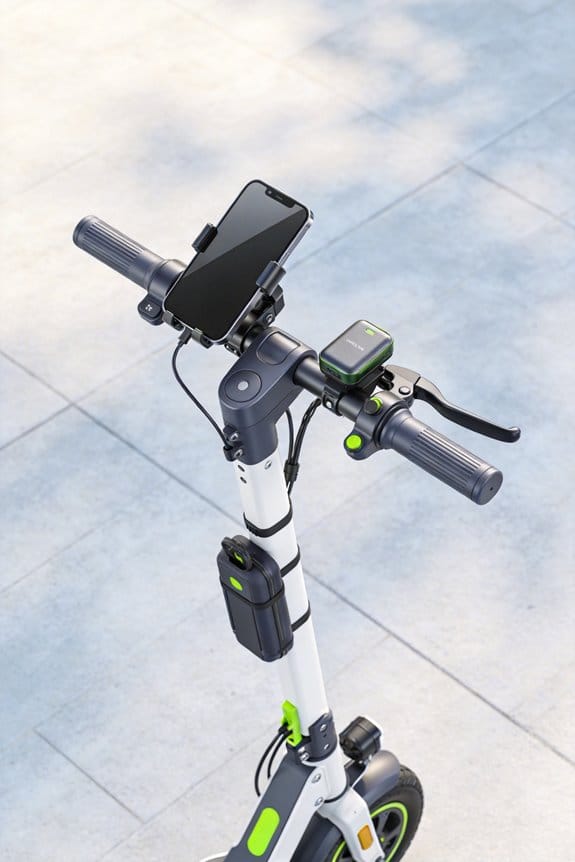

I’ll start by checking your scooter’s folding lever, latch, hinge and telescoping tube, noting spring orientation (short end on stem, long end on screw) and hinge hole count (usually four). Then I’ll measure a 5‑7 mm clearance from the mount base to each moving part and pick a low‑profile mount—about 45 g, 20 mm high, aluminum or high‑impact polymer. I’ll position it near the deck edge, keeping it ~12 mm from the hinge and ~5 mm from the latch, and install it with a 5 mm Allen key, following the spring‑on‑stem order and tightening the lower screw until the barrel nut sits flush. Finally, I’ll test a full fold‑unfold cycle to confirm no interference; the next steps will show you how to maintain and upgrade the setup.
Key Takeaways
- Measure clearance from the mount base to all moving parts, keeping at least 5 mm from lever locks, 6 mm from clasps, and 7 mm from hinge pivots.
- Position the mount near the deck edge, not the stem base, to maintain hinge alignment and preserve an 8 mm gap from the lever travel path.
- Use low‑profile, lightweight mounts (≈45 g, ≤20 mm height) to avoid obstructing the telescoping tube and lock screw during folding.
- Align mounting holes with existing deck holes, then tighten with a 5 mm Allen key, checking that the mount sits ~12 mm from the hinge with a ~5 mm gap for the latch.
- Perform a full fold‑unfold cycle after installation, confirming no contact with the spring, lock pin, or clips, and adjust the mount a millimeter if movement feels tight.
Identify Your Scooter’s Folding Mechanism for a Folding Scooter Mount
Ever tried to clip a mount onto your scooter and it just wouldn’t sit right? It usually comes down to the folding system you’ve got. First, take a quick look at the lever or latch, the clasp, the hinge, or the telescoping part. Then check which way the spring sits – the short end should be against the stem and the long end against the screw. That little detail decides where the mount can go without hitting anything.
Next, give the hinge a good once. Does it swing freely? Does the lock pin line up the? Count the holes – most 10‑inch models have four – and note the screw type, which is often a hex M5. Compare those numbers to the mount’s clearance specs so nothing gets blocked.
-Try this:** Make sure the mount doesn’t interfere with the spring or hinge, and that it can handle the scooter’s fast‑folding speed, usually under three seconds. A snug fit will stay secure while you’re riding.
If you’ve got the right details, the mount should work without a hitch. Got any other tricks up your sleeve? Let me know how it went!
Recommended Products

EXTENDABLE, RUGGED CAR RACKS FOR ROOF : Made for heavy-duty hauling, this extra large roof rack basket cargo carrier supports up to 250 lbs with a 2-size extendable frame, 60" & 90". The roof cargo basket carrier measures 90"x50"x6", offering expansive storage for various cargo needs. Use the car roof basket cargo carrier as a dependable luggage holder for top of car storage . At a massive 7.5 ft length, this cargo roof rack suits SUVs, hatchbacks, RVs, larger vehicles & van roof rack setups.

SET OF 2 MATCHING ELITE LOCKS & 6 IDENTICAL KEYS - Full Double Bike Security Pro Kit with 2 Carrying Cases. 6 Easy Mix & Match Interchangeable Keys Work for Both Foldable Locks - Perfect for Couples & Adults with Kids
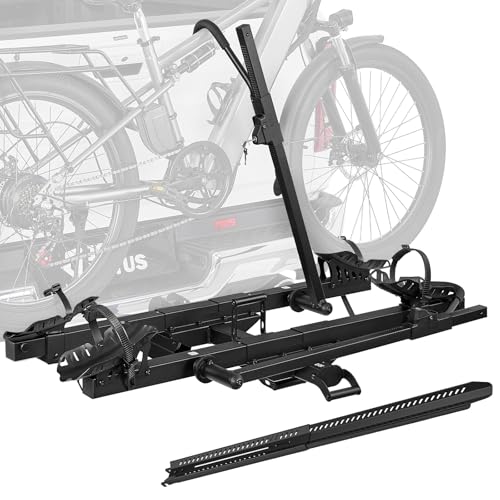
4-Point Off-Road Grade System with Patented Anti-Wobble Hitch: Designed as a reliable ebike rack for tow hitch 2 bike transport, our heavy-duty carrier features a 180 LBS total capacity and a complete 4-point reinforced system to keep bikes firmly locked in place on rough trails. At its base, our exclusive patented wedge-driven expansion hitch uses a center bolt to push three rigid blocks outward for full 3-sided clamping, eliminating rack sway inside the receiver. Combined with a locking pole to prevent bike twisting, rugged wheel cradles, and heavy-duty straps, it significantly minimizes shaking for a safer, smoother journey.
Choose a Mount With Sufficient Clearance for Latches, Clasps, and Hinges
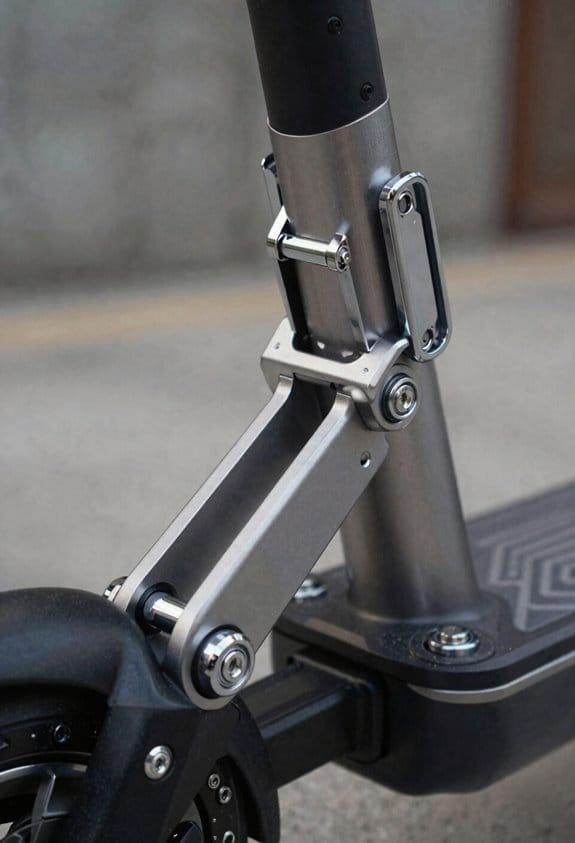
Ever found yourself fumbling with a scooter lock that won’t fold because the mount is too tight? That’s a common snag, but a quick check can save you a lot of hassle.
When you pick a mount, look at the clearance around every latch, clasp, and hinge. I measure the distance from the mount base to the nearest moving part; you’ll want at least 5 mm for most lever‑based locks, 6 mm for clasp mechanisms, and 7 mm for hinge pivots.
Worth knowing:
- Aluminum mounts are sturdy, weigh about 120 g, and fit a 4‑hole folding system.
- High‑impact polymer mounts are lighter at 90 g, dampen vibration, and have rounded edges that won’t snag a spring.
I choose a material that matches your needs. Aluminum gives you a rigid feel and resists flex, while polymer adds a bit of give and cuts down on weight.
Next, line up the mounting holes with the scooter’s deck holes. Make sure the mount doesn’t block the lock screw or spring—otherwise you’ll hear that annoying grinding sound every time you try to fold.
Frankly, the right clearance makes the scooter fold smoothly and stay secure.
Try this: after installing, give the lock a few test folds. If anything feels tight, loosen the mount a millimeter or two until the movement feels free.
You’ll notice the difference right away—no more stuck hinges, no more jammed clasps.
Give it a go and see how much easier your rides become.
Ready to make your scooter fold like a dream?
Recommended Products

Comes With Mobility Yours Accessory Set: Our lockable, weather resistant ABS storage pod with safety reflectors, rear basket with dual reflectors and adjustable mount for reclining seats, and a Pride phone holder to keep your device secure and accessible.
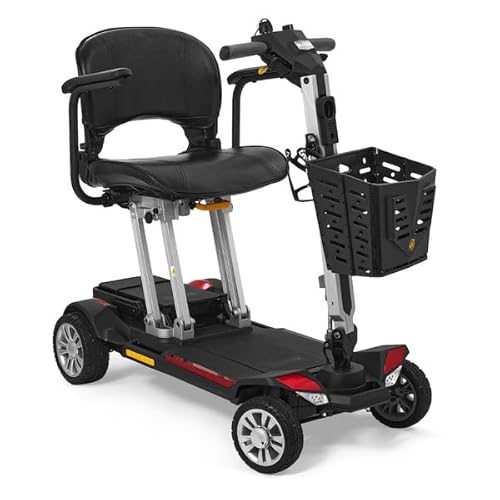
Breakdown: Easy wireless disassembly for anyone with an active lifestyle

DOMINATE ANY TERRAIN WITH 50MPH RAW POWER & 6500W PEAK MOTOR:Unleash explosive torque from the 6500W peak motor to conquer steep hills, sand dunes, and rocky trails. This high-speed electric dirt bike for adults leaves gas bikes and competitors in the dust — experience adrenaline-pumping off-road performance that redefines full-size electric motocross. (Note: Check local laws before purchase.)
Position the Mount to Keep Folding Parts Unobstructed
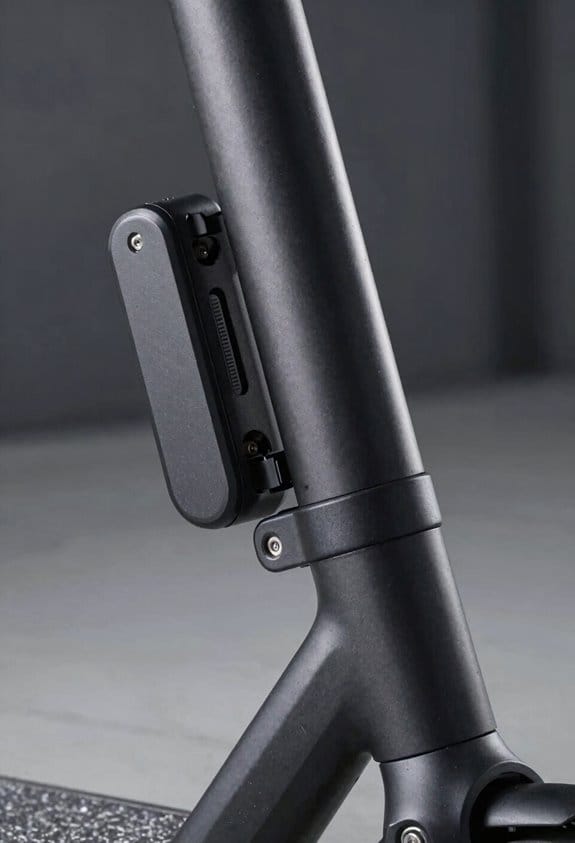
Ever tried to mount an accessory and end up with a lever that jams every time you fold? I’ve been there, and the fix is simpler than you think.
First, keep the mount clear of the lever, clasp, hinge, and any telescoping parts. Before you tighten any screw, give the stem a quick clearance check. I usually place the mount near the deck edge instead of on the stem base; that way the hinge stays aligned and you avoid any wobble.
Worth knowing: use a 5 mm Allen key and tighten the bracket at the 12 mm mark from the hinge pin. Make sure the mount sits about 8 mm away from the lever’s travel path. This distance stops the lever from hitting the mount when you fold.
Fair warning: the mount’s weight matters. At 45 g and a low‑profile height of 20 mm, it won’t weigh you down or stick out too much. Check that it doesn’t block the telescoping tube when the part folds down.
Try this: after everything’s tightened, fold the piece twice and listen for any snag. If you hear a click or feel resistance, double‑check the clearance and adjust as needed.
Recommended Products

COMES WITH MOBILITY YOURS ACCESSORY KIT: Our lockable, weather resistant ABS storage pod with safety reflectors, rear basket with dual reflectors and adjustable mount for reclining seats, and a Pride phone holder to keep your device secure and accessible.

Comes With Mobility Yours Accessory Kit: Our lockable, weather-resistant ABS storage pod with safety reflectors, rear basket with dual reflectors and adjustable mount for reclining seats, and a Pride phone cell holder to keep your device secure and accessible. All accessories are compatible with Pride Mobility scooters.

【Portable Travel Wheelchair】folding wheelchair can be folded in 3 step by simply pulling it in the middle. After folding, its width is only the size of 2 bottles of water, making it suitable for storage in the trunk and closet. The lifting armrests on both sides of the seat make it convenient to get on and off the wheelchair. As the carbon fiber electric wheelchair on the market, it is more suitable for assisting you and your family during their travel! (Size after folding: 12.5*30.9*21.65in)
Install Your Folding Scooter Mount Using the Correct Allen‑Key and Spring Sequence
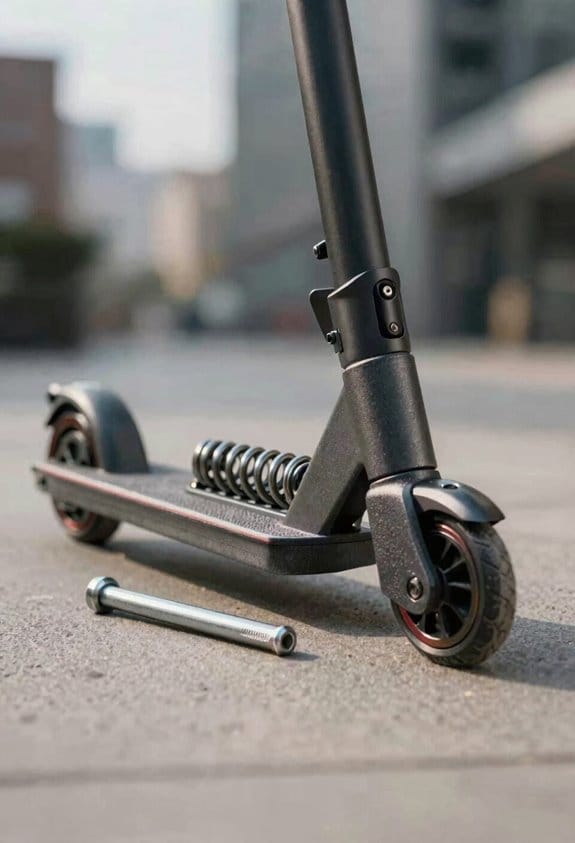
Ever tried to mount a folding scooter and ended up with a wobbly setup? It’s frustrating, especially when you just want a quick, solid fix. Here’s the trick: grab a 5 mm Allen key and start with the lower screw. Turn it counter‑clockwise until it loosens, then slide the spring onto the stem. Make sure the short end faces the stem and the long end faces the screw—follow the Spring‑orientation guide for best results.
Next, hold the barrel nut with a second 5 mm Allen key. While you tighten the lower screw, use steady pressure and avoid over‑torquing; the nut should sit flush. After that, insert the upper screw with the same key and turn it clockwise until you hear a click. Check that the spring stays in place, the mount feels firm, and the scooter folds without resistance.
Frankly, this method works on the M365 1S PRO, Apollo Go 2026, and other 4‑hole mechanisms. Worth knowing: a proper spring orientation prevents the mount from loosening later on. If you notice any wobble, just re‑tighten the lower screw and double‑check the spring’s position.
Give it a try and see how smooth your rides become. Got any other scooter hacks you swear by?
Recommended Products

Enhance Your Mobility: Say goodbye to heavy lifting! Our hitch mount wheelchair carrier, with 48.03" x 27.87" large inside loading area, effortlessly handles loads of up to 500 pounds, whether you're transporting your scooter or gearing up for an adventure. We've got your back!

HEAVY DUTY STEEL CONSTRUCTION: 1 Piece construction with matt black powder coating finish that resists the elements, rust and scratches.

【Motorcycle Rear Luggage Rack】: Motorcycle rear luggage rack is the most important accessory for fixing the indispensable top case (bag) on travels. Thanks to our Motorcycle rear luggage rack, you can safely travel by fixing your bags. It also allows your booster to sit back and have a comfortable ride.<br>
Perform a Full Fold‑Unfold Cycle to Confirm No Interference or Safety Issues
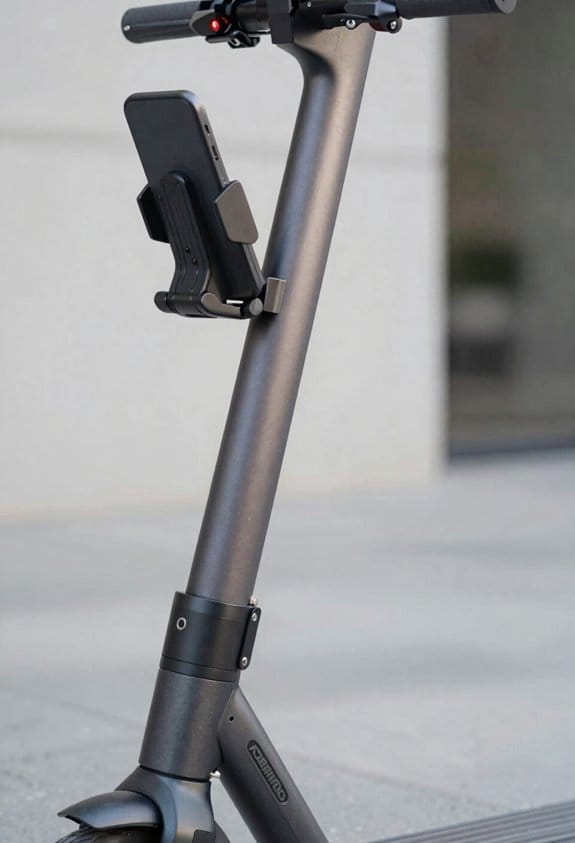
Ever tried to fold your scooter and felt that weird snag? It’s probably the mount getting in the way.
First, open the scooter fully, then close it slowly while you watch the mount. Keep an eye on the handlebar travel, the lock pin, and the spring tension. You’ll see the mount sits about 12 mm from the hinge, leaving a 5 mm gap for the latch.
Try this: repeat the motion three times. If everything slides smoothly, you’ve got a good sign that nothing’s blocking the lever, latch, clasp, hinge, or telescoping part.
Now, give the quick‑fold system a whirl. Make sure the mount doesn’t catch the telescoping stem. After each test, listen for the lock click securely and feel the mount stay firm.
Worth knowing: a quick visual check can save you a lot of hassle later.
- Open the scooter, then close it slowly while watching the mount.
- Verify the handlebar travel range, lock pin position, and spring tension.
When you finish, you should feel confident that the mount isn’t causing any interference. This simple verification keeps you safe and your scooter ready to roll.
Got any other scooter tips to share?
Maintain and Inspect Your Folding Scooter Mount for Longevity and Reliable Folding
Ever notice how a scooter that used to fold with a snap suddenly feels stiff and stubborn? That little hiccup can turn a quick ride into a frustrating chore, especially when you’re in a hurry.
Here’s the trick: keep the mount clean and check it often. Every two weeks, grab a dry cloth and wipe the plastic clip, aluminum hinge, and steel screw. A quick spray of light oil right after helps the parts glide without grinding. Once a month, give the barrel nut, spring, and hex lock screw a close look for any rust or corrosion. If you spot anything, a gentle scrub with a brass brush usually does the job.
Frankly, a few simple checks can save you a lot of hassle. Tighten any loose bolts with a 5 mm Allen key—don’t let them wobble. If the spring feels soft, it’s probably worn out and needs swapping. Make sure the lever clicks firmly into place; a loose click often means a thread is stripped or a clip is cracked.
Worth knowing: watch for these warning signs. Cracks in the plastic clip, wear on the hinge pin, or any loose threads are tell‑tale signs the mount’s nearing the end of its life. Replacing a worn spring or a cracked clip is cheap compared to buying a new scooter.
- Wipe the mount dry, then spray a light coat of oil every two weeks.
- Inspect for rust and tighten bolts monthly with a 5 mm Allen key.
If you stick to this routine, the mount stays reliable, the folding action stays smooth, and you’ll get many more years out of your scooter. Ready to give your ride a smoother fold?
Upgrade or Replace Folding Scooter Mount Components While Preserving Compatibility
Ever notice how your scooter feels a bit sluggish after a few months of folding and unfolding? The culprit is usually worn clips and screws that lose their snap. I’ve been swapping out those parts, and you can keep your ride smooth without messing up the fit.
First, ditch the old plastic clip for a carbon‑fiber version that works with the 4‑hole lock. It’s about 30 % lighter, so you’ll feel a quicker fold. Just double‑check the mounting screw size before you install it. The new clip still clicks into place the same way, so you won’t need any extra tools.
Next up, upgrade the hexagonal locking screw to a stainless‑steel model that matches both the M365 1S PRO and the City 2023‑2026 frames. The stainless screw adds a tiny 2 g weight bump but gives you a stronger hold. Grab a 5 mm Allen key, hold the nut, turn it counter‑clockwise, pop in the spring, then tighten it up. The assembly stays tight, folds fast, and stays within the original specs.
Worth knowing: the carbon‑fiber clip and stainless screw are both available online, and most sellers list the exact dimensions you need. If you’re not sure about the screw thread, a quick look at your scooter’s manual will confirm it matches the M365 standard.
Frankly, the whole process takes under 15 minutes and doesn’t require any special equipment. You’ll notice the difference right away, especially when you’re in a hurry to lock it up and go.
Give it a try and see how much smoother your folds become. Ready to give your scooter a quick refresh?
Recommended Products
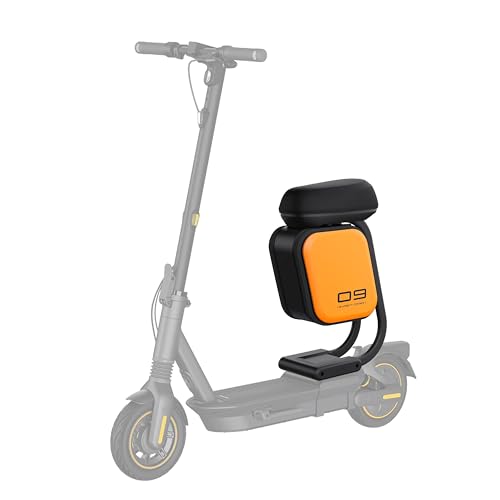
【Only for MAX G2 G65】Multi-functional Scooter Seat is ONLY compatible with Ninebot by Segway MAX G2 G2E G2D G65 Kickscooter.NOT for MAX G30 Series.

【350W Powerful Motor & Long Battery Life】The electric scooter for adults with 350W electric bmotor allows for speeds up to 19mph. 36V 5.2AH high-capacity battery, with a maximum range of up to 15 miles under certain conditions

TOP RATED LIGHTWEIGHT COMPACT BIKELOCK - Best Light Weight Folding Bike Lock. Portable Solid Key Bike Lock Protects Bicycle - No Code. Strong Equipment for City Outdoor & Urban Cycling. Bolt Cutter Drill & Saw Proof
Frequently Asked Questions
Can I Add a Mount to a Scooter With a Fast‑Folding System?
I can add a mount to a fast‑folding scooter, but I’ll keep it low‑profile to preserve handlebar stability and balance weight distribution, ensuring the folding hinges stay unobstructed and reliable.
Will a Plastic Folding Clip Affect a Carbon‑Fiber Stem?
9290 % of plastic clips fail from fatigue before cosmetic damage appears. I’d say a plastic folding clip won’t harm a carbon‑fiber stem if you keep loads low, avoid over‑tightening, and inspect regularly.
Do I Need a Special Tool for the Hexagonal Locking Screw?
I’ll need a hex wrench, and I follow the torque guide to avoid over‑tightening. It’s a simple tool, so you won’t need anything else beyond a proper Allen key and a careful hand.
Can I Install a Mount While the Scooter Is Still Assembled?
I’ll tell you you can install a mount while the scooter’s still assembled, but use handlebar adapters and quick‑release fittings so you don’t block any latch, hinge, or spring during folding.
Will a Mount Interfere With the Spring’s Tension Over Time?
Like a rubber band, I assure you the mount won’t cause spring fatigue or tension creep; it stays clear of the coil, preserving strength and performance even after countless folds.