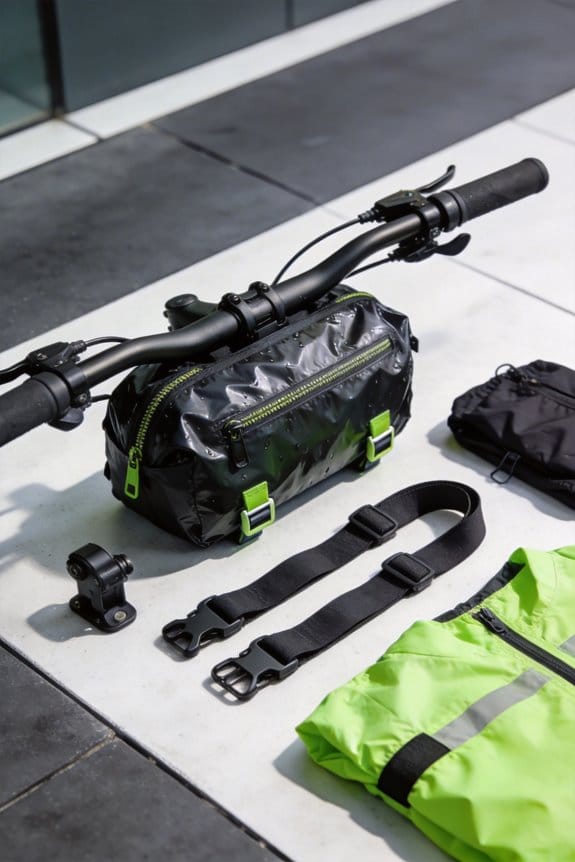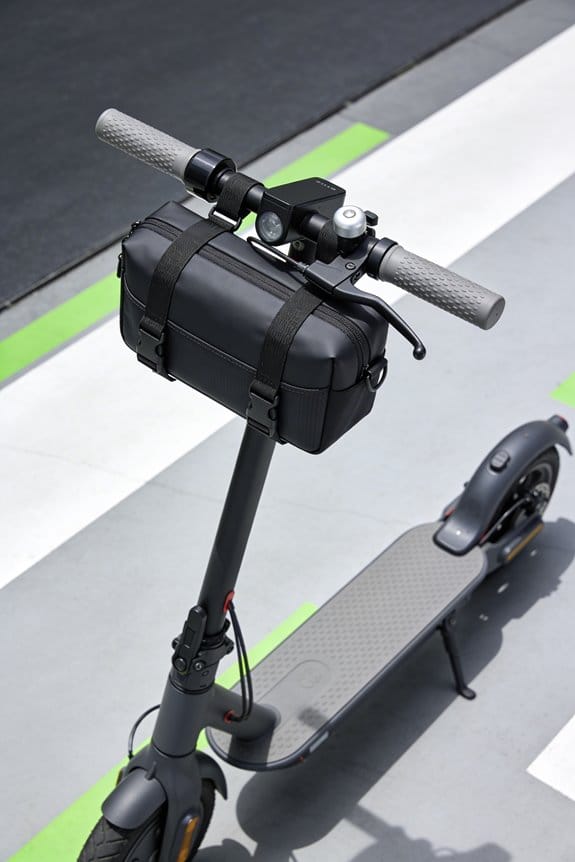

I check my bag before each ride, making sure brake hoses and shifter cables stay at least 3 mm away from straps. I use a low‑profile mount like the Salsa Cradle (22‑30 mm bar fit) or Aeroe Cradle (24‑32 mm) that adds a 2‑inch strap loop and guides cables cleanly. I slip 10 mm closed‑cell EVA foam spacers under the bars to add a 6‑mm gap, and I add 15 mm aluminum extensions (45 g each) for extra reach. I reroute the front brake hose over the bag and run shifter cables under the spacer, criss‑crossing under the down tube if needed. I swap to a 31 mm carbon stem with a 4° angle to lower the bag and keep the load balanced—heavy items at the bottom, light items on top. After each adjustment I ride a short block to feel for pulling or wobble, then fine‑tune until steering feels smooth. Continue for you’ll see how to perfect the setup.
Key Takeaways
- Ensure at least a 3 mm gap between cables, hoses, and the bag by using foam spacers or bar extensions.
- Choose a low‑profile mount (e.g., Salsa or Aeroe Cradle) that routes cables under the cradle and keeps the bag clear of the stem.
- Adjust strap tension so the bag does not pull forward into the steering column; keep the strap snug but not overly tight.
- Reroute brake hoses and shifter cables over or under the bag using short housings and foam spacers to prevent pinching.
- Test ride after each adjustment, checking for wobble, drag, or pulling, and fine‑tune until steering feels smooth and predictable.
Spot Handlebar Bag Cable Clearance Issues Before Riding
Ever tried to zip up your handlebar bag only to feel the bike pull to one side? That little tug can ruin a smooth ride before you even hit the road. A quick check every morning can save you from that hassle.
First, give the bag a visual once. Make sure no cables look squeezed against it. Then, gently pull the brake line and shift the gear cable—feel for any tight spots. If something feels pinched, slip a 5 mm thick high‑density foam pad in place, or route the hose over the bag. Tucking the shifter cable under the down tube often does the trick, too.
-Frankly**, you’ll want the brake hose to clear the bag by at least 3 mm. A quick visual gap check does the job. Also, confirm the front derailleur cable slides without friction; a smooth glide means no hidden snags.
Worth knowing: tighten the bag straps and lock the buckles firmly, then give the steering a quick test. If the bike feels wobbly, readjust the bag until the handlebars turn freely.
Try this: before you head out, run a short ride around the block. Pay attention to any pulling or odd steering feel. If everything feels steady, you’re good to go.
A routine like this keeps steering interference at bay and lets your bike handle like it should. Got any other quick‑check tips you swear by?
Pick a Handlebar Bag Cable‑Clearance Mount or Harness
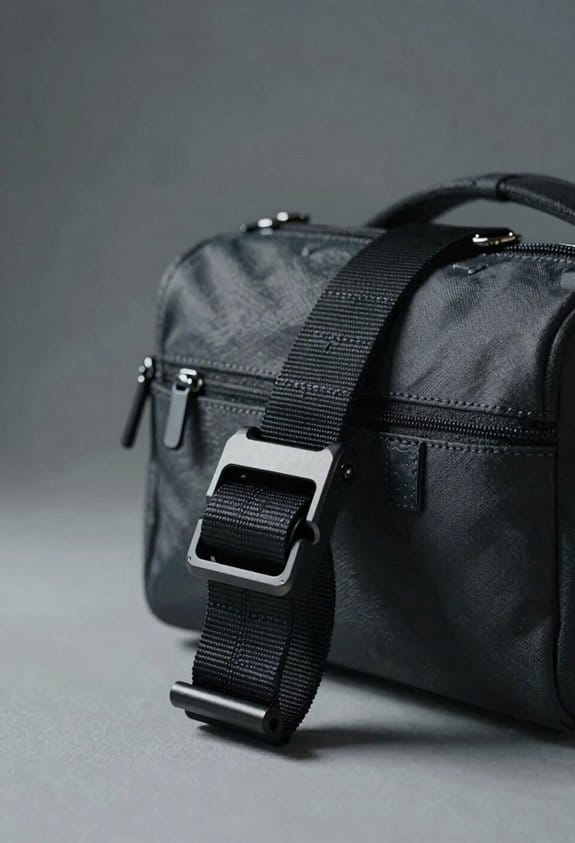
Ever tried to mount a handlebar bag and keep your cables from getting crushed? I’ve been there, and the trick is picking the right clearance mount or harness for your bars.
First, check the bag’s mounting options. Then choose a mount that lifts the bag off the tube and creates a gap for the cables. The Salsa Cradle and Aeroe Cradle are both solid choices. The Salsa Cradle uses a low‑profile clamp that fits 22‑30 mm bars and adds a 2‑inch strap loop for extra security. The Aeroe Cradle has a quick‑release latch, fits 24‑32 mm bars, and comes with reinforced webbing that guides cables toward the head tube.
Both mounts sport HDPE reinforcement, weigh under 250 g, and hold up on 150 km rides without flexing. When you attach the mount, tighten the bolts, and double‑check that the front brake hose runs cleanly over the bag while the shifter cables sit safely beneath the cradle. This setup stops cable crush and keeps steering smooth.
Worth knowing:
- The Salsa Cradle’s low‑profile clamp is easy to install and works with most standard bars.
- The Aeroe Cradle’s quick‑release latch lets you remove the bag fast when you need to.
Frankly, once the mount is on and the cables are clear, you’ll notice a big difference in how the bike feels on long rides. Give it a try and see how much smoother your ride becomes.
Ready to try this on your next ride?
Add Foam Spacers or Bar Extensions for Cable Clearance
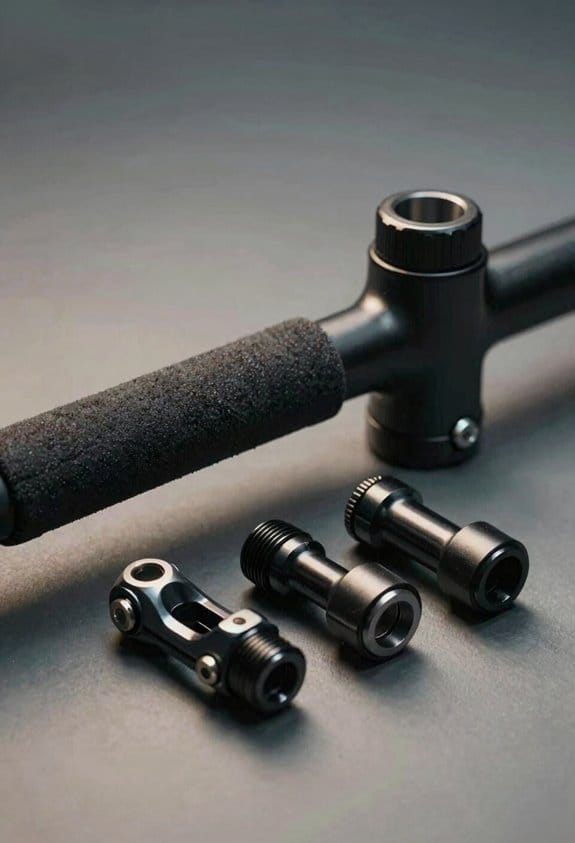
Ever tried to jam a bike bag onto a clearance cradle and found the cables getting squished? It’s a hassle that can ruin a smooth ride. After you’ve got the cradle on, the next move is to add foam spacers or bar extensions so the hoses and cables have room to breathe.
I’m a fan of 10 mm thick closed‑cell EVA foam spacers. They sit right between the bag and the bars, giving about a 6‑mm gap for brake hoses and shifter cables. The spacers come with a little slit for the strap, so the bag stays locked in place while the cables float free. If your handlebars are on the narrow side, grab a set of aluminum handlebar extensions. Each one adds roughly 15 mm of reach, weighs about 45 g, and bolts to the stem with a 6 mm hex. The extensions push the bag outward, making a clear path for the rear brake hose and stopping any interference.
Frankly, using both the foam spacers and the extensions together gives the most clearance. The combination lets you ride without worrying about cables getting pinched or snagged.
Try this:
- Slip the foam spacers onto the bars, line up the strap slit, and tighten the bag.
- Mount the aluminum extensions on the stem, tighten the hex bolts, and check the gap.
You’ll notice the bag sits a bit farther out, and the cables have a comfortable space to move. It’s a simple tweak that makes a big difference on longer rides.
Feel free to experiment with different spacer thicknesses if you need a bit more room. The key is to keep the bag secure while giving the cables a clear, unrestricted path.
What’s the most creative way you’ve solved a cable‑clearance issue on your bike?
Reroute Brakes and Shifters Around the Bag
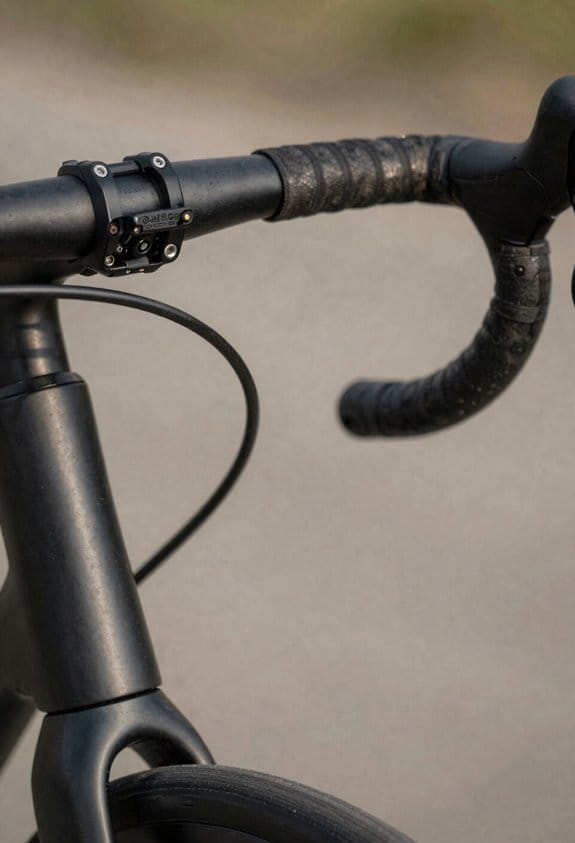
Ever tried to keep a handlebar bag from wobbling while still getting your cables where they need to be?
Rerouting the front brake hose and rear shifter cables around the bag does the trick. I pull the brake hose over the top of the bag, then slip the shifter cables under a foam spacer. Using bar‑end shifters shortens the cable run, and a criss‑cross under the down tube adds extra clearance.
Worth knowing:
- 2 mm thick foam spacer
- 5 mm wide cable housing
- 150 mm long bar‑end shifter housing
This setup adds roughly 10 mm of space, stops the cables from getting crushed, and lets the bag sit flat. It works on road bikes, gravel bikes, and bike‑packing rigs.
Frankly, you’ll notice smoother steering and less wear on the cables. The bag stays steady, and you won’t have to fight with it on rough roads.
Try this: route the brake hose over the bag, then guide the shifter cables under the foam spacer. The criss‑cross under the down tube gives you the extra room you need without a big hassle.
If you’re looking for a simple fix that keeps everything tidy, this method is worth a shot.
What’s the most annoying part of your bike setup right now?
Adjust Stem and Bar Width to Improve Cable Clearance
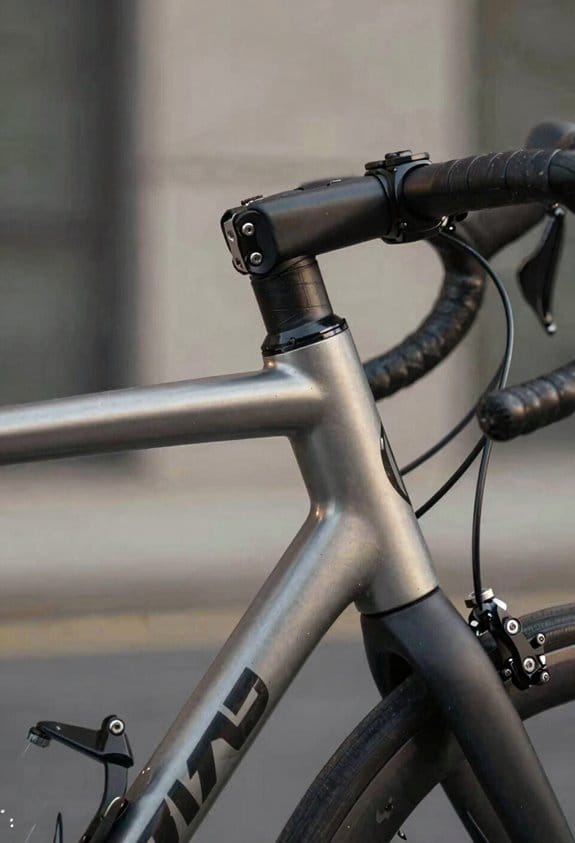
Ever tried to squeeze a bike bag onto a gravel bike and found the cables rubbing against the strap? It’s a tiny thing, but it can ruin a smooth ride. I’ve been there, and a simple tweak to your stem and bar can give you a few extra millimetres of breathing room.
First, swap your stem for a 31 mm clamp. A carbon stem with a 4‑degree angle gives you a tighter grip on the handlebars and lets the bag sit a bit lower. Then, look for a bar taper that narrows the ends by about 5 mm. The result is a 2‑mm gap between the brake hose and the bag strap—enough for the hose to move without snagging.
Try this:
- Measure the clearance with a ruler; aim for at least 3 mm between any cable and the bag.
- Use a 31 mm‑32 mm bar taper that tapers toward the ends.
The narrower bar also lowers the bag’s profile, keeping it away from the shifter cables. You’ll notice the difference right away, especially on longer rides where every millimetre counts.
Frankly, this setup works on gravel bikes, commuter bikes, and even bike‑packing rigs. You don’t need a whole new bike—just a few small parts and a quick adjustment. Once you’ve got the right clearance, your bag stays snug and your cables stay free.
Ready to give your bike a cleaner look and smoother ride? Give these tweaks a try and see how much easier it feels.
Distribute Load to Keep Steering Light and Predictable
Ever feel like your bike’s handlebars are fighting you because the bag on them is too heavy?
A balanced load on a handlebar bag keeps steering light and predictable. I place heavy items like a power bank or multi‑tool at the bottom of the bag, near the strap anchor, to lower the packing position. I keep lighter gear—maps, snacks, a small camera—near the top, close to the bar, so the steering torque stays low. I use a bag with a 2 kg capacity rating and a 10 mm thick foam spacer that pushes the bag 15 mm away from the bars. This spacer creates room for cables and reduces torque spikes. I strap the bag with a single 150 mm webbing loop that locks the load in place. The result is a smooth, predictable turn on pavement and trail.
Frankly, you don’t need fancy gear to get this right.
Try this:
- Put the heaviest stuff at the bottom, right where the strap meets the bag.
- Keep lighter items near the top, close to the handlebars.
The foam spacer is a cheap trick that adds a little distance and a a lot of control.
If you’ve ever felt the bike pull to one side after a bad load, this setup will change that.
What’s the biggest thing you’ve carried on your handlebars?
Test, Fine‑Tune, and Troubleshoot Interference
Ever found yourself wrestling with a bag that rubs the handlebars and makes steering feel off? I’ve been there, and a simple test‑and‑tweak routine helped me get it right.
First, I put the heaviest gear at the bottom of the bag. Then I spin the wheels, pull the brakes, shift gears, and feel for any snag. I jot down what I see on a quick checklist: cable clearance, foam spacer thickness, strap tension, bag distance, and steering wobble.
If a cable is rubbing, I add a 4 mm high‑density foam spacer or swap in a 6 mm thicker one. When the bag still hits the stem, a 10 cm handlebar extension or a Salsa Anything Cradle does the trick. After each change I repeat the test methods, noting which tweak solved the problem. The checklist lets you see what worked, so you can fine‑tune until steering feels smooth and predictable.
Try this:
- Spin the wheels and listen for any grinding.
- Pull the brakes while the bag is loaded to check for drag.
- Shift through all gears and note any resistance.
Worth knowing:
- Keep the foam spacer snug but not too tight; a little wiggle room helps.
- Make sure the strap tension isn’t pulling the bag forward into the stem.
Frankly, the key is to test, adjust, and test again. Once the interference is gone, you’ll notice a big difference in how the bike handles.
Do you have a favorite hack for keeping gear out of the way? Give it a try and see how it changes your ride.
Frequently Asked Questions
Can I Use a Carbon‑Fiber Handlebar With a Metal Bag Mount Without Damaging It?
I can use a carbon‑fiber handlebar with a metal bag mount if I verify carbon compatibility and add mount cushioning; otherwise the pressure points could crack the carbon, so I’ll use foam spacers or a reinforced strap.
Do Foam Spacers Affect Brake Lever Feel on Long Descents?
Foam‑filled spacers soften, but they don’t markedly shift lever modulation; the compression merely cushions, keeping feel consistent even on long descents. I notice a subtle, smoother pull, yet brake response stays reliable.
Will a Wider Bar Profile Reduce the Need for Bar Extensions?
I think a wider bar profile improves ergonomics and often eliminates extension necessity, because the extra width naturally creates clearance for cables and bags, so you rarely need extra extensions to keep steering smooth.
Can I Run a Hydraulic Brake Line Through a Foam Spacer?
I picture the hose snaking through a plush foam block, but hydraulic routing through a spacer risks compression, which can pinch the line and cause leaks—so I avoid it and use a dedicated, rigid conduit instead.
Is There a Recommended Torque for Securing Bag Harness Bolts?
I recommend tightening the harness bolts to about 4–5 Nm and applying a medium‑strength threadlocker; this prevents loosening while keeping you from over‑torquing and risking bar damage.