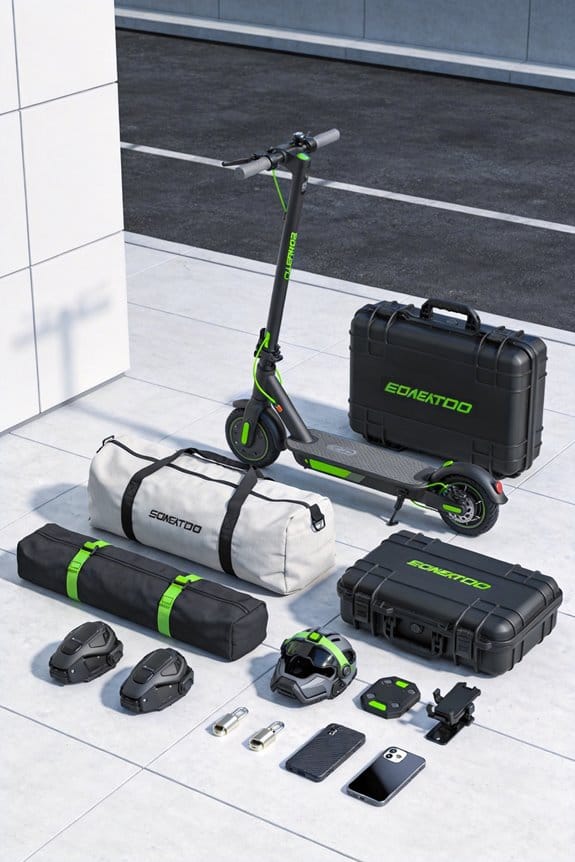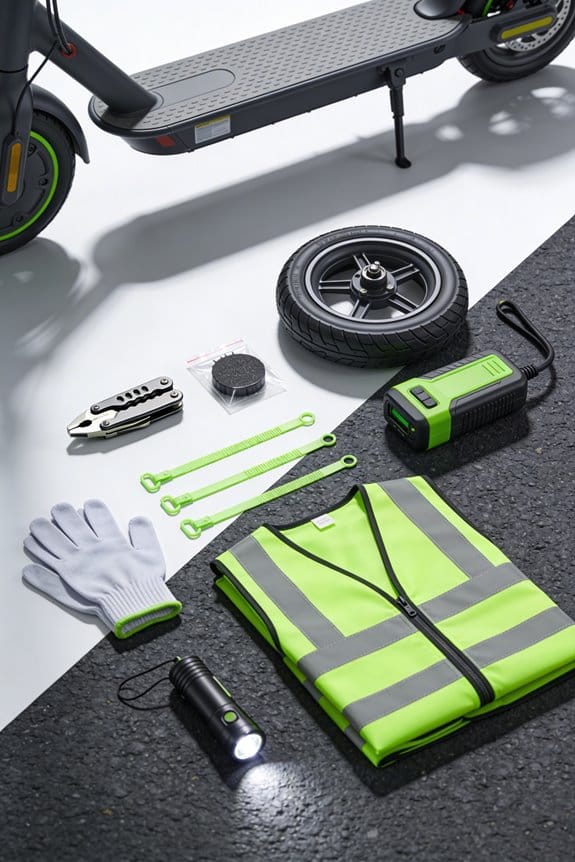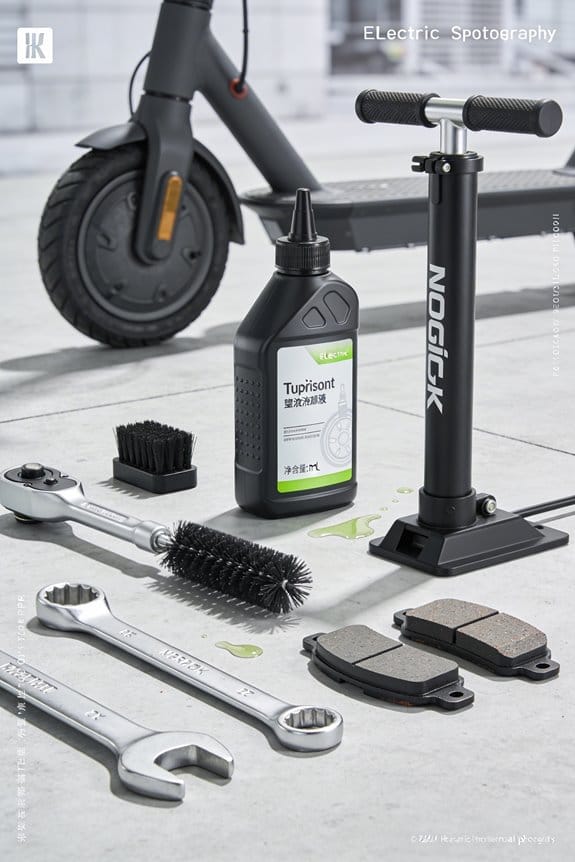

I check the brakes each ride, tighten the cable with a 5 mm Allen key to 2 Nm, and replace pads when they’re under 2 mm thick. I inflate tires to 30‑35 psi weekly, inspect bead seating, and keep a spare pump and gauge handy. I lubricate the chain and gears with PTFE oil after every ride, wipe excess after five minutes, and use a 2‑mm grease gun for bearings. I apply a thin rust‑stop coat to the frame and bolts every spring and autumn, and store the battery at 15‑20 °C, charging to 80 % for trips. Follow these steps and you’ll see longer life and smoother rides.
Key Takeaways
- Inspect and clean all accessories (lights, mirrors, phone mounts) weekly, tightening any loose screws or bolts.
- Apply a thin coat of rust‑preventive spray to metal parts every 3‑4 months, especially after riding in wet or salty conditions.
- Keep wiring and cable ties organized and free of abrasion; replace frayed wires promptly with 22‑AWG silicone‑covered cable.
- Maintain proper tire pressure (30‑35 psi) and check bead seating weekly to avoid excess wear on rims and accessories.
- Store the scooter in a cool, dry place and use a fire‑proof case for the battery; avoid deep discharge and charge to 80 % for long trips.
Run a Quick‑Start Scooter Maintenance Checklist
Ever notice how a quick ride can turn into a shaky wobble when you skip a little upkeep? You’ve got a scooter you love, and a few minutes a week can keep it humming.
Safety First
Start with a fast safety check. Make sure the brakes feel firm and the lights work. Give the deck a visual once for cracks or loose parts. If anything looks off, pause before you ride.
Visual Inspection
- Wipe the frame with a damp cloth and mild detergent, but skip the pressure washer—water can sneak into the bearings.
- Look at the tires: check for punctures, wear, and make sure they’re inflated to 30‑35 psi with a gauge.
- Scan the wiring for frayed spots or loose plugs; a quick tug can reveal hidden issues.
Tightening & Testing
Grab a screwdriver and tighten any loose bolts, especially around the handlebars and stem. Test the brakes by squeezing them gently—listen for any squeak and feel for a smooth stop. If the pads look thin, note it for replacement.
Drying & Rust Prevention
After a rainy ride, dry the scooter thoroughly with a soft cloth. Pay extra attention to the motor housing and any metal parts; moisture is the main rust driver.
Quick Routine Summary
Try this: run through the checklist every Sunday. A short, consistent habit beats a big overhaul later.
Frankly, keeping these steps in your weekly routine means fewer surprises and more fun rides. Got a favorite tip for scooter care? Share it and keep the wheels turning!
Adjust Brakes, Replace Pads, and Ensure Safe Stopping
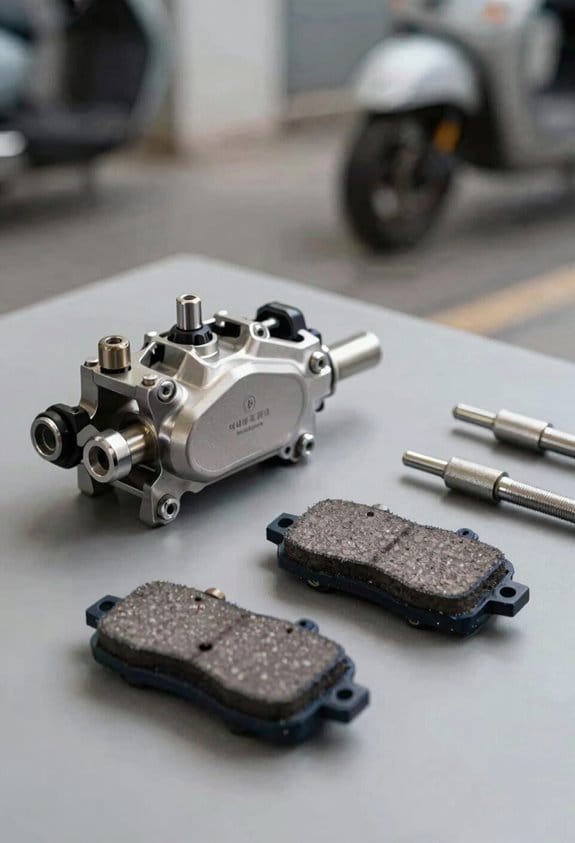
Ever felt that your scooter’s brakes just aren’t as snappy as they used to be? You’ve probably checked the quick‑start checklist already, but the next step is where the real work happens: adjusting the brakes, swapping out worn pads, and making sure you can stop safely.
First, tighten the brake cable until the lever feels firm. I usually use a 5 mm Allen key and a torque wrench set to 2 Nm for this. After that, give the lever a quick test for travel. If the feel feels loose, tighten a bit more—just enough so the lever doesn’t bottom out.
Next, look at the pad thickness. If it’s under 2 mm, it’s time for a replacement. Grab the OEM 120 mm ceramic set, install the new pads, and line them up with the rotor. A quick spin of the wheel will tell you if there’s any rub. If everything looks clean, re‑check the lever feel and give the scooter a short stop from about 5 km/h. A smooth stop means you’ve done it right.
Worth knowing:
- Use a torque wrench set to 2 Nm when tightening the cable.
- Replace pads when they drop below 2 mm thickness.
- Align new pads with the rotor before testing.
Frankly, the whole process only takes a few minutes, and you’ll feel a lot more confident riding afterward. Give it a try and see how much better your scooter handles. Ready to get back on the road with brakes that actually work?
Recommended Products

⚡10000W Dual Brushless Motors – 65mph High-Speed & Instant Acceleration Powerful electric scooter with dual 5000W brushless motors (10000W total) delivers lightning-fast acceleration and 65mph top speed, effortlessly conquering 50°+ steep hills, rough off-road trails and urban commutes; dual-drive e-scooter design ensures low-noise consistent power, ideal for adult off-road enthusiasts seeking high-speed electric scooter performance and thrilling rides

SPORTY & VERSATILE KNEE SCOOTER is ideal to provide non-weight bearing mobility for ankle, foot or Achilles injuries. Great alternative to crutches. For users 4’11” - 6’2”

Complete All-in-One DIY Rear End System Stop hunting for individual parts. This comprehensive assembly includes everything needed for a full rear-end build or overhaul: a high-strength 44-inch live axle, two 16x8-7 off-road wheel sets, a hydraulic brake master cylinder, sprocket, #530 chain, and pillow block bearings.
Charge and Store Battery for Scooter Maintenance Longevity

Ever found your scooter losing power right when you need it most?
Keeping the battery happy isn’t rocket science, but a few simple habits can make a big difference.
Charge smart, ride longer****
I charge up to about 80 % before a long trip, then push it to 100 % for everyday rides. Letting the pack dip below 20 % is a no‑go; deep discharge eats away at the cycle count. When the charger’s light stops flashing, I pull the plug—no overnight “just in case” charging.
Store it right
A cool, dry spot is key—aim for 15‑20 °C if you can. If you’re traveling, a fire‑proof case gives extra peace of mind. I also keep the scooter on a rack instead of the floor to shield the battery from moisture and temperature swings.
Stay on top of health
I check the voltage weekly with a multimeter. When capacity drops below 70 % after 300–400 cycles, I know it’s time for a new pack.
Worth knowing:
- Charge only when the indicator says it’s ready.
- Avoid leaving the charger plugged in after the battery’s full.
Frankly, these steps keep the power steady and stretch the scooter’s overall life.
Got a tip that’s helped your ride go farther? Let’s hear it.
Recommended Products

Voltage: 24, Amperage: 20mAh, Chemistry: Standard

Voltage: 24, Amperage: 20mAh, Chemistry: Standard

🔋【72 V 80 AH B-attery Parameter】72 V 80 AH Li-ion B-a ttery,Please refer to the image details,▶Connection Type:20S1P, B-attery size:14.4*8.7*5.8 inches.
Inflate Tires to Recommended Pressure and Inspect Weekly
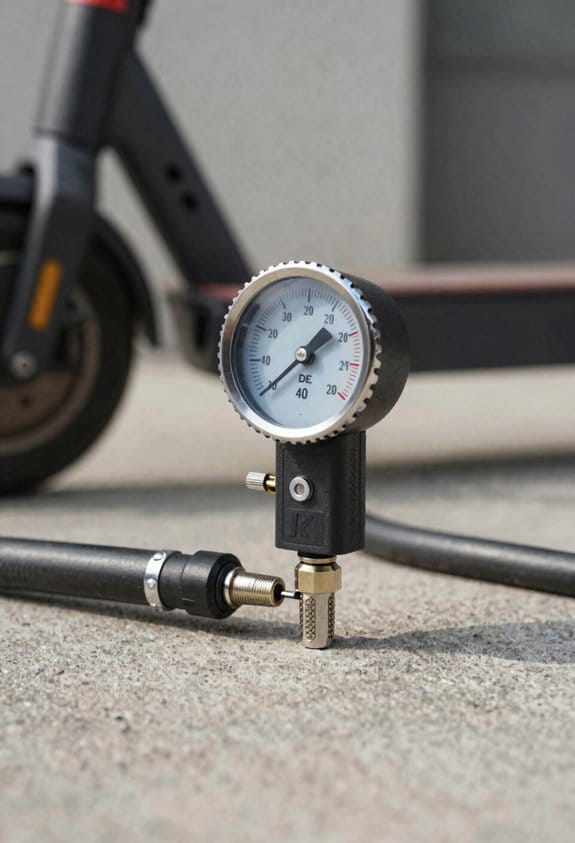
Ever notice how a wobbling scooter can ruin a good ride? You’ve probably felt that sudden shimmy when the tire isn’t sitting right, and it’s easy to ignore until something goes wrong.
The best habit is to check your tire pressure at least once a week, especially before a long trip. A digital gauge makes it simple to hit the manufacturer’s range—usually 30–35 psi. While you’re at it, glance at the bead to be sure it’s evenly seated on the rim; an uneven bead can cause that annoying wobble.
Fair warning: a dirty rim can hide corrosion that eats away at the metal. Grab a cloth, wipe off any rust, and give the rim a light coat of oil. This quick clean‑up prevents rust from spreading and keeps the tire snug.
Worth knowing: keep a spare pump, a pressure gauge, and a small brush for rim cleaning in your bag. You’ll thank yourself when a flat pops up mid‑ride.
Try this: make it a Sunday ritual. After each ride—and especially after any flat repair—run through the checklist. It only takes a few minutes, but it pays off in smoother handling, less wear, and a longer‑lasting scooter.
Your scooter will thank you, and you’ll enjoy every mile more. Ready to give your rides a smoother feel?
Recommended Products

International products have separate terms, are sold from abroad and may differ from local products, including fit, age ratings, and language of product, labeling or instructions.
International products have separate terms, are sold from abroad and may differ from local products, including fit, age ratings, and language of product, labeling or instructions.
![2026 Tire Inflator Portable Air Compressor [40L/min 200% Faster] Inflation](https://m.media-amazon.com/images/I/41HcqPmg3mL._SL500_.jpg)
【200% Faster Inflation, Save Your Time】Built with a 28mm cylinder, high efficiency permanent magnet motor and two-stage compression structure, our tire inflator delivers a steady 40 L/min airflow output. It fills a common 195/65 R15 tire from 28 PSI to 36 PSI in only 50s, 200% as fast as other air pumps. Ideal for regular tire top-ups and unexpected roadside flat tire emergencies, letting you get back on the road quickly
Tighten Fasteners and Check Wiring for Vibration‑Related Issues
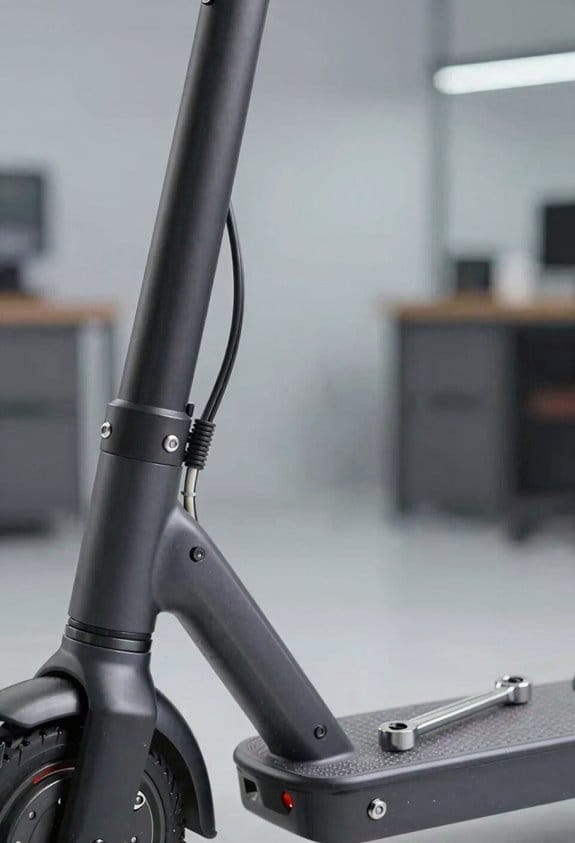
Ever notice how a smooth ride can turn shaky the a minute? That’s usually a sign something’s loose or frayed under the deck. I’m all about catching those issues before they wreck your day, so here’s a quick rundown of what I do each week.
First, I give the whole scooter a visual once. Look for any bolts that look out of place, especially around the deck, stem, and motor housing. A torque wrench set to the manufacturer’s chart—usually 2‑4 Nm for the handle bolts—does the trick. I tighten each screw firmly, then hop on for a short ride and re‑check. A quick spin helps spot any that still feel loose.
Next up, I scan all the wiring you can see. Cracked jackets, exposed copper, and loose connectors are red flags. If you spot any of those, replace the wire with a 22‑AWG silicone‑covered cable rated for 12 V. Zip ties keep the new wires tidy and far from moving parts, which cuts down on wear from vibration.
Frankly, the biggest mistake people make is ignoring the small stuff. Those tiny bolts and thin wires can cause big problems if left unchecked. Worth knowing: a regular check saves you from costly repairs later.
- Torque check: Use the chart, aim for 2‑4 Nm.
- Wire inspection: Look for cracks, exposed copper, loose plugs.
- Secure everything: Zip ties keep wires away from moving parts.
Try this: after tightening, give the scooter a short ride and listen for any rattles. If something still sounds off, tighten a bit more and test again. It’s a simple habit that catches loose parts before they become a safety issue.
Recommended Products

ESCO Break-Back Style Truck Torque Wrench, Square Drive, 2-3/4" Ratchet Diameter, 57" Length
Product Note: Max speed and range per charge vary based on several factors, including: rider weight, riding surface, incline, ambient temperature, battery level, riding style (stop/start vs cruising), etc.

High-Power Performance — Choose BAFANG BBS mid-drive motors in 250W 500W 750W or 1000W to match your riding demands. Delivers 80N.m (250W), 100N.m (500W), 120N.m (750W) to 160N.m (1000W) torque and speeds up to 20mph (250W), 28mph (500W), 34mph (750W) / 37mph (1000W). Built for riders who want reliable, powerful acceleration on any terrain — from steep hills to open roads
Lubricate Chain, Gears, and Drivetrain for Scooter Maintenance
Ever notice how a squeaky scooter can ruin a good ride? You’ve probably tried a quick spray and thought that was enough, but the chain, gears, and drivetrain need a bit more love to stay smooth.
What to do after each ride
Grab a thin coat of scooter‑safe lubricant and apply it to the chain, gears, and drivetrain. Let it sit about five minutes, then wipe away any excess with a lint‑free cloth. This simple step helps keep the noise down and the wear low.
Checking the bearings
Give the roller bearing a spin – it should glide without any rough spots. If it feels gritty, clean the area with sanding prep to get rid of rust before you lubricate again. A quick check every 30 rides, or after a wet day, saves you from bigger problems later.
Tools that make it easy
I keep a 2‑mm grease gun in my kit; it spreads the oil evenly and avoids mess. A small bottle of PTFE‑based oil is handy for quick top‑ups when you’re on the go.
Routine schedule
- Lubricate after every ride or at least once a month.
- Inspect the bearings and clean any rust before you apply oil.
- Wipe off excess after five minutes.
Worth knowing:
A regular lubricate‑check routine cuts wear by up to 30 % and keeps the scooter quiet. You’ll notice the difference the first time you ride after a proper maintenance session.
Frankly, you don’t need a garage full of tools – just a few basics and a little time each month. Give it a try and see how much smoother your rides become. Ready to keep your scooter humming?
Recommended Products

DESIGNED FOR - the latest Big-Twin motorcycle engines that specify 20W50 motor oil, including Milwaukee-Eight, Evolution, Twin Cam and aftermarket engines of similar design
![CRC Food Grade Chain Lube 03055 – [Pack of 12] 12 Wt. Oz. Aerosol, NSF H1 Gear, Chain, and Wire Lubricant](https://m.media-amazon.com/images/I/41UFzql7VDL._SL500_.jpg)
CRC INDUSTRIES: A market leader that offers impeccably designed chemical solutions to maintain, protect and repair different marine, heavy-duty motor vehicles, industrial-grade engines, household tools, and electrical equipment

Eliminates chain stick/slip motion
Apply Seasonal Rust Protection to Your Scooter’s Metal Parts
Ever notice how a fresh coat of rust guard can make your scooter feel brand new again?
After you’ve cleaned and lubed the chain and gears, it’s time to turn to the metal frame, bolts, and brake levers.
- Wipe each part with a lint‑free cloth.
- Spray a thin layer of seasonal coating that resists moisture and salt.
- Let it dry—most products set in about 15 minutes and protect for up to 90 days.
For the bolts that sit out in the open, I attach tiny sacrificial anodes. They corrode first, keeping the steel safe.
I use a brush for tight spots and work in a well‑ventilated area. Once the coating is on, I let it cure for two hours before hopping on.
Try this: repeat the whole routine each spring and autumn, and give the scooter a quick once‑over for wear before every ride.
Frankly, this simple habit keeps rust at bay and adds years to your scooter’s life.
Do you think a little extra care could save you from costly repairs later?
Give it a go and see how much longer your ride lasts.
Call a Pro for Electrical or Motor Issues in Scooter Maintenance
Ever notice your scooter’s lights flicker, the power drops out, or the motor makes odd noises? Those signs usually mean something’s wrong under the hood, and it’s time to call a pro.
I’ve learned that waiting can cost you more in the long run, so I schedule a service visit ASAP. A qualified tech will run proper diagnostics, check the controller, battery, and wiring for faults. They’ll also test motor torque, voltage drop, and temperature thresholds with a digital multimeter and a load tester.
Worth knowing:
- Look for shops that list certified mechanics and clear pricing.
- Choose a service that offers a 2‑year parts guarantee and a 30‑day labor warranty.
Fair warning: many manufacturers void your warranty if you don’t use a certified repair shop. Keep your paperwork handy and ask the technician to confirm that the work won’t affect coverage.
If you’re hunting for a reliable shop, I favor those with a fast turnaround time and transparent communication. They usually give you a quick rundown of what’s wrong and how they’ll fix it, which helps you avoid surprise costs.
Try this: before you book, call and ask about their diagnostic process and warranty policy. A good shop will explain everything in plain language, not tech jargon.
Your scooter is a big investment—protect it by getting professional help when you notice any odd behavior. Got any other scooter tips you swear by?
Frequently Asked Questions
How Often Should I Clean the Scooter’s Motor Housing?
I’d say you should give the motor housing a gentle wipe during your monthly inspections, like dusting a delicate painting, to keep it clean without risking any electrical components.
Can I Use a Regular Bike Chain Lube on a Scooter Drivetrain?
I’d say no—bike‑specific lubricants often aren’t compatible with scooter drivetrains. Stick to a scooter‑approved lubricant; it matches the material and temperature range, preventing grime buildup and ensuring smooth performance.
What Temperature Range Is Safe for Storing the Battery Long‑Term?
I’d say storing your battery at ideal temps—roughly 50‑80 °F (10‑27 °C)—and low storage humidity keeps it happy, like a snow‑man thriving in a tropical sauna. This range prevents degradation and guarantees long‑term performance.
Should I Replace the Tire Valve Stem When Inflating?
I’d replace the stems if they’re worn, check seals for leaks, watch for valve corrosion, and consider cap upgrades for better protection—these steps keep inflation reliable and prevent future issues.
Is It Necessary to Re‑Apply Rust Protection After Every Rainstorm?
Do you want rust to ruin your rides? I say yes, re‑apply protective coatings after each rainstorm; seasonal inspections catch any missed spots, keeping your scooter rust‑free and reliable.