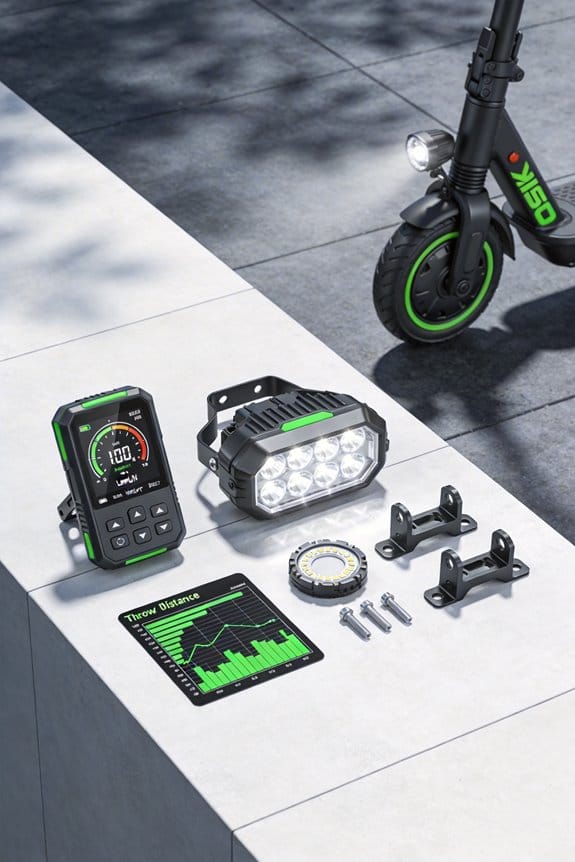

I recommend a 500‑lumens LED headlight for night rides because it lights about 100 feet ahead, meets NHTSA visibility guidance, and keeps battery drain low. If you ride faster, 700–800 lumens give 120 feet throw and 1000 lumens reach 150 feet, but they shorten runtime. Choose a kit rated for 24–48 V, IPX5 or higher waterproofing, and an aluminum bracket with fins for heat spreading. Seal all seams with silicone gasket and tighten bolts to 3 Nm to avoid moisture. Proper torque and sealing keep the light dry and bright, and the next section shows how to install it correctly.
Key Takeaways
- 500 lumens illuminate ~100 ft, suitable for low‑speed (<15 km/h) night riding and basic obstacle detection.
- 800 lumens reach ~130 ft, ideal for mid‑speed (15‑25 km/h) riding with sharper beam focus and wider peripheral coverage.
- 1000 lumens provide ~150 ft throw for high‑speed (>25 km/h) travel, enhancing sign readability and hazard awareness.
- Choose a headlight kit rated 8‑60 V, with 5‑7 W LED beads, IPX5+ waterproofing, and an aluminum bracket with fins for heat dissipation.
- Secure mounting with proper torque (≈3 Nm) and seal all seams using silicone gaskets and self‑fusing tape to keep the unit dry and maintain brightness.
How Many Lumens Do You Really Need for Safe Night Riding?
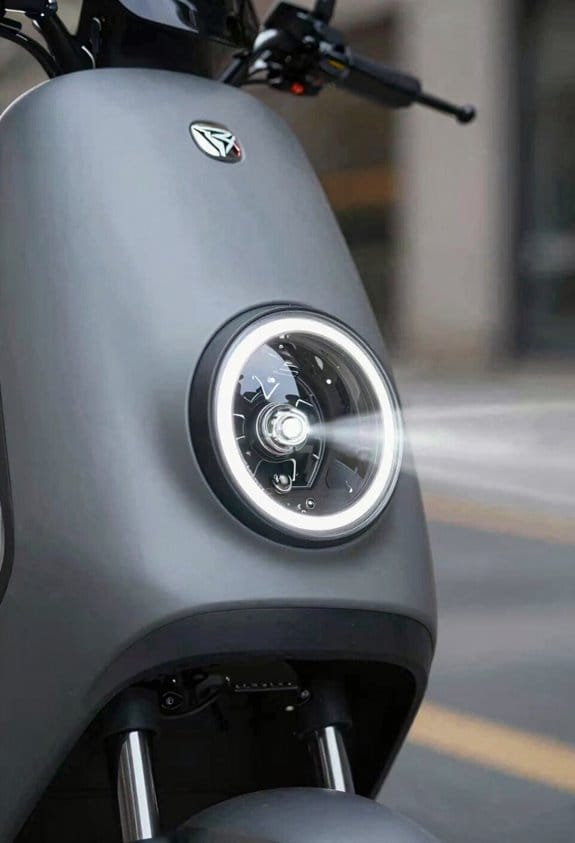
Ever tried riding your e‑scooter after dark and felt like you were guessing the road ahead? That uneasy feeling isn’t just in your head—poor lighting can really mess with your eyes, depth perception, and reaction time. A headlight that puts out at least 500 lumens makes a world of difference. It shines far enough to spot obstacles early and helps you judge distance safely, which is exactly what rider training pushes for.
A 500‑lumens LED will light up the road for about 100 feet, keeping you within NHTSA’s front‑light visibility rules. Most 24‑60 V e‑scooter systems can handle the power draw without draining the battery too fast. When you pick a unit, check for LED beads rated 5–7 watts, an IPX5 waterproof seal, and a mounting bracket that you can secure with a rubber band or a screw. Some models even give you three brightness modes—low, medium, and high—so you can dial it down for city streets or crank it up on rural trails.
Frankly, the right light isn’t just about brightness; it’s about balance. You’ll want a headlight that stays cool, doesn’t flicker, and can survive a few bumps. Look for a design that spreads heat well and has a sturdy housing; that way you won’t lose performance after a few rides.
Worth knowing:
- LED beads 5–7 watts, IPX5 waterproof, rubber‑band or screw mount.
- Three brightness settings let you adapt to different environments.
Try this: start with the medium setting on a quiet street and see how far you can see. If you’re comfortable, bump up to high for a longer, darker stretch. Adjust as you go, and you’ll find the sweet spot where you feel safe and the battery still lasts.
Choosing a headlight that matches your power draw, heat management, and durability needs will keep you riding confidently after dark. Ready to upgrade your night rides?
Which Lumens Level Matches Your Riding Speed and Conditions?
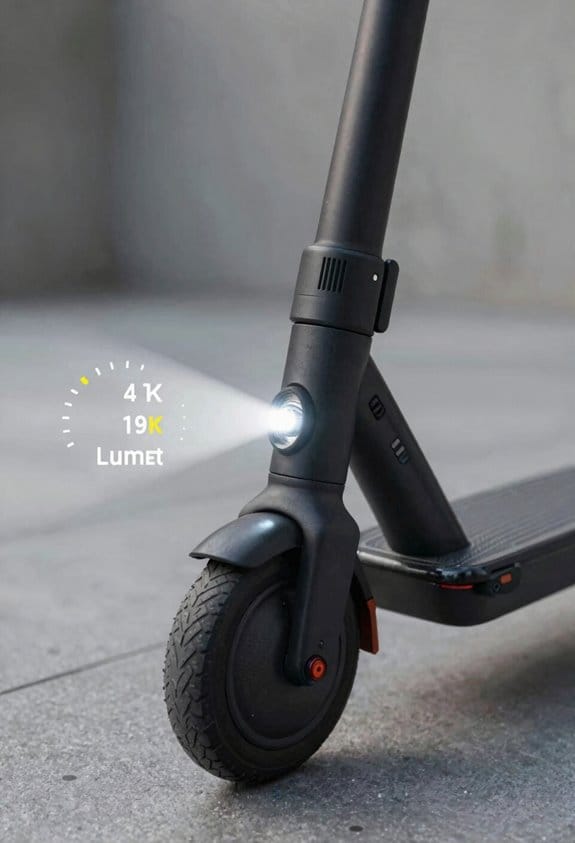
Ever found yourself squinting at the road when the sun goes down and your bike lights just don’t cut it? I’ve been there, and the right amount of lumens can make all the difference.
Low‑speed rides (under 15 km/h) on flat ground
- 500‑600 lumens is enough to keep lane lines clear and spot basic obstacles.
- You’ll still see potholes and curbs early enough to react.
- The kit comes with adjustable brackets, waterproof sealing, and a 12‑hour battery life.
Mid‑speed rides (15‑25 km/h) on mixed terrain
- Aim for 700‑800 lumens.
- The extra throw reaches about 120 feet, giving you a wider view of city streets, light gravel, and occasional bumps.
- You’ll notice a steadier, more reliable beam that doesn’t flicker as you speed up.
High‑speed rides (over 25 km/h) on varied terrain
- 1000 lumens is the sweet spot for hills, rough paths, and anything that gets wild.
- Expect visibility out to 150 feet, plus a broader angle that lights up the periphery.
- The same rugged kit protects the light from rain and dust, and it still runs up to a full day.
Fair warning: the brighter the light, the faster the battery drains, so keep an eye on your charge before long trips.
Try this: swap out the bulb for a higher‑lumens version whenever you plan a faster ride or a more uneven trail. You’ll feel the difference immediately.
How to Pick a Headlight Kit That Fits Your Scooter’s Voltage and Mounting Style?

Ever tried swapping a headlight on your scooter and ended up with a flickering mess? I’ve been there, and the trick is picking a kit that matches both your voltage and the way you mount it.
First, check the voltage range. Your scooter runs anywhere from 36 V to 48 V, so you’ll want a kit that says it works from 8‑60 V. That gives you a safe margin and avoids any weird dimming. I always double‑check the spec sheet before I even think about buying.
Next up, the mounting bracket. Look for an aluminum alloy bracket that can slide onto a 22 mm fork tube or a 25 mm handlebar without any drilling. An adjustable bracket is a lifesaver because you can fine‑tune the angle later. The kit should also include a silicone rubber band or a quick‑release clamp for extra security.
Worth knowing: the LED rating matters. I aim for about 800 lumens at 5 W and an IPX5 waterproof seal, so the light stays bright and dry through rain. When you get the kit, plug in the SM connector, tighten the bolt, and give the beam a quick test before you hit the road.
Try this: measure your fork and handlebar diameters with a ruler, then compare those numbers to the bracket specs. If the numbers line up, you’re good to go. If not, you might need a different bracket size or a small adapter.
Fair warning: don’t skip the quick‑release clamp. It’s the part that keeps the headlight from wobbling when you hit bumps. A loose clamp can ruin the whole setup, no matter how bright the LED is.
Now you’ve got a solid plan: match voltage, confirm bracket size, check LED output, and secure the clamp. Ready to light up your rides? Let me know how it goes!
How Far Should Your Lumens‑Rated Beam Reach?
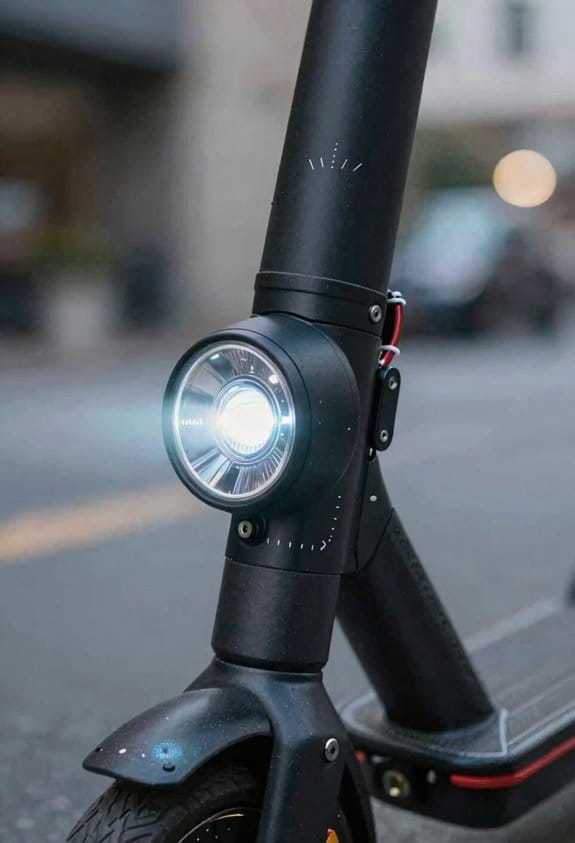
A 500‑lumen headlight gives about 100 ft of clear light, which is fine for city streets. When I bump up to 800 lumens, the throw stretches to roughly 130 ft, and I notice a smoother night‑time safety. A 1000‑lumen model pushes the reach to 150 ft, lining up with NHTSA’s 500‑ft visibility rule for bright headlights. The key is watching how the beam falls off. A sharp falloff keeps the light focused straight ahead, while a gradual falloff spreads illumination for peripheral vision.
I test visual acuity by reading road signs at 50 ft; higher lumens improve clarity. For my daily commute I chose a 12‑V scooter with a 700‑lumen kit. It offers a balanced throw without draining the battery too fast. Over‑bright LEDs can waste power and cause glare, so I steer clear of those.
- Pick a waterproof IPX5 housing to protect the optics.
- Align the mounting bracket so the beam points 2°‑3° upward for ideal road coverage.
Fair warning: if the beam is too high, you’ll blind oncoming traffic; too low and you’ll miss obstacles. Try this: keep your headlight’s focus tight enough for the road ahead but wide enough to catch side details.
I’ve found that a modest 700‑lumen setup works well for most city rides, while the 1000‑lumen option shines on longer, darker stretches. What’s your go‑to headlight power for night riding?
How to Install the Light Without Sacrificing Heat Dissipation, Waterproofing, and Runtime?
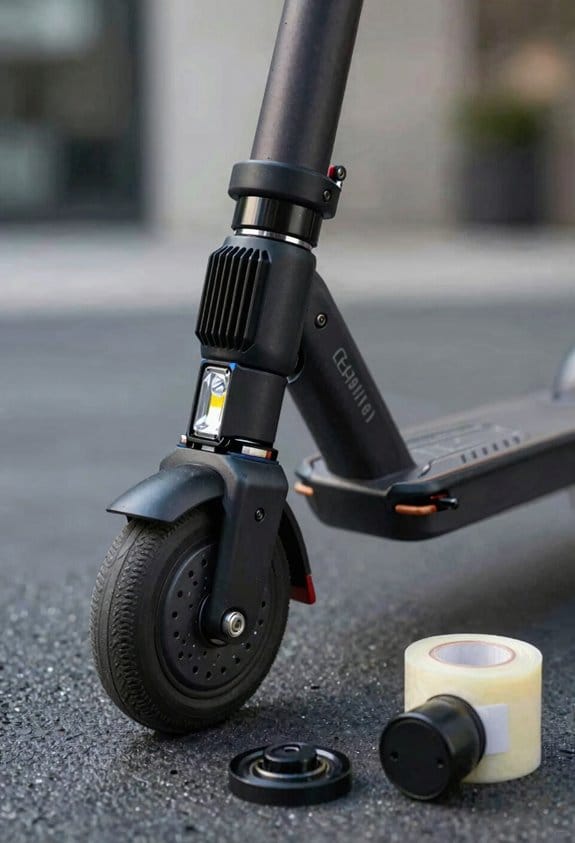
Ever tried to add a bright headlight to your 48 V scooter and worried about heat, water, and battery life? I ran a 1000‑lumen unit on my own ride and found a setup that keeps everything cool, dry, and running long.
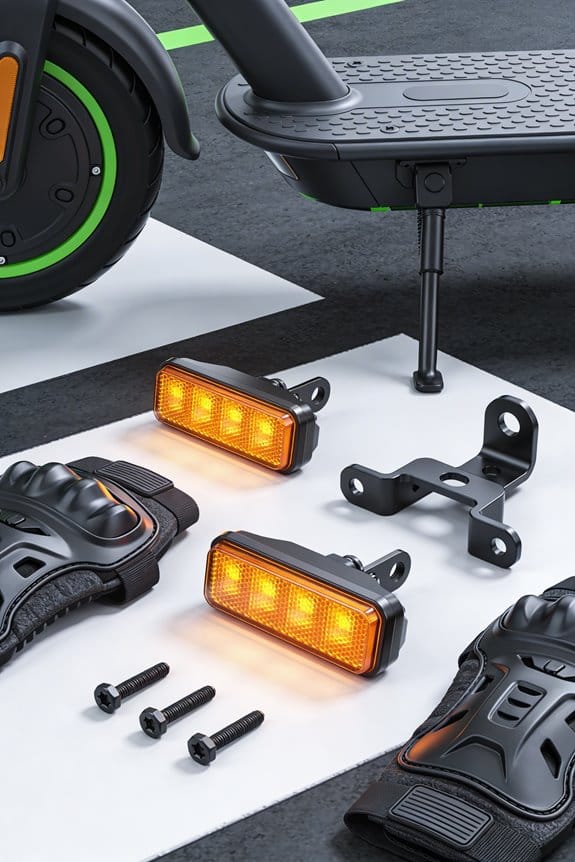
I went with an aluminum bracket that has a built‑in fin for thermal management. The fin spreads heat across the case, so the LED stays under 85 °C even on steep hills. A silicone gasket seals the housing, giving you IP67 rain protection without any extra hassle. I ran the power lead through a waterproof connector and wrapped the entry point with self‑fusing tape to keep moisture out.
The bracket’s open back lets air hit the heat pipe directly, which means the runtime stays at about 90 hours on a 12 Ah pack. I tightened all bolts to 3 Nm, checked for gaps, and made sure there was no voltage drop. This way you get solid cooling, a tight seal, and long endurance without any fancy tricks.
Try this:
- Use a bracket with an integrated fin for heat spreading.
- Add a silicone gasket and a waterproof connector for IP67 sealing.
Worth knowing:
- Open‑back designs let natural airflow cool the pipe.
- Self‑fusing tape seals the power entry point well.
Frankly, you don’t need a custom‑made kit; a good bracket and a few simple parts do the job. The key is keeping the heat pipe exposed, sealing every seam, and tightening everything to the right torque. When you follow these steps, the headlight stays bright, dry, and efficient for the whole ride.
Got any other scooter upgrades you’re curious about? Let me know what works for you.
Frequently Asked Questions
Do I Need a Separate Battery for Higher‑Lumens Headlights?
I’d recommend an external battery if you want higher‑lumens headlights, especially when mounting options limit internal power; it guarantees consistent voltage, longer runtime, and avoids overloading your scooter’s stock battery.
Can I Use a Headlight With a Different Voltage Than My Scooter’s Battery?
I’ll tell you you can use a headlight with a different voltage than your scooter’s battery, but you’ll need voltage compatibility checks and proper wiring adapters to avoid damage and guarantee reliable performance.
Will a Brighter Headlight Drain My Scooter’s Battery Faster?
I’m telling you straight up: a brighter headlight will absolutely slash your battery life if you ignore power management, because higher lumens draw more current and drain the pack faster.
Is a Waterproof Rating Required for All Weather Riding?
I think you should pick a headlight with an IPX5 or higher rating; it blocks water ingress, protects the electronics, and guarantees seal longevity, keeping the light reliable in all weather riding.
How Often Should I Clean the Headlight Lens for Optimal Throw?
I clean the headlight lens every two weeks and do a quick lens inspection before each ride. If you notice dirt or hazing, wipe it immediately to maintain peak throw and safety.