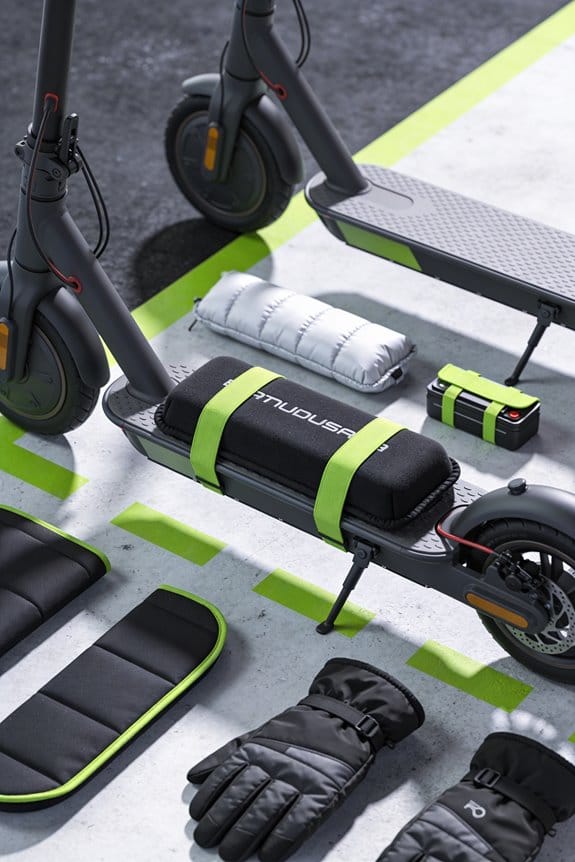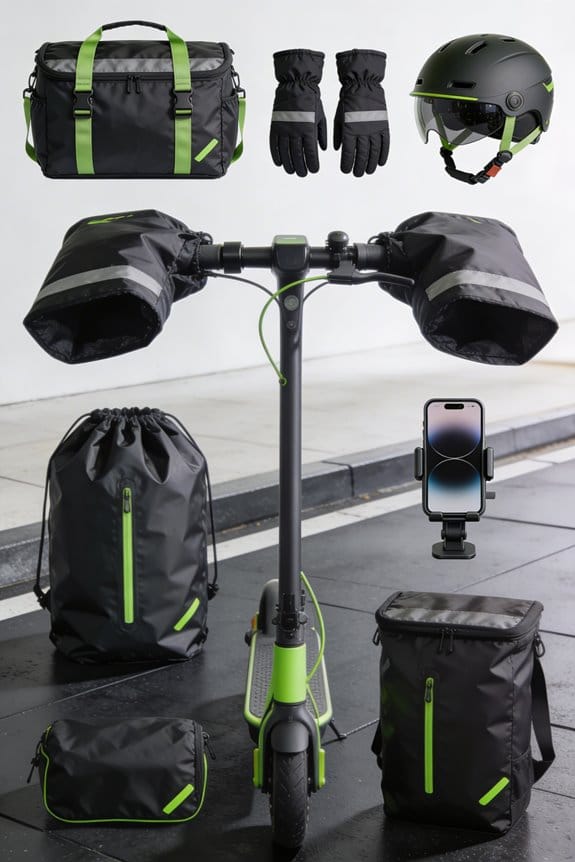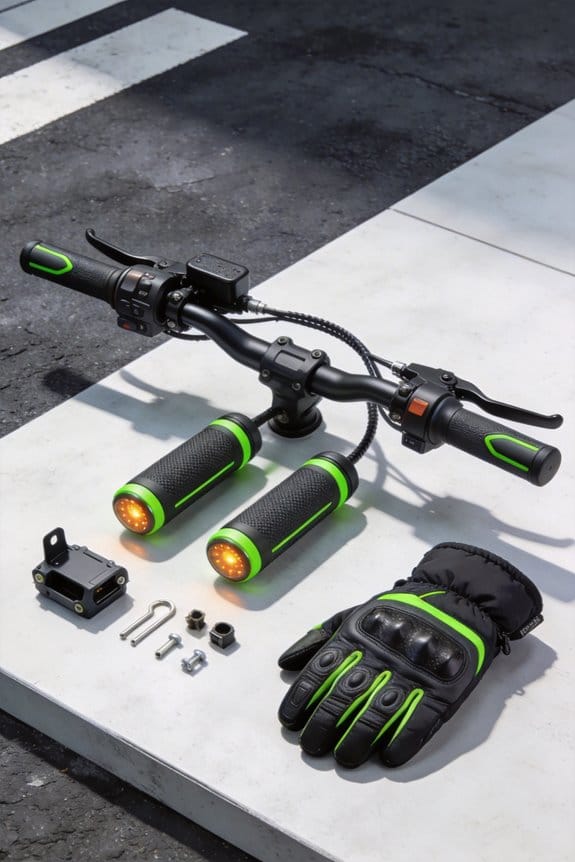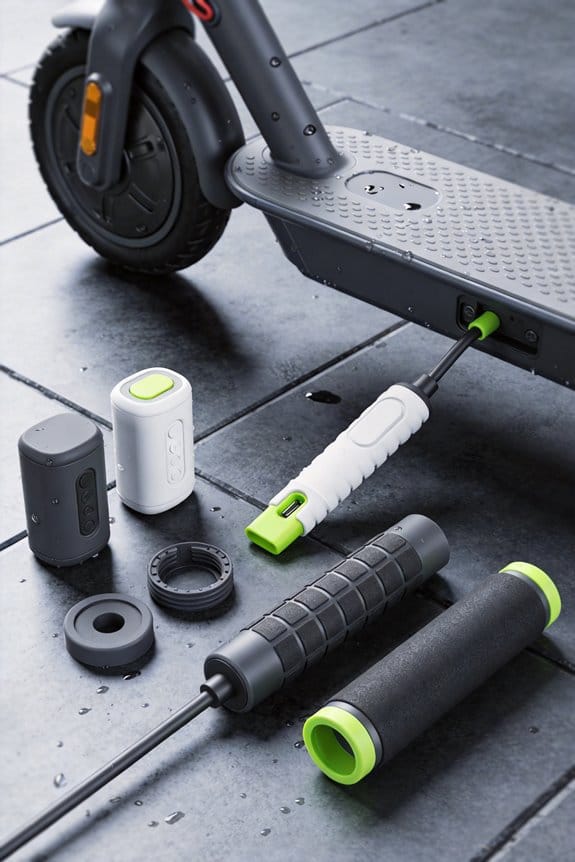

I protect the battery compartment, charging port, and cockpit controls with an IPX5‑rated silicone sealant that dries to about 0.1 mm film, cures in 15 minutes, and stays flexible from 30 °C to 80 °C. I spray a thin coat, heat‑gun each spot for 30 seconds, and use silicone O‑rings on ports and cable entries to keep moving parts free. I also apply a conformal coating on PCBs for dust and shock resistance. The AquaGard Pro kit adds an IP66 nano‑barrier that lasts up to eight years, and regular checks of the coating and ports will keep the scooter dry. Continue for deeper details.
Key Takeaways
- Seal the battery compartment and charging port with IPX5‑rated silicone sealant and O‑rings to block moisture ingress.
- Apply a thin, even coat of silicone‑based conformal coating to PCBs and motor housing, then cure with a heat gun for a durable nano‑barrier.
- Use the AquaGard Pro Kit spray for quick, flexible protection, reapplying before rainy seasons and after major repairs.
- Mask battery terminals, sensor apertures, and control switches before spraying to prevent coating on contacts.
- Perform monthly checks: wipe the charging port dry, inspect silicone seals for wear, and verify O‑rings remain snug.
Identify Water‑Sensitive Parts on Your E‑Scooter and Pick the Ideal Silicone Sealant
Ever gotten caught riding your e‑scooter through a sudden rainstorm and worried about water getting into the electronics? The parts that hate water most are the battery compartment, the charging port, and the cockpit controls. I also keep an eye on the battery terminals, brake sensors, and motor wiring for any tiny gaps.
Frankly, the best sealant I’ve used is a silicone one rated at least IPX5. It’s about 0.1 mm thick when it dries and works fine from 30 °C up to 80 °C. The cure time is quick—about 15 minutes—so you can get back on the road fast. It also stands up to salt spray and stays flexible even after six months of UV exposure.
Here’s the trick: first, clean the edges of the battery compartment so the surface is dry and free of dust. Then, spread a thin, even coat of the sealant along the edge, making sure it doesn’t pool around the contacts. When you spray the brake sensor housing, hold the can a few inches away and avoid covering the sensor aperture.
– the If port latch and the throttle lever a moving freely after the sealant dries. If anything feels sticky or stuck, wipe off the excess with a damp cloth before it fully cures.
Worth knowing: a good silicone sealant will protect against water without adding bulk, and it won’t crack when the scooter heats up during a long ride.
Give it a try and see how much more confident you feel when the weather turns gray. Ready to keep your rides dry and safe?
Recommended Products
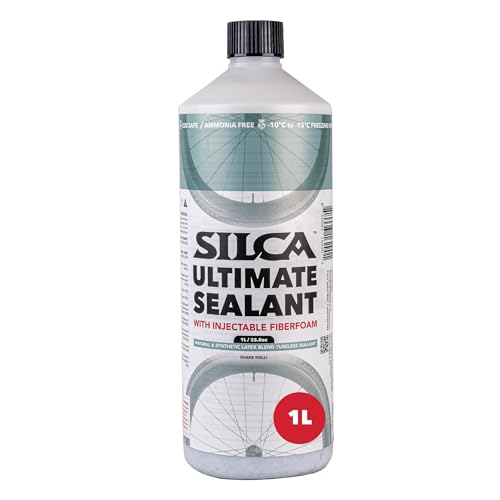
FAST & EFFECTIVE: Quickly fills punctures up to 7.5 mm - 25% more coverage than conventional bicycle tire sealants. Works with all tubeless tires & valve cores. Proactively seals punctures by filling holes as they occur.

Seals, bonds, repairs, mends and secures glass, metal, plastics, fabric, vinyl, weather stripping and vinyl tops
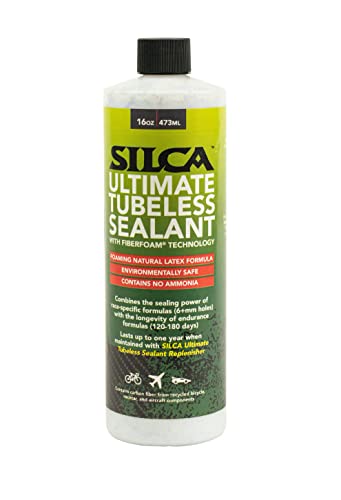
Material: SILCA Ultimate Tubeless Sealant uses the power of a foaming latex formula combined with chopped carbon fibers to boost sealing power even at higher pressures.
Apply Silicone Sealants Safely Without Damaging Electrical Contacts
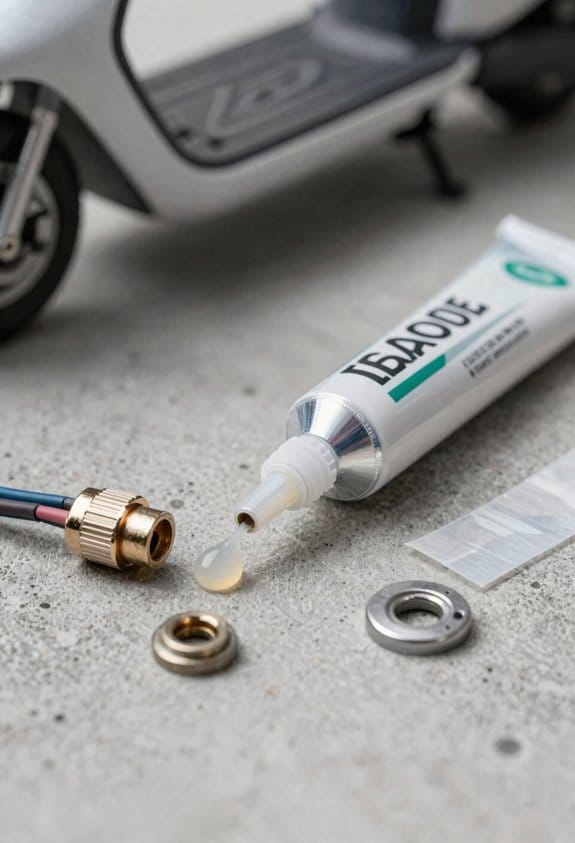
Ever had a charger that just won’t stay snug because moisture sneaks into the contacts? It’s annoying, especially when you’re trying to keep your gear safe from the elements. Here’s a low‑key way to seal those spots without messing up the pins.
First, give the area a good wipe‑down. Make sure it’s dry and free of dust or oil—any leftover can pull the sealant onto the metal. I grab a piece of painter’s tape and carefully cover the battery terminals and any control switches. The tape keeps the silicone from getting where it shouldn’t.
Now, spray a thin, even coat from the AquaGuard Pro kit. Hold the can about 10 cm away and let the mist settle for roughly 30 seconds. After that, take a lint‑free cloth and gently dab away any excess so it doesn’t pool. This step keeps the connectors clean while the sealant does its job.
Try this:
- Mask the terminals with painter’s tape.
- Spray from 10 cm distance, wait 30 seconds.
- Wipe excess with a lint‑free cloth.
Let the sealant dry for about two hours. Once it’s set, peel off the tape and give the charger port a quick test to make sure everything fits right. The result is a solid barrier that holds up in temperatures from 0‑40 °C and can stand up to salt spray for up to six months.
Fair warning: don’t rush the drying time, or you might end up with a sticky mess on the contacts. If you follow these steps, you’ll keep your connections dry and functional without any hassle. Ready to give your gear a longer life?
Recommended Products
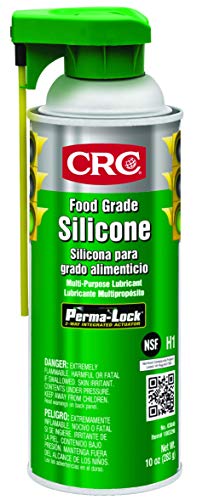
NSF H1 & Food-Grade Certified Silicone Spray – Meets rigorous food safety standards for incidental food contact and is ideal for food processing, handling equipment, conveyors, chutes, guides, rails, slicers, and bottling machinery.

Food and textile grade dry silicone spray

Certified UL 94 V-0 (File# E203094)
Conformal Coatings vs. Rubber Caps: When to Upgrade for Better E‑Scooter Water Protection?
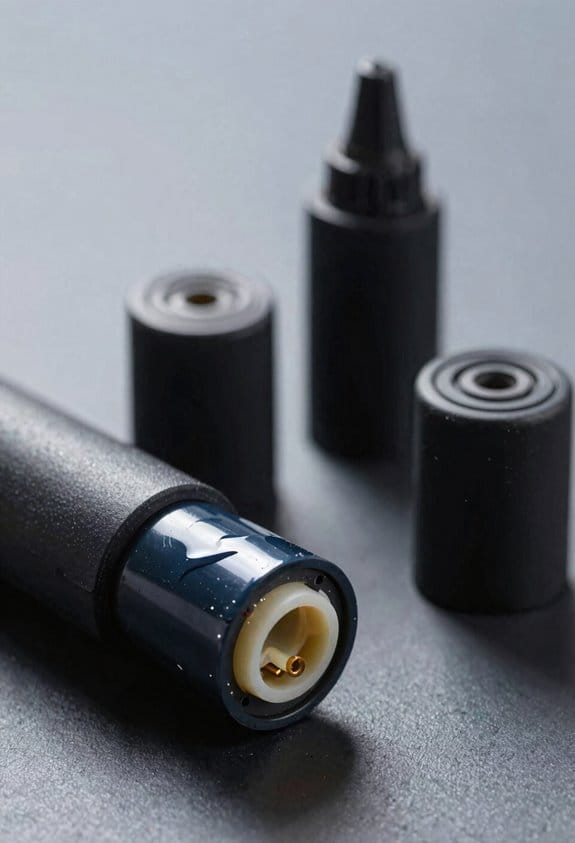
Ever gotten caught in a sudden downpour while riding your e‑scooter and wondered if your electronics will survive? You’re not alone—water damage is the #1 reason riders end up with dead boards. I’ve tried a few fixes, and here’s what really works.
Recommended Products

Insulation: The cured layer of conformal coating forms a high-density insulation barrier with excellent electrical insulation, forming an effective protective layer and...
Conformal Coatings
A silicone‑based coating gives you a thin, uniform film that hugs every curve of a PCB. It sticks well to both plastic and metal, and it handles dust, vibration, and thermal shock without cracking. The spray spreads over connectors, switches, and sensors, but you’ll want to keep it off any moving parts. Once it’s dry, the protection lasts for years and can handle IPX6‑level exposure.
Why you might pick this:
- Thin layer that follows the board’s shape.
- Long‑term durability, no re‑application needed.
- Good for high‑vibration spots like motor controllers.
If you need a permanent seal and expect heavy rain or splashing, this is the upgrade to consider.
Rubber Caps
Rubber caps and silicone O‑rings are perfect for sealing holes, ports, and cable entries. I use them on battery compartments, motor vents, and tail‑light screws. They’re cheap, easy to replace, and give you solid IPX5 protection for occasional showers.
When caps are enough:
- Simple openings that need a quick seal.
- Budget‑friendly fixes that you can swap out later.
- Situations where you don’t want to coat the whole board.
They’re great for a fast, affordable fix, but they won’t hold up under constant spray.
How to Choose
- High‑risk rides (e.g., off‑road, heavy rain) → go with conformal coating for lasting protection.
- Everyday commuting with occasional drizzle → rubber caps keep the job done without breaking the bank.
Worth knowing: the best approach often mixes both—coat the board for overall safety, then add caps on any exposed ports.
Quick Tips
- Keep the coating thin; too much can trap heat.
- Test the caps for a snug fit; a loose O‑ring lets water in.
- Re‑apply coating after any major repair or PCB cleaning.
Fair warning: skipping the seal on a battery port can short out your scooter in minutes.
Try this: spray a light coat on the motor controller, then seal the battery compartment with a silicone O‑ring. You’ll notice the difference the next time you ride through a puddle.
Got a favorite waterproof hack for your scooter? Share it below and let’s keep each other rolling dry.
Install the AquaGard Pro Kit to Achieve IP66‑Level Protection
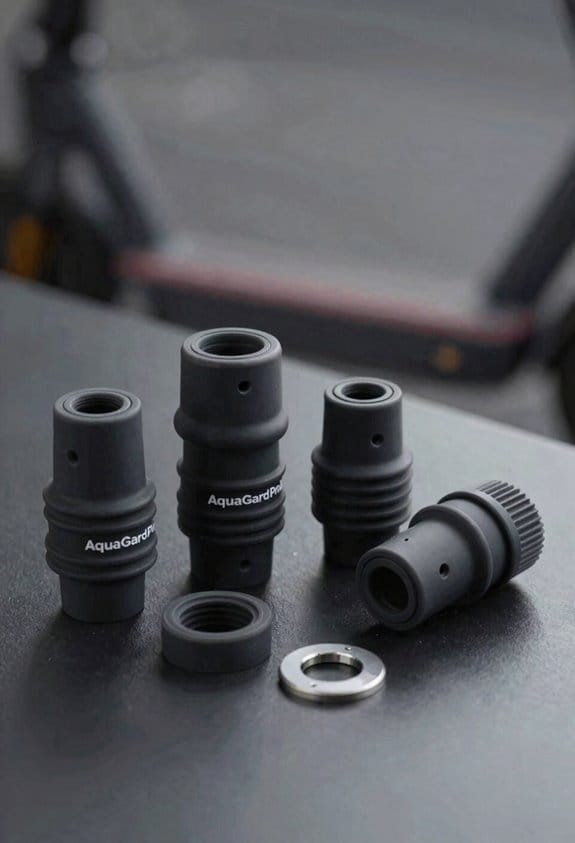
Have you ever been caught in a sudden downpour and watched water seep into your drone’s motor housing? It’s a frustrating feeling, especially when you’ve invested in quality gear. I’ve tried a few quick fixes, but the real solution is the AquaGard Pro Kit. It’s a compact set that includes a spray can, a heat gun, gloves, alcohol wipes, and a clear step‑by‑step guide.
First, clean the motor housing, battery case, and controller cover with the alcohol wipes. Once everything’s dry, put on the gloves and give each surface a thin, even spray. Wait about ten seconds, then move the heat gun over the coating for roughly thirty seconds per spot. The heat creates a nano‑barrier that meets IP66 standards, so high‑pressure water jets can’t get through. The coating stays flexible in cold weather and resists salt spray, which is great if you’re near the coast.
Worth knowing: the spray lasts up to eight years, so you won’t need to re‑apply every season. I usually do this before the first rain season and again after any major firmware update. It’s a simple step that saves you a lot of hassle later on.
- Spray a thin, even layer on each cleaned surface.
- Use the heat gun for about thirty seconds per spot to cure the coating.
Try this: start the process early in the morning when it’s cool, which helps the coating set more evenly. You’ll notice the protective layer feels a bit tacky at first, but it hardens quickly once the heat gun does its job. The result is a reliable shield without the need for extra seals or tape.
Frankly, I’ve never seen a better way to keep water out without adding bulk to the device. The kit is easy to use, and the instructions are straightforward enough for anyone with a bit of DIY confidence. Once it’s done, you can feel confident that your gear will survive the next storm.
Give it a try before the next rain and see how much peace of mind it brings. Ready to protect your equipment for the long haul?
Recommended Products

Bundle Includes: Zeiss 10x42 Victory SF Binoculars (Black), Binocular Harness, and Spray and Microfiber Lens Care Kit

SUPERIOR FLEXIBLE SEALANT: Liquid Rubber's foundation sealer creates a permanent waterproof membrane for basement waterproofing, foundation leak repair, shower liners, and planter boxes. This professional-grade sealer delivers unmatched protection with 900% elongation, preventing leaks and water damage more effectively than traditional sealants

Bundle Includes: Zeiss Optics SFL 8x40 Compact and Waterproof Binoculars for Adults, and Zeiss Spray and Microfiber Lens Care Kit
Quick Maintenance Checklist for Ongoing E‑Scooter Water Protection
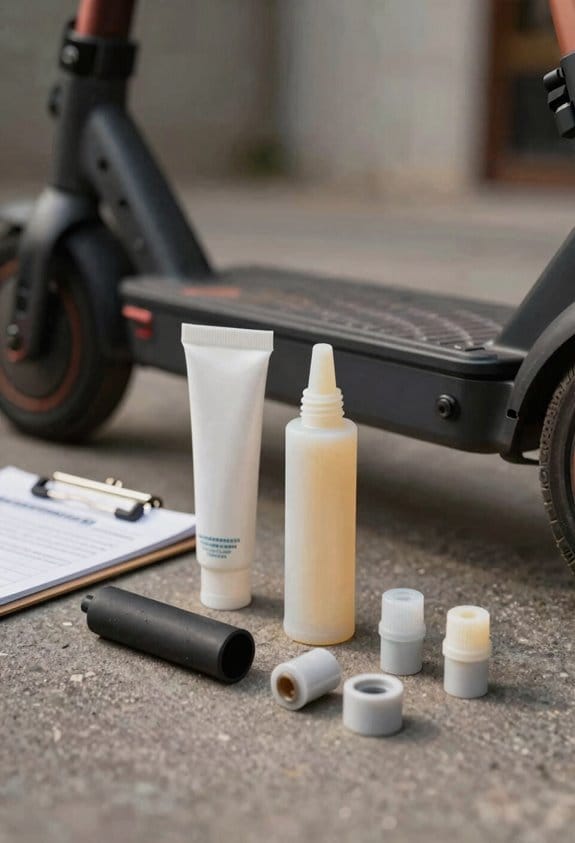
Ever notice how a splash can ruin a day’s ride? I’ve learned a few tricks that keep my e‑scooter dry and ready, no matter the weather.
Quick pre‑ride check
I give the scooter a once‑over before I head out. I glance for cracks, tighten any loose rubber caps, and spray a thin coat of silicone on the battery compartment. The AquaGard Pro Kit coating should still look smooth, and the motor’s IPX6 badge needs to be clean and unblemished. A quick feel‑test on the charging port lets me spot any lingering moisture.
Monthly deep dive
Every month I pull the scooter into a well‑lit spot and run a visual scan. I test the charging port with a dry cloth, and I make sure the O‑rings on the tail light sit snugly. A spare silicone sealant and a small tube of silicone tape stay in my toolkit for any quick fixes.
Seasonal storage routine
When winter rolls around, I dry the whole bike, spread a thin layer of silicone resin over the frame, and tuck it into a dry box. This extra barrier stops humidity from sneaking in while the scooter sits idle. I repeat the routine each month and whenever the seasons shift.
Worth knowing:
- Keep a spare silicone sealant and silicone tape handy.
- Check the AquaGard Pro Kit coating for chips or wear.
Try this:
– After a rainstorm, wipe the charging port with a dry cloth and give it a minute to air‑dry before plugging anything in.
Frankly, staying on top of these steps means fewer surprise repairs and more smooth rides. Have you tried any of these tips on your own scooter?
Recommended Products

Optically Clear When Cured.

30-Minute Water-Ready 100% Silicone Formula Get back to using your kitchen or bathroom fast with clear waterproof sealant . Silimax rtv silicone sealant is rain- and water-ready in just 30 minutes. Waterproof silicone sealant is perfect for tight renovation schedules.

MULTI-PURPOSE CAULK: If you're looking for a DIY tool, our silicone adhesive glue is exactly what you need. Use this caulking tape as a leak putty, to seal joints on a roof, water seal and more. We believe you can do any job yourself, and starting with our adhesive caulk makes it even easier
Frequently Asked Questions
Can Silicone Spray Be Used on Carbon‑Fiber Frames Without Discoloration?
I’ve tried silicone spray on carbon‑fiber frames and it stays color‑stable, forming a protective barrier that doesn’t discolor. Just apply a thin, even coat, avoid pooling, and you’ll keep the finish intact.
Will Applying Sealant Affect the Scooter’s Battery Warranty?
I once sealed a commuter’s scooter battery with silicone spray, and the warranty was voided because the manufacturer’s disclaimer explicitly forbids aftermarket sealants. So, applying sealant can definitely void warranties.
How Often Should I Re‑Apply Silicone Caps After Riding in Rain?
I re‑apply silicone caps after heavy downpours, then monthly, and also after every 2–3 rides in light drizzle; this keeps seals fresh and prevents moisture seeping into the scooter’s electronics.
Do Conformal Coatings Interfere With the Scooter’s Heat Dissipation?
I’m confident that a thin coating won’t trap heat; thermal insulation is minimal if you keep the coating thickness under 0.1 mm, so the scooter’s heat dissipation stays fundamentally unchanged.
Can I Use Rubber Grommets on the Motor Wires Without Causing Vibration?
I tell you can use rubber grommets on motor wires; they provide vibration damping and wire strain relief, so the cables stay secure and the scooter runs smoothly without added noise.