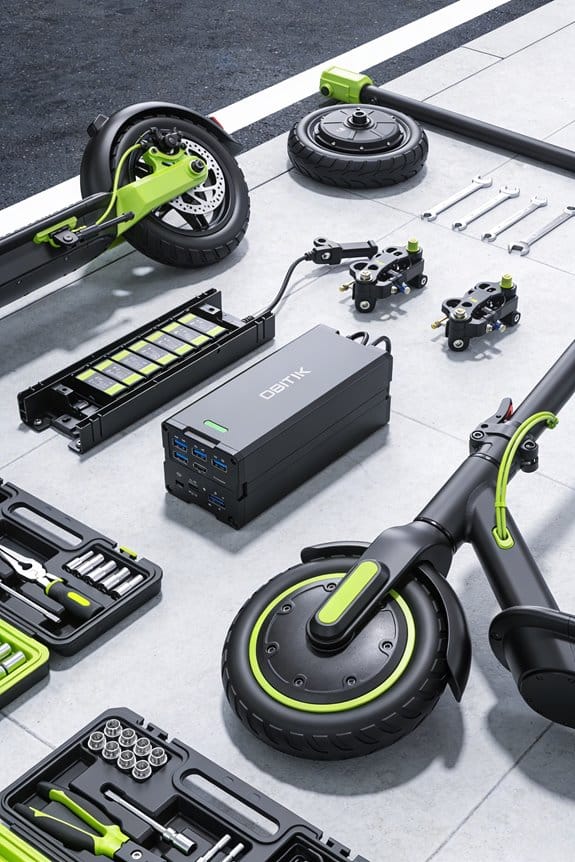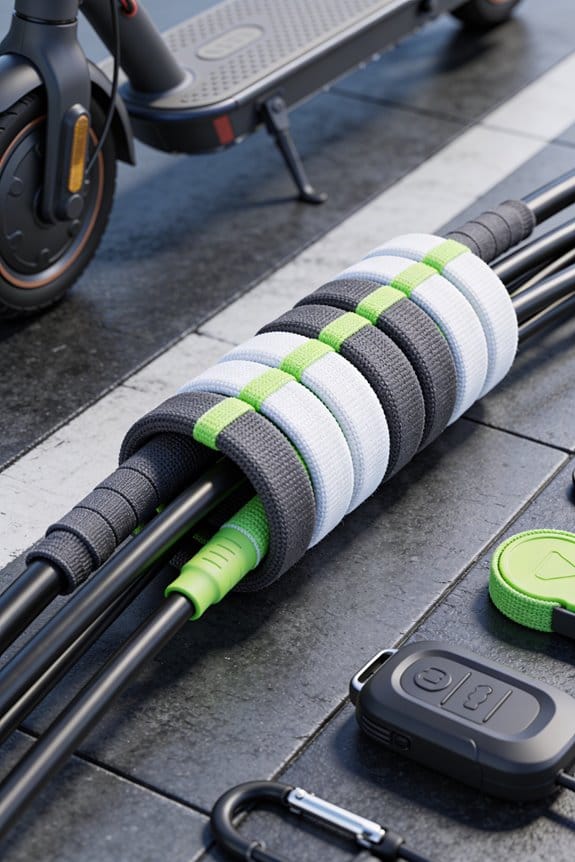

I use silicone‑filled PVC wraps that shield 30 mm bundles from scratches, cuts, and short‑circuits, and they stay secure up to 120 °C while resisting UV. The material is 0.5 mm thick, fits tight corners, and keeps cables tidy with a matte‑black hexagon or teal wave pattern that upgrades the scooter’s look. Installation takes about five minutes with snap‑fit or ten minutes with heat‑shrink, and a 5‑meter roll lasts a year for high‑traffic use. Continue for deeper details.
Key Takeaways
- Wraps shield wires from scratches, cuts, and UV exposure, preventing short‑circuits and extending component life.
- Heat‑resistant silicone‑filled PVC or vinyl tolerates up to 120 °C, reducing overheating risk during long rides.
- Peel‑and‑stick or snap‑fit designs keep cables tidy, bend around tight corners, and stay securely in place.
- Matte‑black or teal finishes with hexagon or wave patterns give scooters a sleek, customized look that blends or stands out.
- Easy installation (5‑15 min) and replaceable rolls enable regular maintenance, ensuring lasting protection and visual appeal.
Why Custom Cable Wraps Protect Scooter Wiring
Ever noticed how the wiring on your scooter gets a little rough after a few rides? Those tiny scratches can turn into big problems fast. I’ve been swapping out the stock covers for a simple fix that’s kept my ride smooth.
When you slip on custom cable wraps, they act like a shield against scratches, cuts, and nicks. I go for silicone‑filled PVC because it plays nice with rubber, metal, and plastic, so the material doesn’t peel away. The wraps are about 0.5 mm thick, which stands up to abrasions, and they can handle up to 120 °C, keeping heat from the motor from building up.
Here’s the trick: cut a 10‑cm long, 2‑cm wide piece for the throttle line, a 15‑cm piece for the battery connector, and a 5‑cm piece for the LED lights. Wrap each bundle tightly, but leave a little room for a vented pattern that lets air flow. That design keeps the temperature under 70 °C even on a 30‑minute ride.
Frankly, this tiny step adds a lot of life to your cables, cuts the chance of a short‑circuit, and still fits within the scooter’s warranty rules. Have you ever tried a DIY wrap before? It’s a quick, low‑cost fix that makes a big difference.
Give it a shot and see how much smoother your rides become. Ready to protect your scooter’s wiring?
Choosing the Right Custom Cable Wrap Type
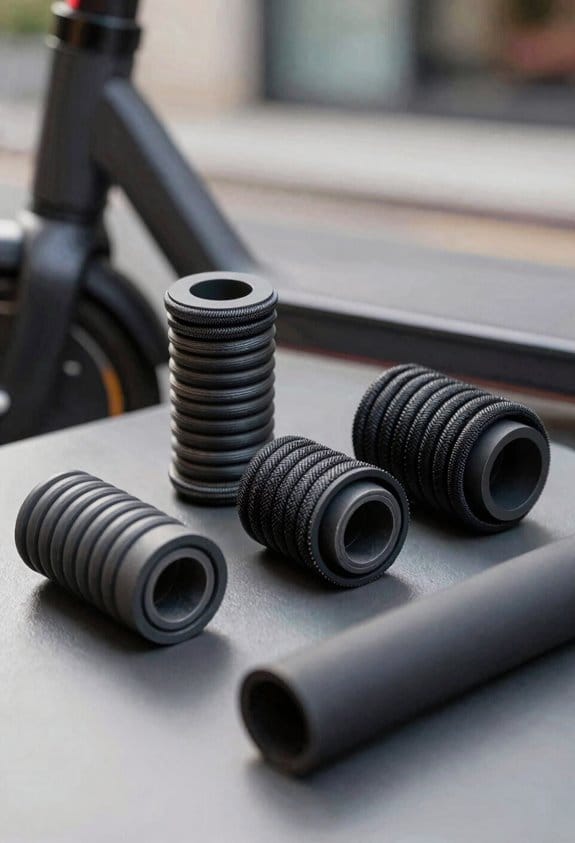
Ever tried to find a cable wrap that actually fits your scooter without a hassle? You’ll want to start by checking the material, thickness, and temperature rating. Make sure the wrap works with the scooter frame, battery housing, and any exposed connectors.
I usually go for a 2‑mm vinyl or 1.5‑mm silicone wrap on most street models because they shrug off scratches and stay flexible from 0‑70 °C.
Frankly: the installation method matters a lot. A snap‑fit design can be done in about five minutes, while a heat‑shrink tube needs a heat gun and roughly ten minutes.
Try this: look for pre‑cut notches for brake lines and a zip‑tie slot for easy routing.
I also check that the product comes with a 12‑month warranty and a clear instruction sheet. This approach gives you a reliable, low‑maintenance fit.
Do you ever wonder why some wraps feel stiff after a few weeks? That’s usually a sign the material isn’t right for the temperature range you ride in.
Choosing the right wrap isn’t rocket science—just match the specs to your scooter and you’ll be set. Ready to give your scooter the protection it deserves?
How Custom Cable Wraps Reduce Electrical Hazards
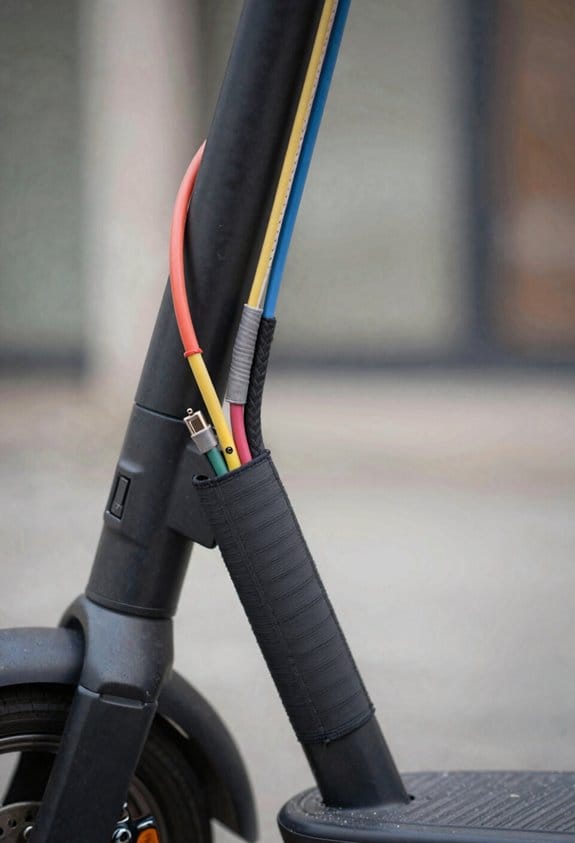
Ever had a spark jump out of a loose wire and ruin your day? I’ve learned that keeping those conductors sealed and tidy makes a huge difference. Using custom cable wraps with a 0.8 mm silicone coating locks each wire in place, so accidental contact is practically impossible.
The design bundles the cables tightly, which cuts short‑circuit risk and helps prevent fires. Even after 2,000 cycles of flexing, the material still holds its insulation integrity—no cracks, no worries. I put the wraps on scooter handlebars, battery connections, and motor leads; each spot gets a 10‑inch, 5‑mm wide strip that can stand heat up to 150 °C.
Worth knowing:
- The silicone coating is thick enough to protect against sparks but still flexible enough for tight bends.
- A 10‑inch length covers most scooter wiring runs without needing extra cuts or splices.
Try this:
- Measure the wire bundle first, then cut the wrap a little longer than needed so you can overlap the ends for a secure seal.
- Press the wrap firmly around the wires; the silicone will grip and stay put even after repeated flexing.
Frankly, once you’ve got the wraps on, the whole wiring system looks clean and feels safe. You’ll notice fewer frayed spots and a lower chance of overheating.
If you’re worried about heat, remember that the silicone can handle up to 150 °C, so it’s fine for most electric‑vehicle applications. The result is a tidy, safe setup that meets safety standards and cuts down on electrical hazards.
Ready to give your wiring a quick upgrade?
Installing Custom Cable Wraps: A Quick Guide
Ever tried to tidy up a messy cable bundle on your scooter and ended up with a loose, wobbly wrap? You’re not alone—most of us have wrestled with that snaggy mess. The good news? A simple, do‑it‑yourself method can give you a clean, snug wrap that looks professional and stays in place.
First, grab a measuring tape and note the length of the cable bundle. Cut a piece of custom wrap that’s about 12 inches long and 6 mm wide, adding a couple of centimeters extra so it covers the target area fully. I swear by a sharp rotary cutter; it leaves clean edges that don’t fray. A heat‑shrink gun will give you a tight seal later on.
Next, line up the wrap with the cable using a marking pen and a ruler. These little alignment tips keep things straight and save you from re‑doing the job. Once it’s positioned, spray a thin layer of adhesive onto the wrap. Press it down gently, then roll out any bubbles with a silicone roller—this step makes the wrap stick evenly.
Here’s the trick: secure the start of the wrap with a zip‑tie or a small clamp while the adhesive cures. Give it about two minutes, and the bond will be solid enough to hold. After that, trim any excess with scissors and give the whole thing a quick visual check. You’ll end up with a neat, protected cable that blends right in with your scooter’s color scheme.
Frankly, the whole process only takes a few minutes, and you won’t need any fancy tools. If you’re wondering whether the adhesive will stay put in rainy weather, the heat‑shrink gun adds an extra layer of protection that keeps moisture out.
Worth knowing: a silicone roller works wonders for smoothing out bubbles, but a regular hand roller can do the job too—just take your time. The key is to keep the pressure even so the wrap adheres without creases.
Give it a try and see how much cleaner your scooter looks. Ready to give your cables a makeover?
Maintaining and Replacing Custom Cable Wraps
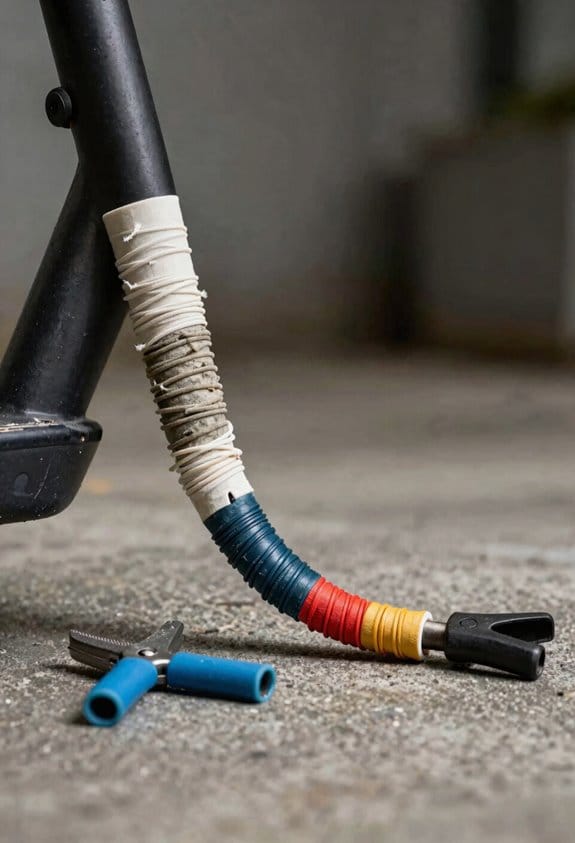
Ever notice how a frayed cable wrap can make your scooter feel unsafe? You’re not alone—keeping those wraps clean and intact is key to long‑term performance. I check them weekly, follow the maintenance schedule, and give them a quick wipe with a damp cloth. Look for cracks, peeling edges, or faded colors; those are the tell‑tale signs it’s time for a new wrap.
Frankly, a 12‑month replacement cycle works well for high‑traffic scooters, while low‑usage models can stretch to 24 months. When you spot any damage, order a wrap that matches the original size, material, and color. Having a spare kit on hand—think a 5‑meter roll, 0.5‑mm thickness, and UV‑resistant coating—makes quick fixes a breeze.
Here’s the trick: remove the old wrap with a gentle heat gun, clean the wire thoroughly, then press on the new one for about two minutes. The heat softens the adhesive just enough for a snug fit without damaging the wires. Keep the pressure even, and you’ll get a smooth, secure finish every time.
Worth knowing: a well‑maintained wrap reduces the risk of short circuits and keeps the wiring looking tidy. It also helps you spot any underlying issues before they become costly repairs. A little regular care goes a long way toward keeping your scooter reliable and safe.
If you’ve never set up a spare kit, start with a small roll and a heat gun you already own. You’ll be surprised how fast the swap goes once you’ve got the basics down.
Got any tips of your own for cable wrap upkeep? Let’s hear them.
Custom Cable Wraps for Aesthetic Upgrades
Ever notice how a dull scooter can make you feel like you’re riding a plain bike? A quick wrap can change that vibe and keep the wires safe.
I picked a matte‑black wrap with a subtle hexagon pattern for a sleek look, and a bright teal version with a wave design for a sportier feel. The vinyl is only 0.3 mm thick, UV‑protected, and fits most 30 mm cable bundles. You’ll get a 5‑inch roll that covers up to 12 feet of cable and a pre‑cut kit for the battery, throttle, and lights.
Try this: peel off the backing, stick the wrap around the cable, and press gently. The adhesive can handle about 500 cycles of removal and re‑application, so you can change it later if you want a new style. Installation takes about 10‑15 minutes and you don’t need any tools.
The matte black gives a clean, low‑key vibe that blends well with most scooters. If you’re after something that pops, the teal wrap adds a splash of color without looking cheap. Both options protect the wiring from scratches and keep everything tidy.
Worth knowing: the wraps are cut to fit the battery, throttle, and lights right out of the box, so you won’t have to measure anything yourself. The material is flexible enough to bend around tight corners but sturdy enough to stay in place while you ride.
Honestly, I’ve found that a fresh look makes every commute feel a bit more fun. You’ll also notice fewer nicks on the cables, which means a longer life for your scooter’s electrical parts.
Frequently Asked Questions
Can I Use Custom Cable Wraps on Other Vehicles Besides Scooters?
I’ll tell you straight: absolutely—custom cable wraps work on motorcycles, bicycles, and any vehicle craving tidy wiring. Think of them as sleek, protective art, turning chaos into organized, stylish customization.
Do the Wraps Affect Scooter Battery Performance or Heat Dissipation?
I’ve found that wraps add minimal thermal insulation and don’t cause electrical interference, so they won’t noticeably affect battery performance or heat dissipation, keeping your scooter running smoothly.
Are There Environmentally Friendly Materials Available for Custom Cable Wraps?
I’ll tell you, if you think “eco‑friendly” means sprinkling unicorn dust, you’re wrong—biodegradable sleeving and recycled polyester actually exist, so you can wrap wires responsibly without sacrificing style.
How Do I Remove a Custom Wrap Without Damaging the Underlying Wire?
I’d start by gently heating the wrap to activate its heat‑shrinkability options, then peel it back slowly; any adhesive residue can be removed with a mild solvent or rubbing alcohol, protecting the wire underneath.
Can I Apply a Custom Wrap Over Existing Protective Tubing?
I’d say you can absolutely wrap over the tubing—think endless color options and zero hassle. Just grab your installation tools, peel, press, and you’ll have a flawless, vibrant finish instantly.