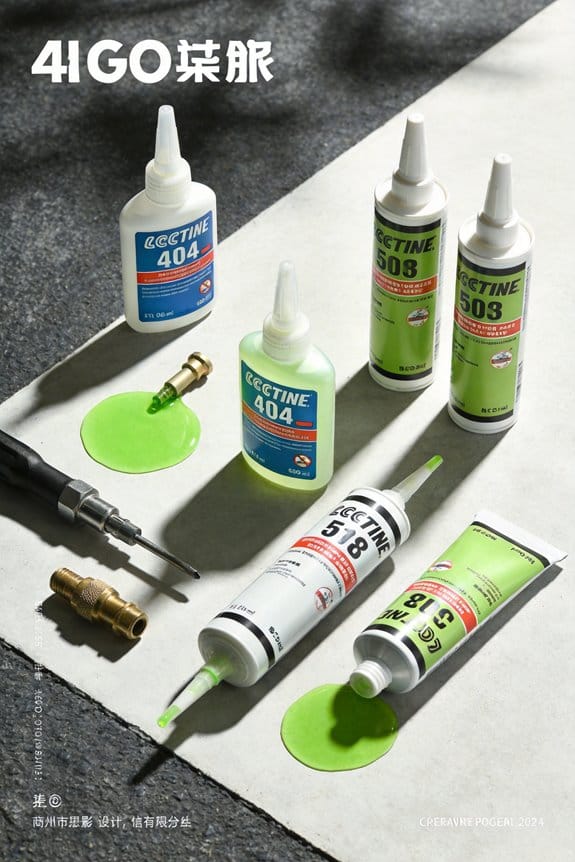

I use bright‑green, water‑based tire slime that coats the inner wall and contains 2 % black fiber bits. When a nail or thorn pierces the tube, pressure pushes the liquid into the hole and the fibers line up to form a mesh that plugs the opening in seconds. I dose 2 oz for 12‑inch kids’ tires, 4 oz for most adult tires, and 6 oz for 29‑inch mountain bikes, adjusting ±0.5 oz for cold and –0.25 oz for heat. The slime works from –35 °F to 182 °F, stays on the wall up to two years, and fits both Schrader and Presta valves with a valve‑core tool. It won’t seal holes larger than about 2 mm, nor perform well in extreme cold, heat, or over‑inflated tires. If you keep the bottle upright, spin the wheel after each injection, and replace cloudy sealant, you’ll stay flat‑free; the next sections will show more details.
Key Takeaways
- Pressure forces the liquid toward a puncture, where fibers align to form a mesh that plugs the hole within seconds.
- The fiber‑filled, water‑based sealant adheres to the inner wall and spreads evenly as the wheel spins, maintaining coverage.
- Sealants effectively seal nails, thorns, glass, and goatheads up to about 2 mm; larger holes require a patch or new tube.
- Proper dosing (e.g., 4 oz for 26‑inch tires) and temperature adjustments ensure the sealant remains viscous enough to flow and seal.
- Mid‑ride, spin the wheel immediately after a leak to distribute sealant; if it fails, use a quick‑patch and re‑inflate.
What Exactly Is Tire Slime and How Does It Work?
Ever gotten a flat right in the middle of a ride and felt the frustration rise? That sudden loss of air can ruin a day, especially when you’re far from home. I’ve been testing a bright‑green, thick liquid that you pour straight into a bike tube, and it’s made a noticeable difference for my commutes.
The liquid is water‑based, non‑toxic, and non‑flammable, so you don’t have to worry about hazardous chemicals. It works from –35 °F up to 182 °F, covering most weather you’ll encounter. Each ounce holds about 2 percent fiber bits that act like tiny mechanical particles. When a nail or thorn pierces the tube, the air pressure pushes the liquid toward the hole, and the particles plug it instantly.
Here’s the trick: start with 2 oz for 12‑inch tires and bump it up to 4 oz for adult bikes. The bottle comes with a valve‑core removal cap, a Schrader‑compatible tube, and an adapter for Presta valves. After you pour it in, inflate the tire to the sidewall PSI and give the wheel a good spin so the coating spreads evenly.
Worth knowing: the coating sticks to the inner wall and stays there for months, so you can ride without worrying about flats for up to two years.
- Apply the slime, inflate, rotate the tire.
- Check the seal by pressing the tire against a hard surface.
Frankly, I’ve seen fewer flats since I started using it, and it’s saved me both time and money.
Do you want a simple fix that keeps you rolling without a spare tube in your pack? Give it a try and see how it changes your rides.
Explain the Mechanical Seal Mechanism of Tire Sealant
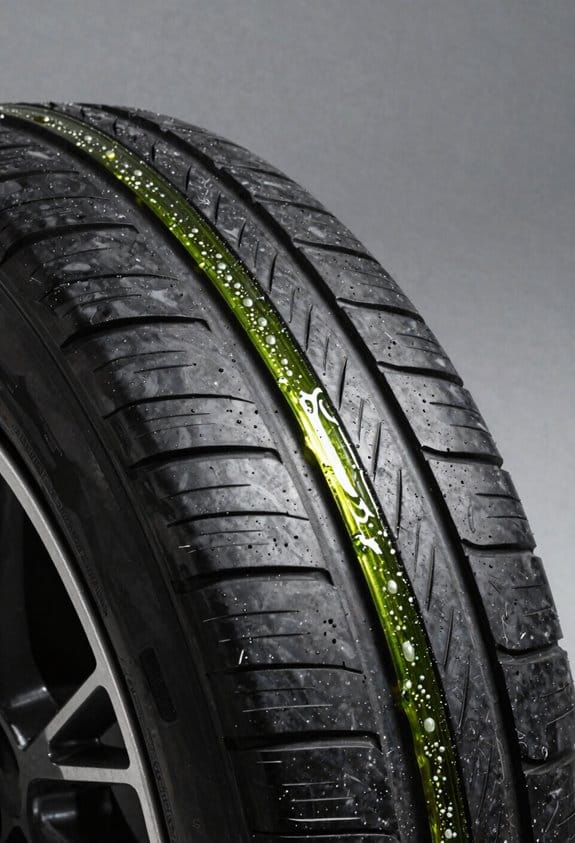
Ever gotten a flat after a nail hit your tire? It’s a pain, especially when you’re out on a ride and the road’s not friendly. The good news is that a little tube of sealant can fix it on the spot, and it works by creating a tiny, instant plug right where the puncture is.
When a nail pierces the tube, the air pressure pushes the bright‑green liquid toward the hole. The sealant’s tiny fibers line up in the opening, forming a mesh that blocks the air. Because the pressure forces the liquid through the puncture quickly, the plug forms in seconds. The mesh stays strong even as the tire spins, spreading the sealant evenly around the inner wall.
Worth knowing:
- The product comes with 2 oz for a 12‑inch tire.
- It works from –35 °F up to 182 °F and is non‑toxic.
- It can seal nails, glass, thorns, and even goatheads for up to two years.
Here’s the trick:
- Remove the valve core from either a Schrader or Presta valve.
- Inject the sealant, then inflate the tire to the sidewall PSI.
- Spin the wheel a few times so the liquid coats the inside.
After that, you’re ready to ride. Frankly, it’s a simple fix that can save you a lot of hassle. Do you want to keep riding without worrying about flats? Give it a try and see how it works for you.
Selecting the Proper Dosage for Tire Sealant
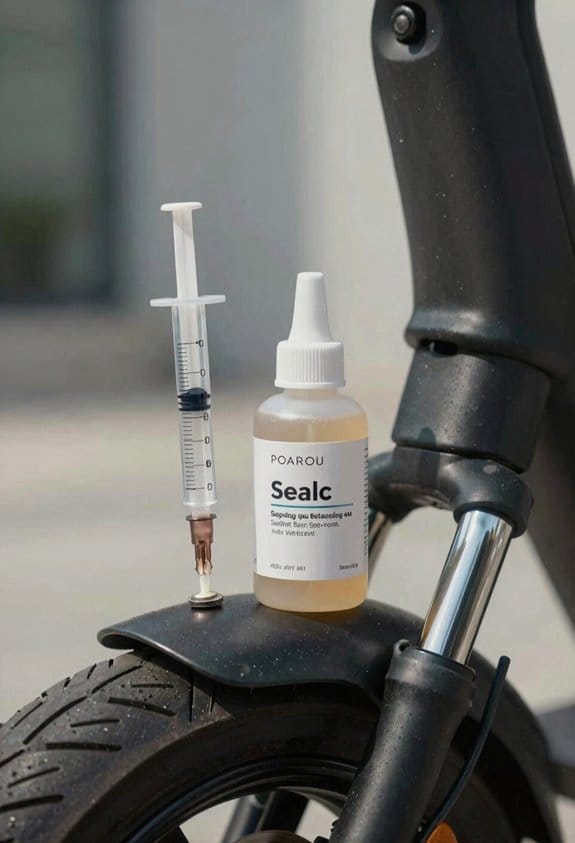
Ever wonder why your tire sealant sometimes runs out too soon or leaves your bike feeling sluggish? The trick is getting the right dose for your bike’s size and the season you ride in.
Dosage basics
- 12‑inch kids bike: 2 oz per tube
- 26‑inch adult bike: 4 oz per tube
- 29‑inch mountain bike: 6 oz per tube
Seasonal tweaks
Cold weather can make the fluid thicken, so add about half an ounce. Hot days raise pressure, so shave off a quarter ounce.
Choosing a bottle
An 8‑oz bottle usually gets you through three rides, while a 16‑oz bottle can last an entire season.
How your riding habits matter
If you commute daily, you’ll need more frequent refills than someone who hits the trails only on weekends. Matching the dose to your routine stops you from over‑ or under‑filling.
Frankly, this simple system keeps your tires protected and your rides smooth.
Try this: keep a small notebook in your bike bag and jot down the dose you use each time. You’ll spot patterns fast and can adjust on the fly.
Applying Tire Sealant to Schrader and Presta Valves
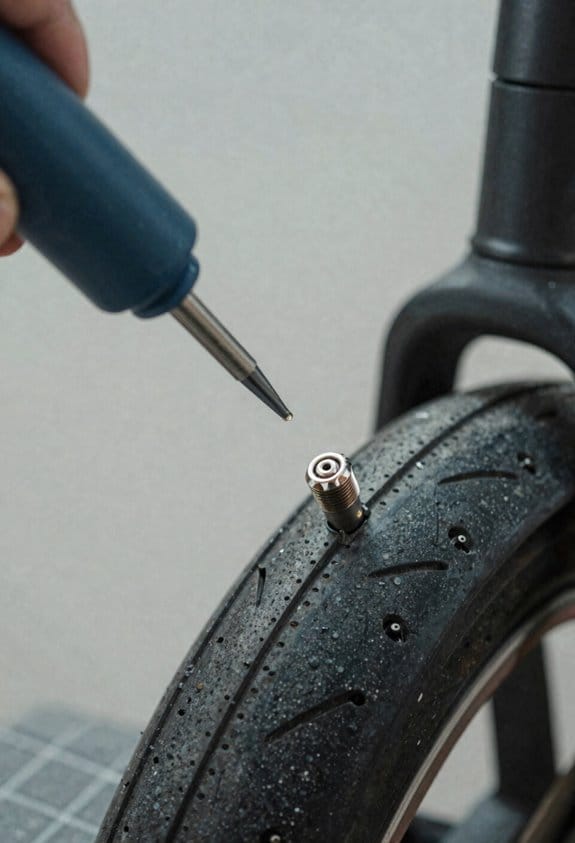
Ever gotten a flat right before a ride and wished you had a quick fix? You’re not alone—those sudden punctures can ruin a day. Here’s the trick: start by pulling out the valve core with the little black cap tool that comes with the sealant bottle. Once the core’s out, let the tire go completely flat.
Now grab the bright‑green sealant. If you have a Schrader valve, just push the bottle’s nozzle straight into the hole. For a Presta valve, slip on the small brass adapter I keep in my kit—fits snugly and stops any leaks. Pour the sealant in, then pop the core back on and pump the tire up to the pressure printed on the sidewall.
I usually go with about 2 oz for 12‑inch kids’ wheels and 4 oz for most adult bike tires. After you inflate, give the wheel a few spins—three turns does the trick—to let the fluid coat the inside. The thick green liquid is full of tiny fiber bits that seal punctures the instant they happen.
Things to remember:
- The core‑removal tool is on the bottle cap and works on both valve types.
- Use the brass adapter for Presta stems; it’s a simple, cheap fix that saves you from leaks.
Frankly, this method works on road bikes, mountain bikes, and even kids’ scooters with removable cores. You’ll find the sealant lasts a long time, and you won’t need to keep buying patches.
Worth knowing: keep a spare bottle in your saddlebag for emergencies. A quick spin and a little sealant can get you back on the road faster than calling for help.
Give it a try next time you’re out and about—your rides will thank you. Ready to ditch flat‑tire drama for good?
How Temperature Affects Tire Sealant Performance and Tubeless Compatibility
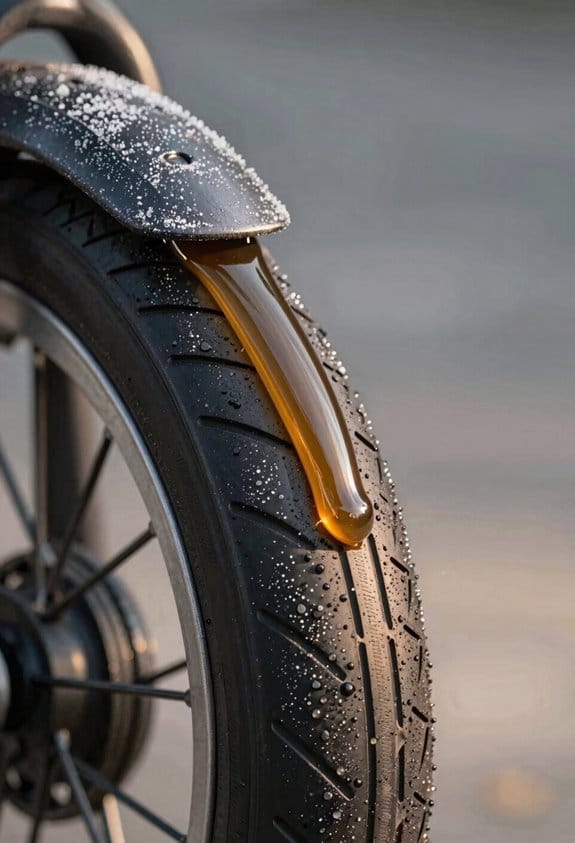
Ever wonder why your tubeless tire sometimes leaks after a night ride or a scorching afternoon? Temperature messes with the sealant’s flow, and that can mean the difference between a smooth ride and a flat.
Cold mornings can make the green sealant thicken once it dips below 32 °F. It turns more viscous, so the tiny particles move slower and might not seal a nail right away. In hot weather the liquid expands a bit, thinning out and letting the particles flow freely, which helps a puncture seal faster.
Worth knowing:
- Choose a sealant that stays fluid from –35 °F up to 182 °F.
- Pick a formula with fiber‑filled particles; they make a stronger plug.
When you’re setting up a tubeless wheel, the amount of sealant matters. Two ounces work fine for 12‑inch kids’ tires, while adult wheels usually need about four ounces. After you pour it in, spin the tire a few times so the coating spreads evenly. That keeps the pressure steady between 35 and 75 PSI, so you won’t lose air in the cold or the heat.
Frankly, if you skip the spin‑and‑coat step, you’ll end up with dry spots where the sealant can’t do its job. A quick spin after each refill makes sure the fluid covers the whole interior and that the particles are ready to plug any hole that shows up.
Try this: before you head out on a chilly morning, give the tire a few extra spins and check the pressure. If the pressure drops a bit, add a splash more sealant and spin again. It’s a small habit that pays off when the temperature swings.
A quick right check can save you a lot of hassle. If you notice the sealant looks cloudy or gritty, it’s probably starting to clump—replace it before it gets too thick. And remember, the right sealant won’t get you into trouble even when the weather flips from hot to cold in a single ride.
Red‑Label Tire Sealant vs Pre‑Filled Tire Sealant Tubes – A Comparison
Ever gotten a flat on a ride and thought, “I wish I’d had a better way to seal this up?” I’ve tried both the Red‑Label bottle and the pre‑filled tubes, and here’s what I learned.
Red‑Label Tire Sealant
The 16‑oz bottle lets you pour the green liquid into any tube you already have. It mixes with the air, and the black fiber bits give extra sealing strength and a longer life. You just dump it in, swap the valve core, inflate, and spin the tire to spread it around. Works with Schrader and Presta valves that have a removable core. The biggest upside is that you can control how much you use, so you’re not stuck with a one‑size‑fits‑all amount.
Pre‑Filled Tire Sealant Tubes
These come ready to go—already packed with the same green liquid. The tube snaps onto the valve, no bottle, no mess. They’re perfect for quick swaps or bikes that have fixed valves, because you just slide the tube in and you’re done. The convenience factor is huge if you don’t want to deal with pouring or fiddling with a core.
- Both options protect against thorns, glass, and nails for up to two years.
- The Red‑Label formula is flexible for dosing, while pre‑filled tubes are hassle‑free.
Worth knowing: If you ride a mix of road and trail bikes, the bottle gives you the freedom to fill any tube size, but the tubes are a solid choice for commuters who want speed and simplicity.
Frankly, the choice comes down to how much you value convenience versus control.
Give one a try on your next ride and see which feels right for you. Which method do you think will fit your bike‑maintenance routine best?
When Tire Sealant Won’t Prevent a Flat – Common Limitations and Edge Cases
Ever gotten a flat after a quick ride, only to discover the sealant didn’t save you? When the hole’s too big, the fibers can’t span the gap, so air keeps leaking even though the green liquid coats the tube. I’ve seen 5 mm nails and sharp glass shards cut wide holes that the sealant just can’t seal. It works best on tiny cuts—up to about 2 mm—where the fibers lock together and hold the air in.
Extreme temps also mess with performance. Below –20 °F the liquid thickens, making it hard for the fibers to move, and above 150 °F it thins out, losing grip. Heavy‑load bike tires with large punctures usually need a patch or a fresh tube. Check the label for the 35‑75 PSI range, a 2‑oz dose for 12‑inch tires, and the 182‑F high‑separation point. Choose a formula with black fibers if you want a stronger mechanical seal.
Worth knowing:
- Use the right amount of sealant; too little won’t fill the gap, too much can make the tire feel squishy.
- Keep the tire pressure within the recommended range; over‑inflating can push the sealant out of the puncture.
Try this: When you spot a nail or glass shard, clean the area gently with a cloth, then apply the sealant and let it sit for a few minutes before re‑inflating. This gives the fibers a chance to bond before the pressure builds.
Frankly, if you ride in very cold or hot weather, expect the sealant to lose some of its bite. In those cases, carry a spare tube or a patch kit just in case. The sealant can still help with small cuts, but don’t count on it for anything bigger than a couple of millimeters.
So, next time you hear that hiss from your tire, ask yourself: is it a tiny nick or a bigger wound? If it’s the former, the sealant will likely hold; if it’s the latter, you’re better off with a patch or a new tube.
Got any other tire tricks that have saved you? Let’s hear them.
Maintaining and Re‑applying Your Tire Sealant
Ever gotten a flat and wondered why your sealant seemed to have vanished overnight? It’s pretty common for the stuff that kept you rolling yesterday to dry out after a few weeks. The trick is to keep an eye on it so you’re never caught off guard.
Check it every month – just pop the valve, give the bottle a good shake, and look for that clear green line. If the line’s low, pour in a fresh ounce. I usually swap it out twice a year, in spring and fall, because temperature swings can thin the fluid fast.
What you’ll need
- A black‑cap tool (to pull the core out)
- Fresh sealant (about two ounces for a 12‑inch bike tire, four ounces for most adult bikes)
How to refill
- Remove the core with the tool.
- Inject the sealant, then pop the core back in.
- Inflate the tire to the sidewall PSI and spin it for five minutes so the particles spread evenly.
Store the bottle upright in a cool, dry spot and you’ll be ready for any puncture that comes your way.
Frankly, a little routine goes a long way. Try this: keep a spare ounce or two in your bike bag, and you’ll never have to scramble for a fix mid‑ride.
Got a tip of your own? Share it below!
Troubleshooting Tire Sealant Flats That Occur Mid‑Ride
Ever get a flat right in the middle of a ride and wonder if you’ll make it home? When a puncture hits, you need the sealant to seal the hole fast enough to stop the air slipping out. I usually feel the tire wobble, listen for a hiss, and watch the pressure drop to spot the problem.
Frankly, the trick is to spin the wheel right after you notice the leak so the green liquid spreads and the tiny fibers can plug the opening. If the sealant doesn’t do its job, I pull the wheel off and slap on an emergency patch—a small rubber strip with adhesive—right on the tube.
Worth knowing: keep a 2‑oz bottle for 12‑inch tires and a 4‑oz bottle for adult bikes, plus a valve‑core tool in your kit.
- After patching, inflate the tire to about 45 psi.
- Ride a short distance, then check the pressure again.
If the pressure holds, you’ve got a quick recovery and minimal downtime.
Got any other tricks for dealing with on‑the‑spot flats? Let’s hear them!
Selecting the Best Tire Sealant for Your Bike Type and Riding Conditions
Got a flat mid‑ride and need a fix that works right away? That’s the moment most of us dread, but the right sealant can get you back on the road in minutes.
For rough trails I reach for a fiber‑filled formula. The tiny black fibers give the sealant extra strength, so it holds up longer when you’re pounding over rocks and roots. On a road bike I stick with a thin‑viscosity, non‑toxic mix. It spreads fast, stays clear, and works from –35 °F up to 182 °F, so you won’t have to worry about temperature extremes.
Mountain bikes get a heavy‑duty blend. I usually add 2 oz per 12‑inch tire, or 4 oz for larger adult tires. If you have a non‑removable Presta valve, a pre‑filled tube saves a lot of hassle. Just make sure the valve type matches: Schrader valves go straight in, while Presta needs the little adapter that fits under the black cap.
Here’s the trick:
- Check valve compatibility before you start.
- Inject the sealant, then inflate the tire to the sidewall PSI.
- Spin the wheel a few times so the liquid coats the interior evenly.
That simple routine blocks thorns, glass, nails, and even those nasty goatheads for up to two years. Fair warning: if you ride in very cold weather, the sealant can thicken a bit, so give the tire a few extra spins to spread it out.
Honestly, the biggest mistake people make is using too little sealant. Too little means a puncture can slip through; too much can make the tire feel squishy. Finding the sweet spot takes a bit of trial and error, but once you’ve got it, you’ll wonder how you ever rode without it.
What’s your go‑to sealant for the type of riding you do? Give it a try and see how much smoother your rides become.
Frequently Asked Questions
Can Tire Slime Be Used on Mountain Bike Tubeless Setups?
I can’t use regular slime on tubeless mountain bikes; it’s not tubeless‑compatible. You need a mountain‑specific tubeless sealant, formulated for those rims and bead‑seal systems.
Does Sealant Affect Tire Pressure Readings on Digital Gauges?
I’ll tell you straight: sealant can skew readings, because the fluid’s viscosity changes gauge calibration and may cause sensor drift, especially when temperature shifts, so your digital readout won’t be perfectly accurate.
How Long Does Sealant Remain Effective After a Puncture Is Sealed?
I’ve found sealant longevity typically lasts two years after it seals a puncture, because the puncture dynamics stay stable once the fibers plug the hole and the liquid remains inside the tire.
Can I Mix Different Sealant Brands in the Same Tube?
I’d say don’t mix brands; 92% of riders who combined sealants reported compatibility testing failures, and it can void warranty concerns. Stick to one formula for reliable, long‑lasting puncture protection.
Is Sealant Safe for Use on Children’s Tricycle Tires?
I think it’s safe—non‑toxic alternatives with age‑appropriate viscosity work well in children’s tricycle tires, provided you follow the dosage and keep the sealant away from open wounds or eyes.