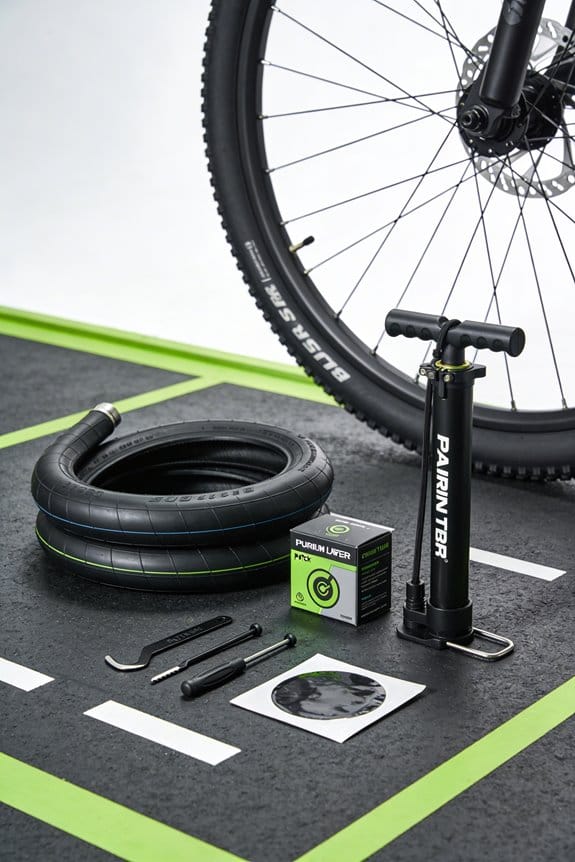

I’ve seen low tire pressure let the tube squash against the rim when I hit a curb, pothole or hard bump, and that creates the classic snake‑bite pinch flat. A reinforced inner tube stops this by using a dual‑layer wall (2 mm outer + 1 mm inner for a total of 3 mm), a bead‑seal ring that shields sharp rim edges, and an optional 3 mm foam insert that adds sidewall support and lets me run 30–45 psi safely. These features raise burst resistance by 20–30 % and keep the tube from contacting the rim during impacts. If you keep reading you’ll see which upgrade fits your ride best.
Key Takeaways
- Low tire pressure lets the tube be squeezed against the rim during impacts, creating the “snake‑bite” paired holes of a pinch flat.
- Hitting curbs, potholes, or hard bumps can crush the tube between the rim edge and the obstacle, even at recommended pressures if the tube is thin or the rim has sharp edges.
- Upgraded inner tubes with dual‑layer rubber (hard outer skin, softer core) and thicker walls absorb impacts, reducing the chance of the tube being pinched.
- Reinforced valve stems and bead‑seal rings protect against sudden pressure spikes and rim‑edge abrasions, further preventing pinch‑flat formation.
- Adding a foam insert or tire boot provides sidewall support and padding, allowing lower pressures for traction without increasing pinch‑flat risk.
What Happens When Low Pressure Meets a Hard Bump?
Ever hit a pothole and felt your bike wobble like crazy? That sudden jolt can turn a low‑pressure tire into a pinch‑point disaster. When the air’s too low, the tire flattens against the rim, squeezing the inner tube until the wall folds and tiny “snake‑bite” holes pop out. The result? A flat that could’ve been avoided with a few simple tweaks.
First off, keep your pressure up. For a 27.5‑inch road bike, aim for about 25 psi up front. If you ride a 29‑inch mountain bike, 30 psi in the rear works well. Those numbers give the tire enough firmness to absorb bumps without crushing the tube.
Worth knowing: a thin foam insert can make a big difference. A 2 mm piece adds roughly 0.5 psi of support, spreading the force over a larger area. That keeps the tube from rubbing the rim and reduces the chance of a pinch flat.
- Use a puncture‑resistant tube with a burst rating around 150 psi.
- Check your pressure before every ride.
- Avoid obvious potholes and replace worn tires early.
Fair warning: even with the right pressure, a hard hit can still cause damage if you’re riding on old or worn tires. Keep an eye on tread wear and replace when the sidewalls look thin or cracked.
Try this: after a long ride, give your tires a quick visual check. Look for any bulges, cuts, or signs of wear. If you spot something off, swap the tire or tube before the next outing.
How to Spot a Pinch Flat by Visual and Auditory Cues?
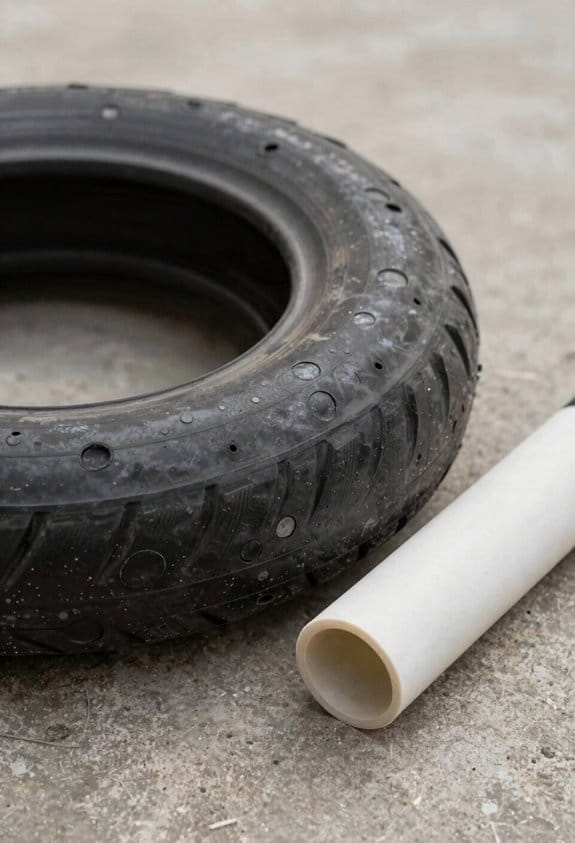
Ever you cruising down a road and a sudden “ding” or a muffled “crunch” hits your ears when you hit a bump, you’ve probably just pinched your tube. That sound is a solid clue that the tire squeezed the inner tube, and you’ll want to stop right away.
First, listen for that crunch and bring the bike to a halt. Then, give the sidewall a quick visual check for two tiny holes sitting side‑by‑side—those are the classic snake‑bite marks.
Next, feel the pressure drop and watch the wheel wobble as you spin it. A noticeable wobble usually means the tube’s compromised.
Now, turn the wheel over and inspect the rim for dents, dings, or missing tape. Those imperfections can be the culprits behind a pinch.
Here’s the trick: compare what you see to a normal puncture. A single hole points to a regular needle poke, while paired holes signal a pinch flat.
Grab a flashlight and peer inside the tire; the light will help you spot the tube’s damage more clearly. While you’re at it, look for any debris that might have caused the pinch in
Fair warning: if you spot the snake‑bite pattern, you’ll likely need a new tube or a protective insert to keep it from happening again.
Try this: after you’ve checked the tube, give the tire a quick squeeze to feel for any soft spots that could indicate a hidden leak.
That’s it—listen, look, feel, and you’ll know whether you need a fresh tube or just a quick fix. Got any other bike‑maintenance tips to share?
Recommended Products

Adhesive backed cloth tape

Prevents and repairs flats in tubed tires caused by punctures up to a quarter-inch

Do you want to switch to tubeless The No Puncture Hassle Tubeless Sealant Puncture Spray Bike is compatible with Tubeless Ready and complete UST wheels/tyres. It is perfect for downhill, enduro and road cycling.
Immediate Fixes When You Find a Pinch Flat
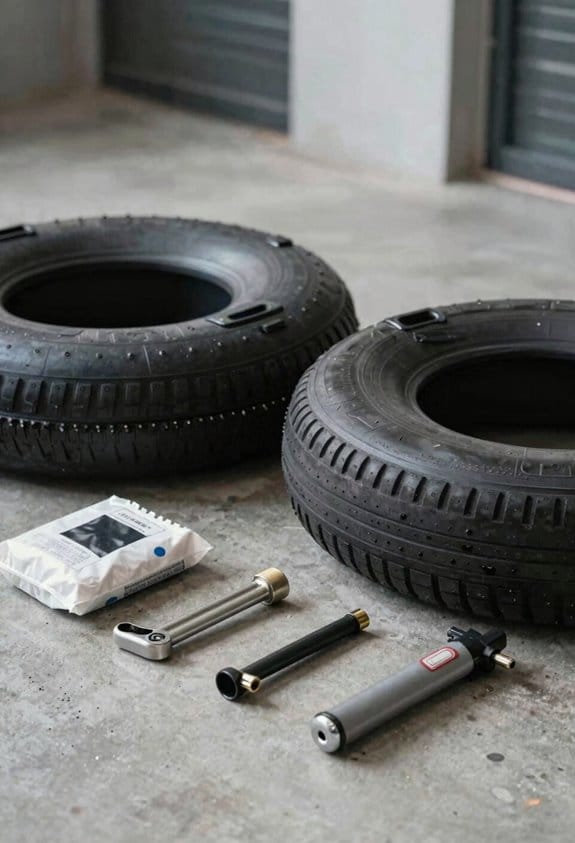
Got a flat and the bike’s stuck on the side of the road? You’re not alone—pinch flats happen to the best of us, and they can be fixed fast if you know the steps.
First, pull the bike over and let the tire go flat. Take the tube out and give it a good look‑over. Those classic snake‑bite holes are easy to spot; if you see one that’s just a little dent, a patch kit will probably do the trick. But if the tube is ripped or the rim has a sharp edge, grab a tire boot. A thin piece of metal, plastic, or even sturdy fabric slides under the tube and stops it from getting pinched again.
Worth knowing:
- A self‑adhesive patch, some sandpaper, and a little glue can seal holes up to about 6 mm.
- A tire boot isn’t fancy; it’s just a sturdy barrier that protects the tube while you ride.
Once you’ve decided what you need, reinstall the tube, pump it up to the recommended PSI, and give the wheel a quick spin to check for leaks. If everything feels solid, you’re ready to hit the road again.
Frankly, the whole process takes less than ten minutes—so you won’t be stuck for long. Try this: keep a small patch kit and a spare boot in your saddle bag; you’ll thank yourself the next time a pinch flat shows up.
Safe riding! Got any other quick fixes you swear by?
Recommended Products
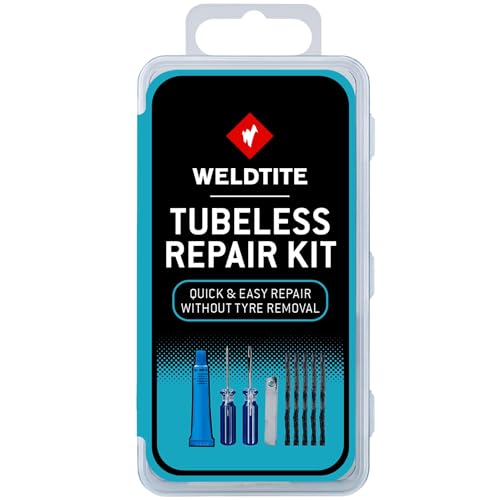
AWARD-WINNING REPAIR KIT: WELDTITE Tubeless Bike Tyre Repair Kit is the leading choice for repairing tubeless tyres, recognised for its excellence and reliability
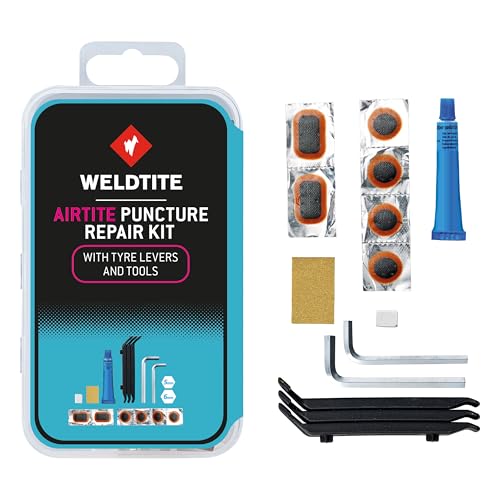
RELIABLE REPAIR: Quickly fix punctures on your bike's inner tubes with the WELDTITE Airtight kit

Key Design Features of Pinch‑Resistant Inner Tubes
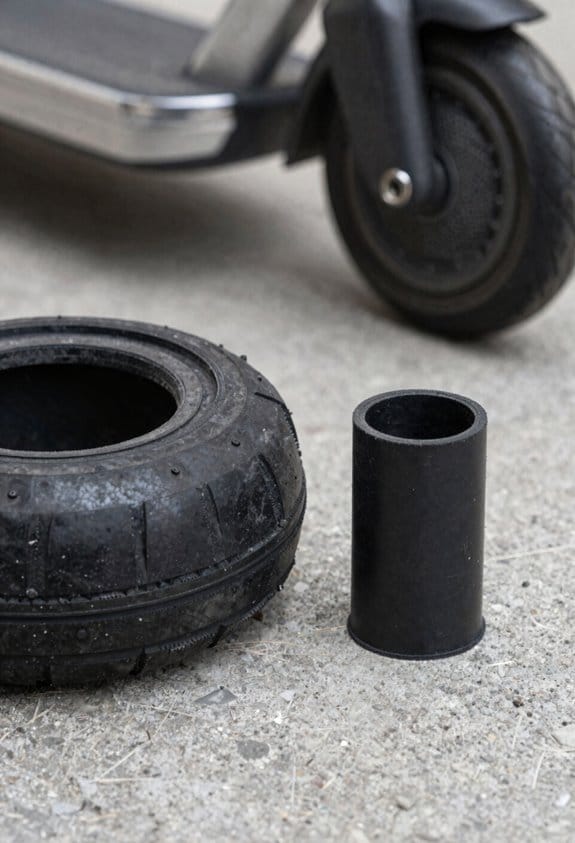
Ever had a flat that seemed to come out of nowhere, right after you thought you’d fixed the last one? That pinch‑flat feeling can be a real mood‑killer, especially when you’re out on a ride and the rim hits a rock. The good news is that picking the right tube can keep those surprises at bay.
First off, you’ll want a tube with a reinforced valve. A sturdy valve handles the sudden pressure spikes that happen when the rim gets a hard hit, and it won’t start leaking just because the tire gets a little jostled. The dual‑layer rubber design does the heavy lifting here: a hard outer skin paired with a softer inner core lets the tube bend instead of getting crushed. I usually go for a 2‑mm outer layer and a 1‑mm inner layer, which adds up to a 3‑mm wall thickness. That thickness works nicely on mountain bike tires set around 30‑35 psi and on road tires at 80‑90 psi.
Worth knowing: the tube also comes with a bead‑seal ring that shields the rim edge, and the inner surface is smooth enough to cut friction when you’re installing it. Those little details add up, lowering the chance of those dreaded snake‑bite flats.
- you’re thinking about trying this out, here’s the trick: check the tube’s wall thickness before you buy. A thicker wall gives you that extra cushion against pinch points, while the reinforced valve gives you peace of mind on rough terrain.
- Another tip: make sure the bead‑seal ring sits snugly against the rim. If it’s too loose, you could still get a pinch flat even with the best rubber.
Frankly, once you’ve got a tube that meets these specs, you’ll notice fewer flats and smoother rides. Your bike will feel more reliable, and you’ll spend less time fixing flats and more time enjoying the trail.
Give it a try on your next ride—do you think you’ll notice the difference?
Recommended Products

Satisfactory matching & complete set: 4-pcs 26″ × 4.0″ e-bike fat tires + 4-pcs 26 × 4.0/4.5 AV32mm Schrader valve heavy duty bike tubes – everything you need for installation in one purchase.

High-pressure tube acts as a bumper to protect rim from impact. Inner tube support sidewall better for less folding over

PURE NATURAL RUBBER COMPOUND: Crafted from 100% natural rubber to provide superior elasticity and reflex, ensuring maximum traction and durability on the most demanding hard terrain surfaces.
Foam Inserts vs. Reinforced Tubes: Which Pinch‑Flat Upgrade Fits Your Ride?
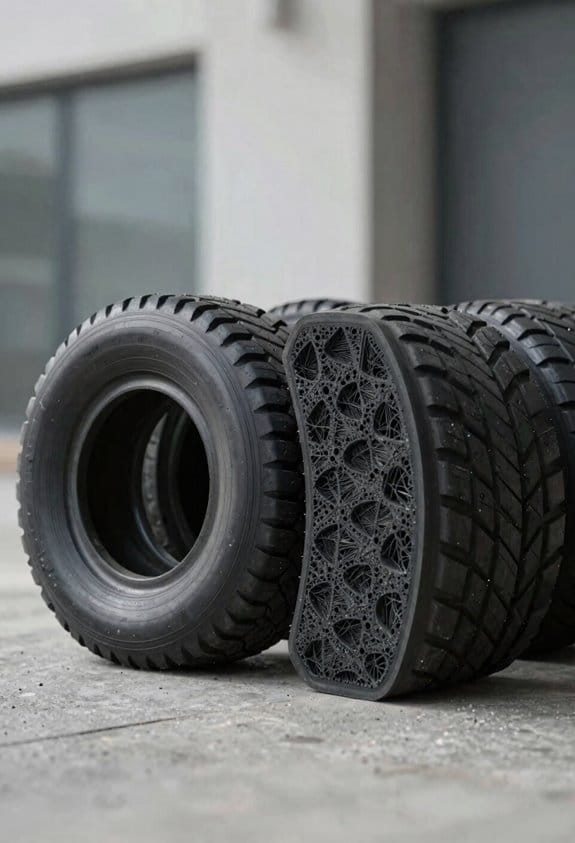
Ever gotten a flat right after you thought you were set for the ride? That pinch‑flat feeling can ruin a trail or a commute in a flash.
Foam inserts sit inside the tire, fill the cavity, and keep the tube from touching the rim. They add about 3‑5 mm of padding, cut the bottom‑out risk, and let you drop 10‑15 psi for better grip. Reinforced tubes have a thicker wall and a built‑in barrier, giving a burst rating that’s 20‑30 % higher. They’re about 30‑50 g heavier but don’t need any extra space.
Worth knowing:
- Foam inserts: extra padding, lower pressure, a bit of weight.
- Reinforced tubes: higher burst rating, no extra space, a little heavier.
I ride a mountain bike on rough trails, so I go with foam inserts. The lower pressure gives me the traction I need on loose ground. For my commuter bike, I pick reinforced tubes because I’m after speed and want to stay within the recommended pressure range.
Frankly, both options stop snake‑bite flats, but the right choice hinges on your terrain, pressure preferences, and how much weight you’re willing to carry. Do you favor a smoother ride on bumpy paths, or do you need a lightweight setup for fast city streets?
Pick the one that matches your ride, and you’ll spend less time fixing flats and more time enjoying the road. Ready to try it out?
Recommended Products
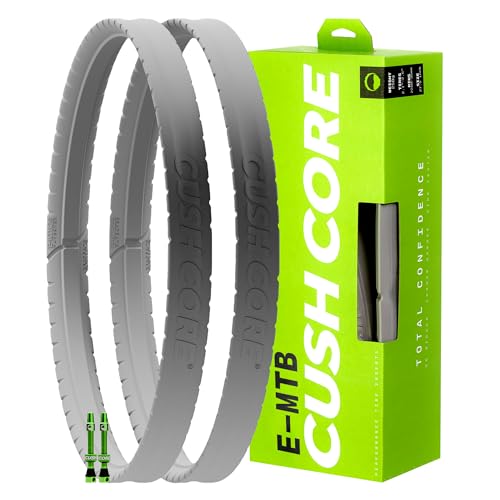
SPECIFICALLY MADE FOR E-MOUNTAIN BIKES: Due to the heaviness of E-MTBs, they require tire inserts that can withstand great force. Perfect for your mountain rides, these inserts fit tire widths of 2.3”-2.8” and inner rim widths of 22mm-35mm.

COMPLETE 37-PIECE BIKE TOOL KIT – Includes chain whip, cassette remover, bottom bracket tools, spoke wrench, cable cutters, hex and Torx keys, tire levers and more so you can handle tune-ups, upgrades and full overhauls at home.

DESIGNED FOR PLUS SIZED TIRES: All the performance benefits of CushCore PRO, but optimized for plus sized tires & wider rims. Compatible with tire widths of 2.6” to 3.0” and rim widths of 32mm-45mm. This kit also has a simple installation process.
Everyday Hacks to Prevent Pinch Flats and Keep Your Wheels Rolling
Ever gotten a flat right after you’ve barely left the curb? It’s the worst feeling, especially when you’re in a hurry. The good news is a few simple habits can keep those pinch flats at bay and let you stay on the road longer.
Checking your tire pressure before every ride is a game‑plan. Aim for the sweet spot of 30‑50 psi; that range lets the tire soak up bumps without squashing the tube. I keep a small digital gauge in my bag and give the tires a quick glance before I head out. For city rides I dial it to about 35 psi, while gravel gets a firmer 45 psi.
Your riding posture matters, too. Keep your elbows a little bent and your weight centered over the bike. That way you won’t slam the front wheel into a curb and cause a pinch. A relaxed grip and smooth steering also help the tires stay in contact with the road evenly.
Try this:
- Slip a 3 mm Tannus Armor foam insert into each tire. It gives extra sidewall support and lets you run lower pressure without the pinch risk.
- Pick reinforced tubes that have a 0.5 mm puncture barrier; they’re built for rides up to two hours and hold up well over 1,000 km.
I also keep a spare tube, a pair of tire levers, and a mini pump in my kit. When a flat does happen, you can swap it out in a few minutes and be back on your way.
Fair warning: Even with the best gear, a flat can still sneak up on you. That’s why a quick pressure check and a solid posture habit are worth the extra minute each morning. Have you tried adding foam inserts to your tires yet? If not, give it a shot and see how much smoother your rides feel.
Stay rolling, and enjoy the road ahead.
Recommended Products

International products have separate terms, are sold from abroad and may differ from local products, including fit, age ratings, and language of product, labeling or instructions.
International products have separate terms, are sold from abroad and may differ from local products, including fit, age ratings, and language of product, labeling or instructions.

This digital air gauge is performance tested and includes a protective, shock-resistant bumper and hard carrying case for longer life
Frequently Asked Questions
Do Pinch Flats Affect Tubeless Setups?
I’ve found that pinch flats can still happen on tubeless setups, especially if the tire bottoms out; regular tubeless maintenance and checking sealant effectiveness keep the rim‑tube interface sealed and reduce those snake‑bite risks.
Can I Use a Standard Tube With a Foam Insert?
I can use a standard tube with a foam insertion, just make certain the valve compatibility matches your rim’s hole; the insert will sit around the tube, protecting it from pinch flats while fitting normally.
What PSI Range Is Ideal for Mixed Terrain?
I ride a mountain‑road hybrid on 45–55 psi, which covers loose gravel, hardpack and occasional fire‑trail sections. That pressure range balances comfort on varied terrain types while preventing pinch flats.
Do Rim Width and Tire Size Influence Pinch Flat Risk?
I think wider rims and larger tires lower pinch‑flat risk because they improve rim compatibility and keep the bead seating secure, reducing tube compression during impacts.
Will a Reinforced Tube Prevent Flats on Worn Rims?
I picture a rugged rim like a cracked canyon; a reinforced tube can indeed boost longevity and improve bead seat security, but worn edges still bite, so replace the rim or add protective inserts.