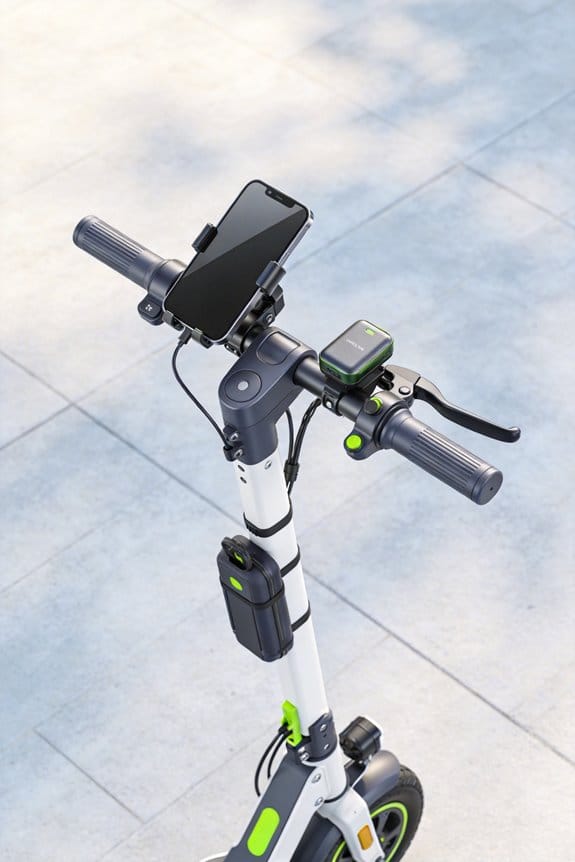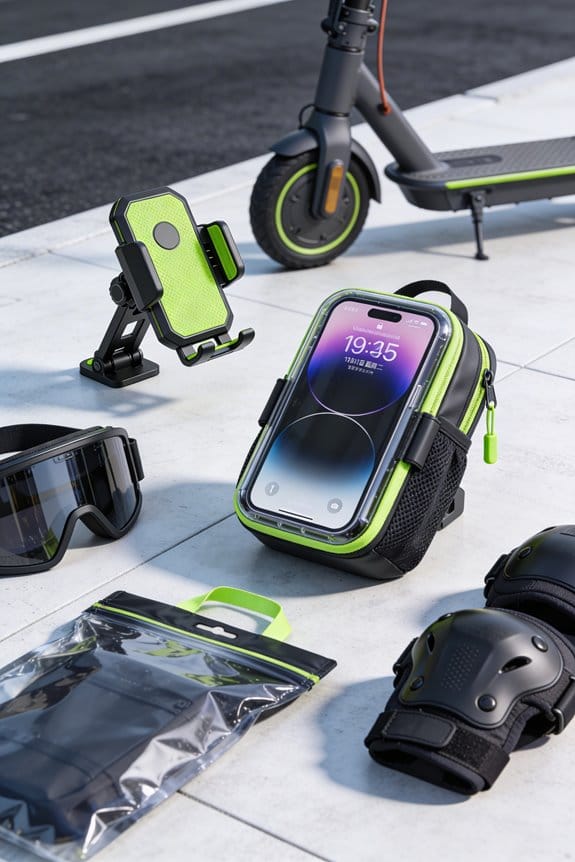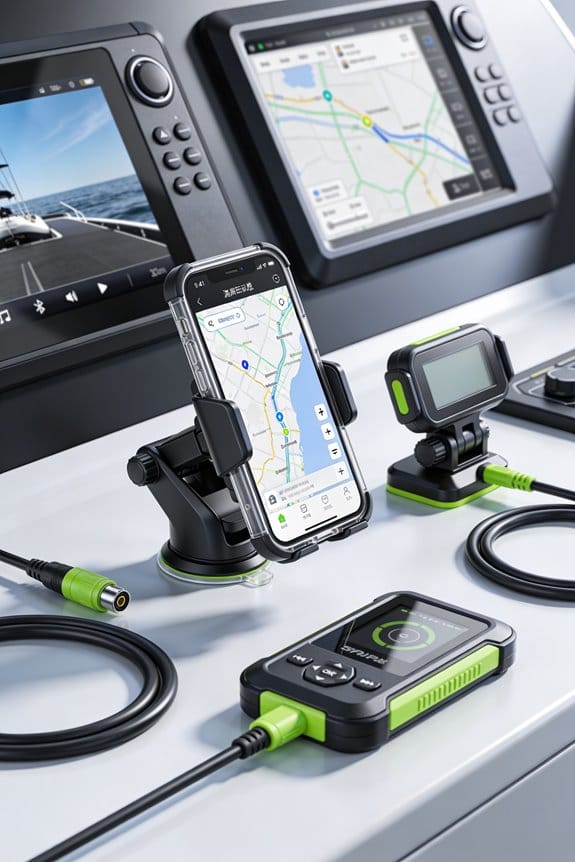

I look for IP69K‑rated enclosures with marine‑grade silicone gaskets, quick‑release brackets that hold up to 5 lb, and pad‑mounted visors for rain protection. I choose 12 V marine‑grade wiring, yellow positive and black ground, with 5 A‑30 A fuses near the battery and stainless‑steel clamps on the bulkhead. I install Deutsch IP67 connectors, torque them to 1.5 Nm, and seal all screw holes with silicone. I route cables away from metal ribs and antennas, label everything, and test pressure and moisture before launch for more details.
Key Takeaways
- Choose enclosures rated at least IPX6, preferably IP69K or IP67 with gasket‑supplemented sealing for heavy spray, dust, and submersion protection.
- Mount displays and controls with flush‑mounted visors or quick‑release brackets, using marine‑grade silicone gaskets and stainless‑steel bulkhead screws to prevent water ingress at mounting points.
- Use marine‑grade 12‑V wiring (yellow positive, black ground) with proper fuses, stainless‑steel clamps, and busbar grounding, and seal all connectors with silicone and torque to 1.5 Nm.
- Select Deutsch or equivalent IP67 connectors rated for 30 A, verify continuity, perform water‑spray and mist tests, and re‑pressurize networks after any adjustment.
- Plan cable routing to keep equipment inside the helm console, shield antennas, avoid metal ribs, and employ dedicated conduits and low‑profile guards for tidy, protected cabling.
Choose the Right IP Rating for Marine‑Grade Protection
Ever had a sudden splash ruin your boat’s electronics? When you’re out on the water, even a light spray can turn into a costly repair if your gear isn’t sealed right.
You’ll want to start with an IP rating of at least IPX6 if you expect heavy spray or sea mist. That level blocks water jets from any direction, so you won’t be worrying about droplets seeping into the box. For gear that faces high‑pressure jets or steam cleaning, I go for IP69K compliance. It’s the only rating that guarantees protection against water at 80 °C and 100 bar—perfect for those tough marine environments.
Salt spray testing is a good reality check. If the enclosure can survive corrosive ocean mist for 72 hours without any sign of degradation, you’re in safe hands. Look for a sealed box rated IP67 for dust protection and submersion up to 1 meter. Then add a gasket that meets IP69K for that extra layer of safety.
Worth knowing:
- Choose connectors labeled “marine‑grade” and “Deutsch.” They usually pass both IP69K and salt‑spray tests.
- Double‑check the product data sheet for exact test conditions and results.
Frankly, the right combo of enclosure and gasket keeps your cockpit electronics dry, functional, and reliable. Have you tried a specific brand that survived a real‑world spray test? Let me know how it held up.
Select Marine‑Grade Mounting Options That Keep Gear Dry and Visible
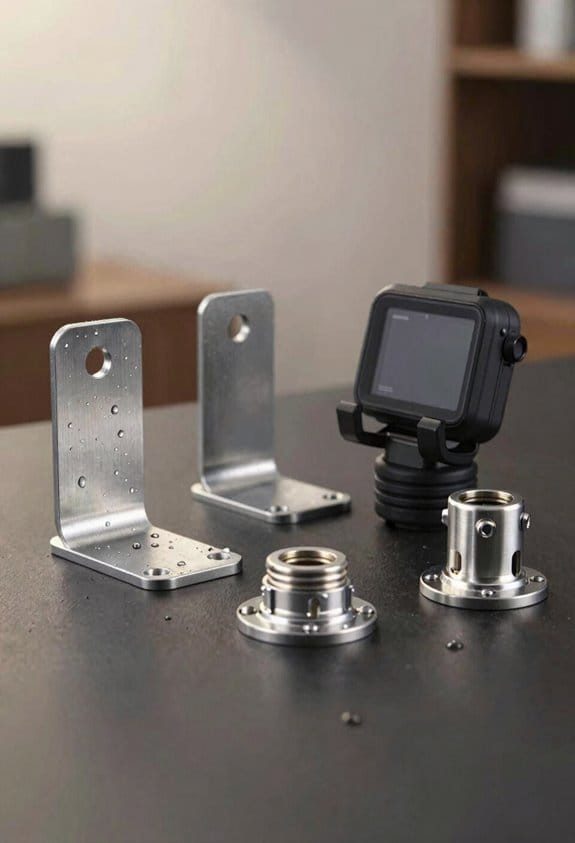
Ever had a chartplotter that keeps getting splashed and then disappears when you need it most? That’s a pain you can dodge with a few smart mounting tricks.
I’ve already covered how an IPX6 or higher rating protects the electronics, now let’s look at how to mount them so they stay dry and easy to see. I recommend pad‑mounted visors for displays; they sit flush on the helm, keep rain off, and stay visible at any angle. Quick‑release brackets let you detach a chartplotter for cleaning or upgrades without tools, saving time and reducing wear. Use stainless‑steel bulkhead screws for permanent mounts, and add marine‑grade silicone gaskets to seal the hole. For removable units, choose a 2‑inch quick‑release bracket with a locking latch; it holds up to 5 lb and fits most consoles. Combine these options with a low‑profile pedestal guard to protect cables and keep the cockpit tidy.
Worth knowing:
- Pad‑mounted visor: flush, rain‑proof, visible from any angle.
- Stainless‑steel bulkhead screws + silicone gasket: solid seal, long‑lasting.
Try this: a 2‑inch quick‑release bracket with a locking latch. It handles up to 5 lb, fits most consoles, and lets you pull the unit out in seconds when you need a quick clean.
Fair warning: cheap plastic brackets will crack under constant vibration, so stick with marine‑grade hardware. When you pick the right pieces, you’ll notice the difference right away—no more scrambling for a dry screen in a sudden downpour.
Now you’ve got a setup that stays dry, looks clean, and lets you focus on the water ahead. Ready to give your cockpit a quick upgrade?
Wire Marine‑Grade 12 V Power Safely and Securely
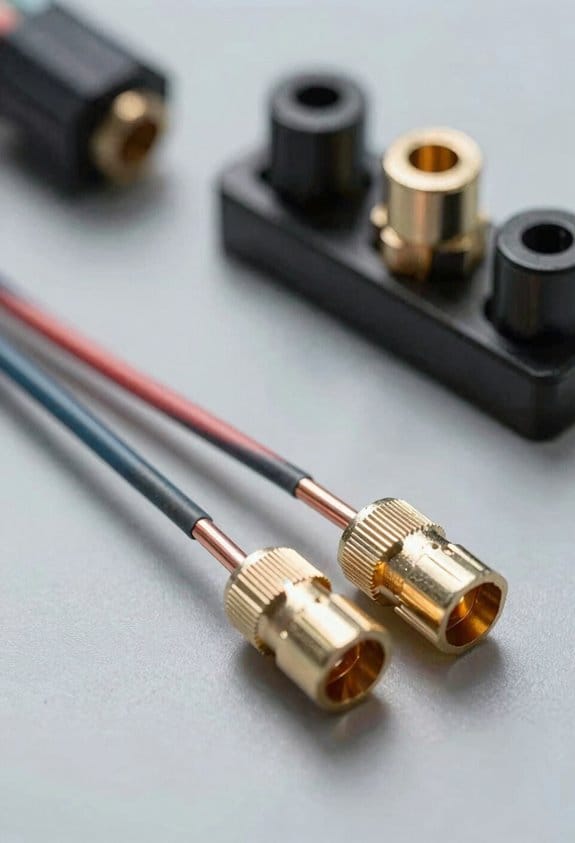
Ever tried to hook up a 12‑V marine system and worried about short‑circuit hazards? You’re not alone. Below is a simple, step‑by‑step rundown that kept my boat’s electronics safe and tidy.
Wire marine‑grade 12 V power safely and securely
First, grab a yellow 12‑volt DC positive wire and a black ground wire that are both marine‑grade. Pick connectors rated for at least 30 A and make sure they have an IP67 seal. I start by placing a fuse close to the battery—this protects the whole circuit. For low‑draw gadgets I use a 5 A inline fuse, and for the main feed a 30 A fuse does the trick.
Next, run the yellow wire along the bulkhead. Secure it with stainless‑steel clamps and keep the bends gentle; sharp kinks can wear down the insulation. The black ground wire runs parallel, and I connect it to a busbar when I have several devices to ground. This keeps the layout neat and cuts down on voltage drop.
Try this:
- Label each connector end before you seal it with silicone.
- Keep the wiring away from heat sources like the engine or exhaust.
- Test continuity with a multimeter before you finish the install.
Fair warning: skipping the silicone seal can let water seep in, and that’s a recipe for corrosion. Once everything’s in place, double‑check that the clamps are tight and that there’s no strain on the wires.
Finally, give the whole system a quick power‑on test. If the lights come on and the gauges read correctly, you’re good to go. Otherwise, trace the circuit back to the fuse and connectors to spot any loose connections.
Got any tips of your own for marine wiring? Share them in the comments!
Install Certified Marine‑Grade Connectors for Reliable Data Links
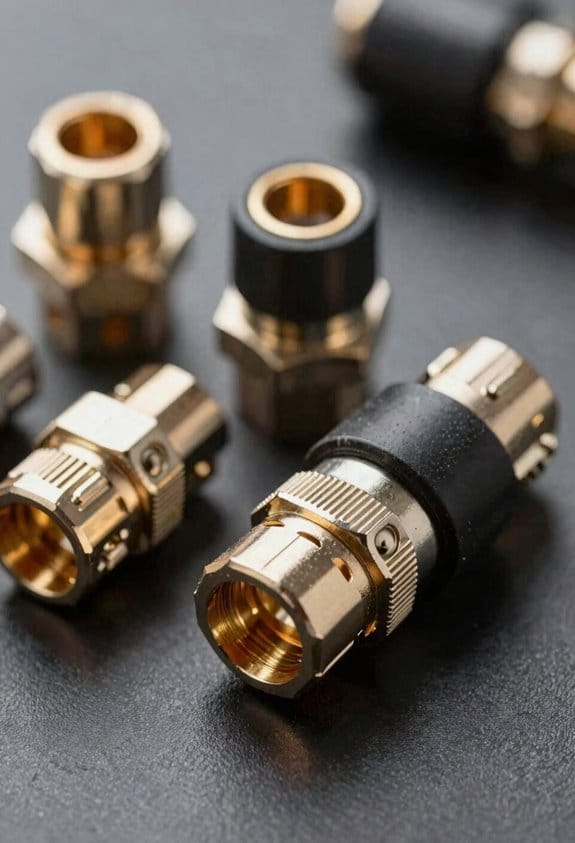
Ever had a data link that just gave up when the sea got rough? After you’ve safely wired the 12‑V power, the next thing you’ll want is a solid marine‑grade connector for your data lines.
I go with Deutsch connectors because they’re rated IP67, stand up to UV, salt, and vibration, and they come with a 0.5 mm tolerance. They handle up to 30 amps and carry a 10‑year warranty, so you don’t have to worry about replacing them often. Pair them with ruggedized data links that support 10 Gbps Ethernet, NMEA 2000, and CAN‑bus, and you’ll have a system that stays online even in heavy seas.
Try this:
- Run the cables through sealed bulkheads.
- Use self‑tapping screws for a tight mount.
- Label each link so you can spot a problem fast.
Once everything’s in place, grab a multimeter and check continuity. Then do a quick water‑spray test to make sure the sealing holds up. Finally, run a signal‑loss check; if the numbers look good, you’re set.
Frankly, these steps give you reliable communication between chartplotters, radars, and autopilots. You’ll notice the difference the next time a storm rolls in.
What’s the biggest hiccup you’ve hit with marine data links? Let’s hear your story.
Plan Installation Locations to Minimize Exposure and Interference
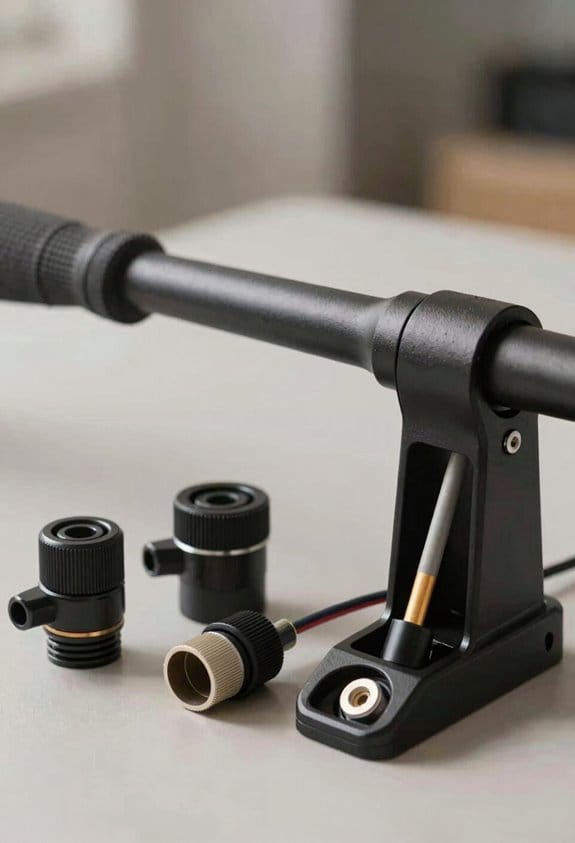
Ever tried to set up your boat’s helm and ended up with a mess of wires and water splashes? You’re not alone. Getting the right spot for each piece can feel like a puzzle, but a few simple steps can keep everything dry and clear.
First, think about where the roof shields the displays and controls. Put them inside the helm console so spray and UV can’t get to them. Keep the helm low enough to stay out of the water, yet high enough for a good line of sight. I’ve found that routing the antenna behind the console with a short, shielded cable works best; it avoids metal ribs and stays clear of power wires.
Next, mount the chartplotter on a recessed bulkhead. A flush‑mount kit with self‑tapping screws locks it in place and looks tidy. For the radar antenna, aim for the forward fairing block and keep it away from the mast to cut down on interference. Running the NMEA‑2000 network through its own conduit helps separate it from audio speaker pairs, which reduces noise.
Worth knowing: use marine‑grade IP67 plugs for all connectors and label each cable. That way, service is quick and you won’t have to guess which wire does what.
Fair warning: don’t let the cables run too close to any metal parts. A short, shielded line for the antenna and a dedicated conduit for the network keep things tidy and safe.
Try this: after you’ve installed everything, double‑check that the helm is dry when you’re on a splashy day. If you notice any water, adjust the console height or add a small splash guard.
Following these tips should leave you with a clean, functional helm that stays dry and interference‑free. Ready to give your boat a smoother ride?
Test Seals and Connections Before Hitting the Water
Ever wonder why your boat’s electronics keep short‑circuiting after the first splash? I’ve been there—spending hours on the dock, only to watch a cheap seal leak at the first wave. The fix? A solid, repeatable seal‑check routine before you even think about hitting the water.
First, grab a handheld pump and bring each enclosure up to about 2 bar. That pressure lines up with the IPX6 standard, so you’ll know the case can handle a heavy spray. While you’re at it, give the silicone gaskets on your displays a good squeeze and look for any bulges. The marine‑grade O‑rings on power modules need a quick visual check too—any cracks or mis‑alignments can let water in fast.
Next, tighten every connector to roughly 1.5 Nm. The Deutsch spec sheet calls for that torque, and it keeps the plugs from loosening when the boat rocks. After you’ve torqued them, run a quick visual inspection for gaps. A simple flashlight can reveal tiny spaces that the eye might miss in daylight.
Try this:
- Pressurize the NMEA‑2000 network and watch for any pressure drop; a steady reading means the network stays sealed.
- Plug in a USB video port and spray a light mist—if no moisture gets inside, you’ve got a good seal.
- Finally, check the battery busbars; make sure the caps are snug and the seals are intact.
If you make any adjustments, repeat the pressure test. It’s easy to overlook a tiny shift that creates a new leak path. Once everything holds steady, you can confidently sign off and move on to the next step—actual water exposure.
Fair warning: Skipping even one of these checks can lead to costly repairs later. A small leak can damage expensive sensors, and you’ll end up with a boat that’s more “soggy” than “seaworthy.”
Now you’ve got a repeatable process that keeps your gear dry and ready for the next adventure. Ready to give it a try?
Frequently Asked Questions
How Does Temperature Affect Waterproof Connector Performance?
I’ve found that extreme heat can cause thermal cycling, stressing seals and leading to dielectric breakdown, while cold makes materials brittle, so I always choose connectors rated for wide temperature ranges to keep them reliable.
Can I Use a Single Cable for Power and Data Without Interference?
I’ll tell you you can’t reliably use a single cable for power and data without interference; you’ll lose power integrity and signal isolation, so I recommend separate, shielded lines for each.
What Maintenance Schedule Is Needed for Sealed Enclosures?
I’ll tell you: check the sealed enclosures yearly, then replace the gaskets on a six‑month schedule; this keeps water out, catches wear early, and guarantees your cockpit tech stays reliable.
Do Different Marine Brands Require Unique Wiring Color Codes?
I tell you that most marine brands follow their own proprietary colorcodes, but they also respect broader manufacturer standards, so you’ll need to check each system’s wiring diagram before connecting anything.
Will Uv‑Resistant Coatings Extend the Lifespan of Mounts?
I’ll tell you: UV‑resistant polymers can indeed stretch mount life, but only if the coating adhesion is solid; otherwise the marine exposure will still corrode the hardware faster than you expect.