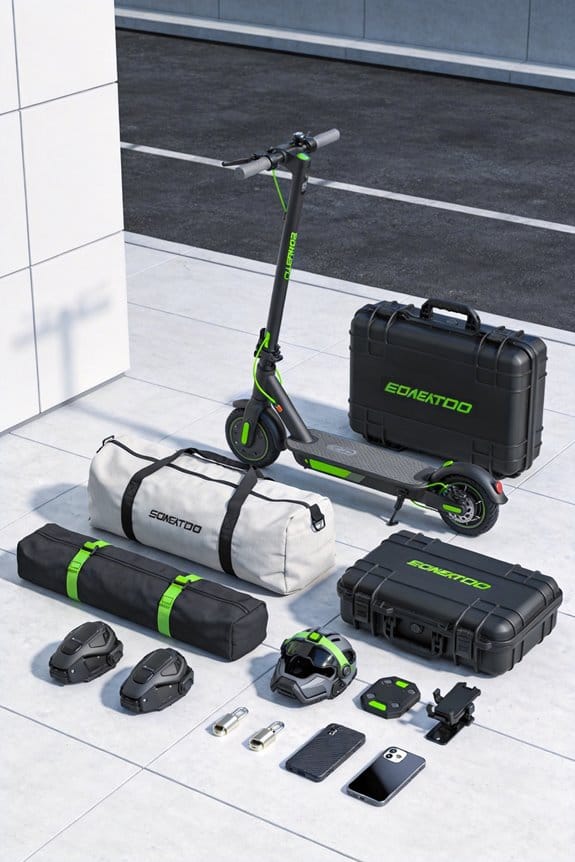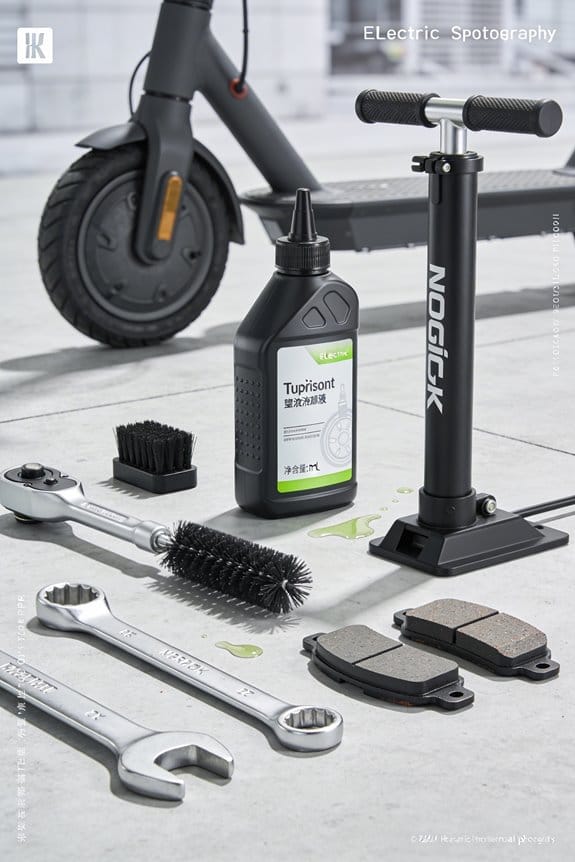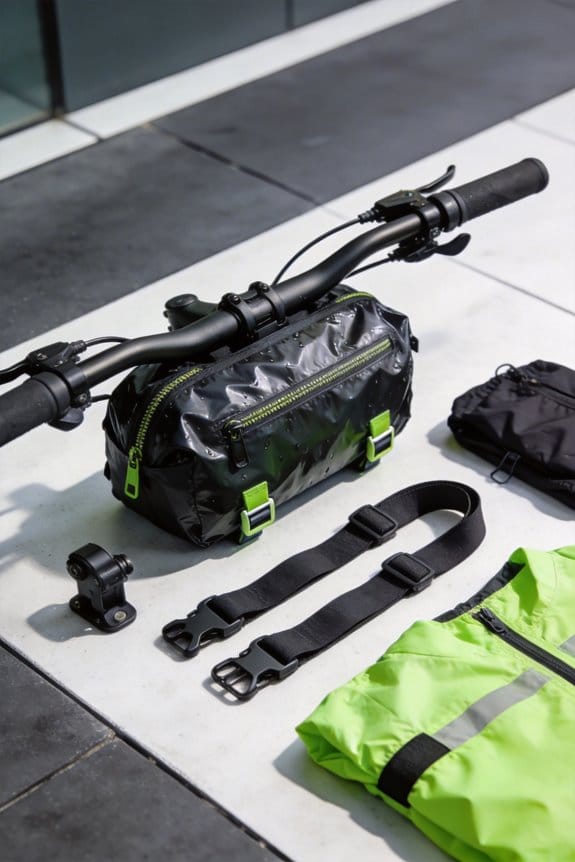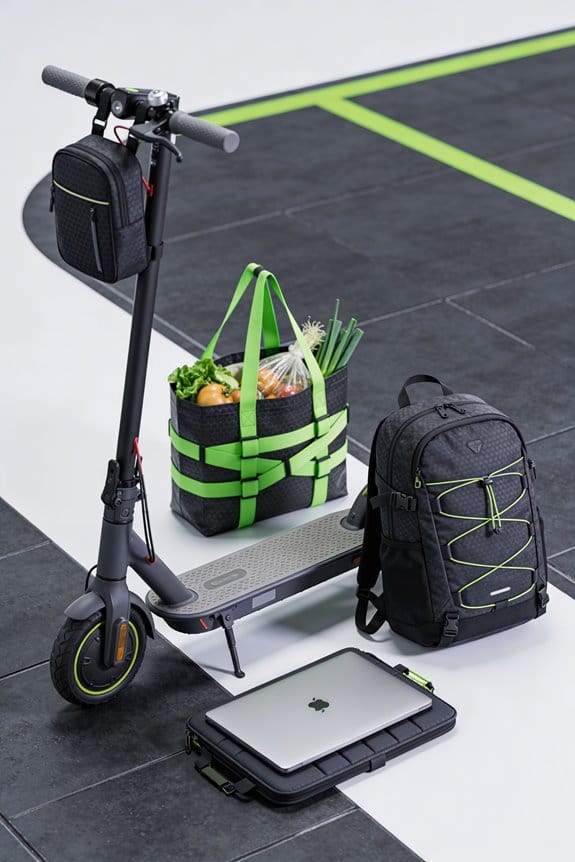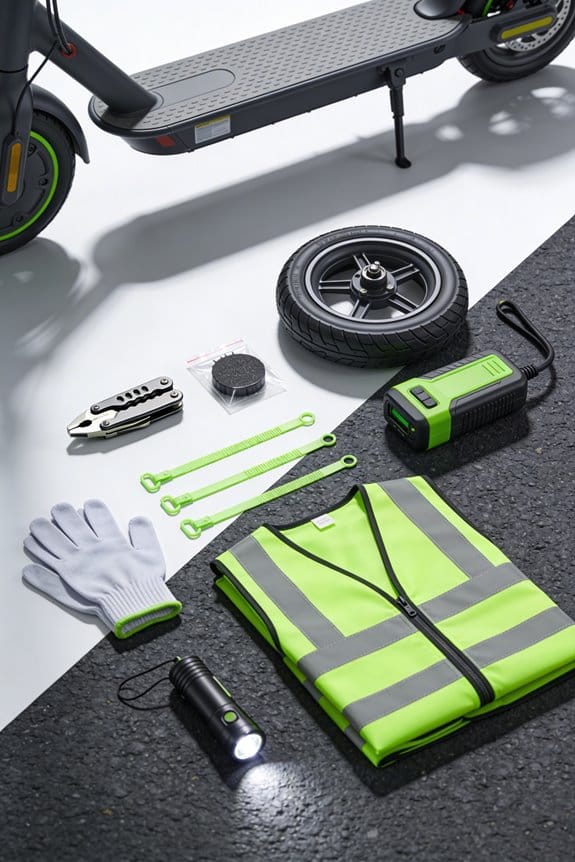

I recommend a compact kit that fits under the seat and includes a 12‑piece hex set, 3‑inch torque wrench set to 12 Nm, 5‑inch multi‑tool, magnetic tray, two 3‑inch tire levers, a 2‑inch pressure gauge, a hand pump up to 65 psi, and a CO₂ cartridge with inflator for quick fills. Add a pad replacement set with 120 mm ceramic pads, a 5‑mm Allen wrench, safety glasses, impact gloves, a digital multimeter, spare fuses, a 12 V power bank, a foldable 10‑W solar panel, and waterproof storage pouches. Include emergency nutrition, electrolyte tablets, a mini‑flashlight, and a whistle for safety. This setup lets you tighten bolts, check pressure, replace flats, and diagnose electronics in under five minutes. Continue for detailed step‑by‑step instructions.
Key Takeaways
- Include a compact mechanical set (hex keys, torque wrench, multi‑tool, pliers, tire levers) for quick frame, wheel, and cable repairs.
- Pack tire‑inflation tools (hand pump, CO₂ cartridge, digital gauge, sealant, valve core kit) to restore pressure and seal punctures on the spot.
- Provide brake service items (ceramic pads, shim, Allen wrench, torque wrench, impact gloves, safety glasses) for safe, precise brake adjustments.
- Add electrical diagnostics (multimeter, spare fuses, oscilloscope probe, power bank, solar pack) and grounding accessories for motor or wiring issues.
- Store everything in a weather‑resistant backpack with organized pouches, a magnetic tray, and a maintenance checklist to ensure readiness and rapid retrieval.
Core Mechanical Tools for an E‑Scooter Maintenance Kit
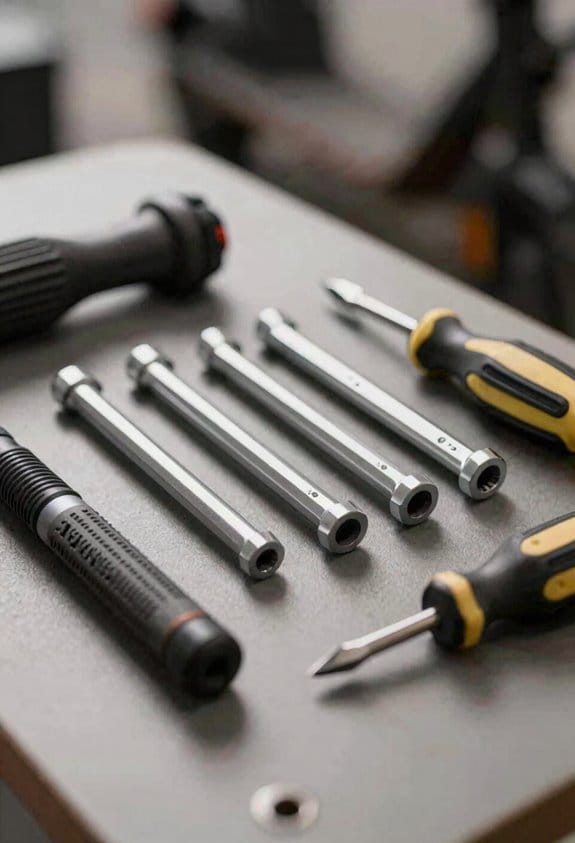
Ever found yourself stranded with a squeaky wheel or a loose bolt on your e‑scooter and wishing you had the right tools on hand? A solid multi‑tool set can be a lifesaver, and you don’t need a massive bag of gear to get the job done.
I keep a 12‑piece hex key set, Phillips and flat‑head drivers, and a 3‑inch torque wrench in my kit. The torque wrench lets you tighten the frame bolts to the proper spec, so you avoid over‑tightening and keep everything snug. A bearing maintenance kit rounds out the collection: a 5‑mm puller, some grease, and a 4‑mm reamer. Use the puller to take out worn bearings, slap on grease, then re‑insert with the reamer for a smooth spin.
Try this:
- Pliers for gripping wires and brake cables
- Magnetic tray to hold screws and tiny parts
All of this fits into a compact toolbox that weighs under 1 kg, so you can toss it in a backpack or under the seat and stay ready for on‑road fixes. The pliers give you a firm grip on stubborn cables, while the magnetic tray catches any loose screws that might roll away.
Fair warning: if you skip the torque wrench and just guess the tightness, you could strip a bolt or damage the frame. The right amount of torque keeps the scooter safe and prolongs its life.
Honestly, the best part is how quick and reliable the repairs become when you’ve got everything organized in one spot. You’ll spend less time hunting for tools and more time riding.
Got a favorite tool you can’t live without? Let me know how you keep your e‑scooter in top shape.
Tire & Inflation Essentials for Your Maintenance Kit
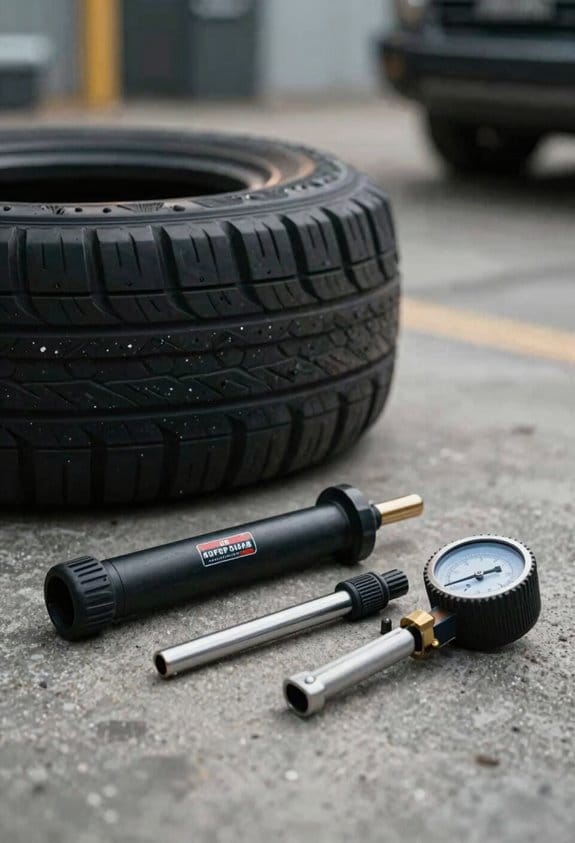
Ever gotten stuck with a flat right before a ride? It’s a pain, but a good tire‑inflation kit can save you a lot of hassle.
I keep a hand pump that reaches 65 psi, a CO₂ cartridge for quick fills, and a digital gauge that reads to ±1 psi. The pump’s rubber seal helps hold pressure, and the CO₂ valve clicks shut for safety. I also pack a 20‑ml tube of sealant for puncture prevention; a simple squeeze puts it inside the tire, then I inflate to the recommended level.
Spare valve cores and a small valve remover let you replace damaged parts in minutes. The kit fits in a 6‑inch pouch, weighs under 300 g, and stays functional in rain or dust.
Worth knowing:
- Hand pump (up to 65 psi)
- CO₂ cartridge for fast top‑ups
- Digital gauge (±1 psi accuracy)
Try this:
- 20‑ml sealant tube for puncture prevention
- Spare valve cores and a valve remover for quick fixes
You’ll find the whole set fits neatly in a pocket‑size pouch, so you can toss it in your backpack or bike bag without feeling weighed down. It’s built to handle rain, dust, and the occasional bump on the road.
When you need a quick fix, just swap the valve core, squeeze in the sealant, and give the tire a solid pump. In no time you’re back on the road, riding smooth and worry‑free.
Got any tips of your own for keeping e‑scooter tires in shape? Share them below!
Flat‑Tire Repair: Step‑by‑Step Guide Using Kit Items
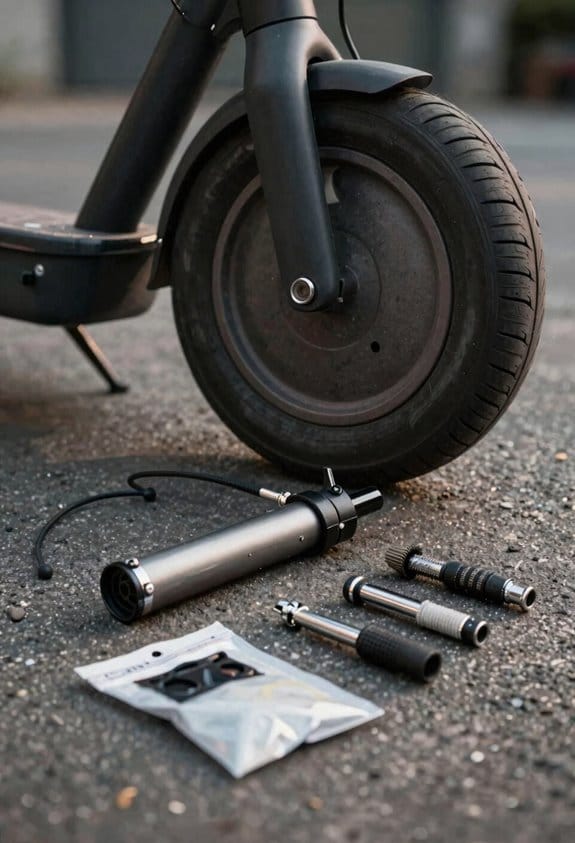
Got a flat on your e‑scooter and need to get back on the road fast? You’ve probably felt the panic of a sudden wobble, but the fix is easier than you think.
First, grab the socket wrench and take the wheel off. Slip a tire lever under the bead, give it a gentle pry, and lift the tire off the rim. Take a quick look at the rim for any dents or scratches, then wrap a thin strip of rim‑protection tape around it—this keeps the tire from getting cut.
Next, find the puncture. Clean the area with a rag, then follow the patching technique: spread a thin layer of rubber cement, press the patch onto the spot, and hold it for about thirty seconds. Once the patch sticks, re‑seat the tire, inflate it with the CO2 inflator to about 45 psi, and double‑check the pressure with your gauge.
Try this: after you’ve inflated the tire, give it a spin to make sure the bead is seated evenly. If it feels wobbly, tap the tire gently back into place and re‑inflate.
Finally, put the wheel back on, tighten the bolts to roughly 12 Nm, and take a short test ride. Listen for any odd noises and feel for smoothness—if everything feels right, you’re good to go.
Enjoy the ride, and keep the kit handy for next time. Got any other e‑scooter tips to share?
Brake & Safety Repair Gear to Pack for Quick Fixes
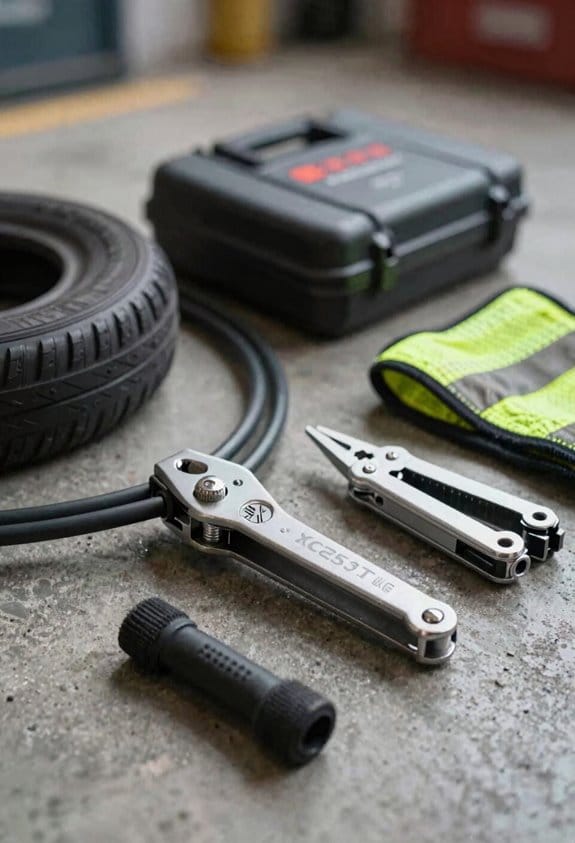
Ever been stuck on a road trip when your brakes start squeaking and you’re nowhere near a shop? That annoying sound can turn a fun drive into a stressful scramble, but a compact safety kit can keep you moving without breaking the bank.
I keep a pad replacement set in my bag: two 120 mm ceramic pads and a stainless‑steel shim for quick swaps. The pads fit most standard rotors, and the shim helps keep the caliper aligned while you work. Pair that with a pair of size L impact gloves—reinforced knuckles and a slip‑resistant grip make handling hot discs and sharp edges a lot safer.
Worth knowing:
- 5‑mm Allen wrench for loosening caliper bolts
- Torque wrench set pre‑cal to 2.5 Nm for proper pad tightening
- Polycarbonate safety glasses to protect your eyes from dust and debris
All of this fits snugly in a 10 × 8 × 4 cm hard case that clips onto your scooter frame, so you’re never without the basics. The case is sturdy enough to survive a tumble, yet light enough not to add bulk to your ride.
Frankly, the trick is to keep the kit organized so you can grab what you need in seconds. When the squeal stops, you’ll have the right tools right at hand, and you won’t have to waste time hunting for a spare part at a distant garage.
Do you ever wonder how much smoother a ride feels when you handle a brake issue yourself? With a little preparation, you’ll stay safe, keep your brakes in good shape, and avoid those costly tow‑truck calls.
Ready to give your bike a quick fix without the hassle?
Electrical Diagnostic Items to Include in the Kit
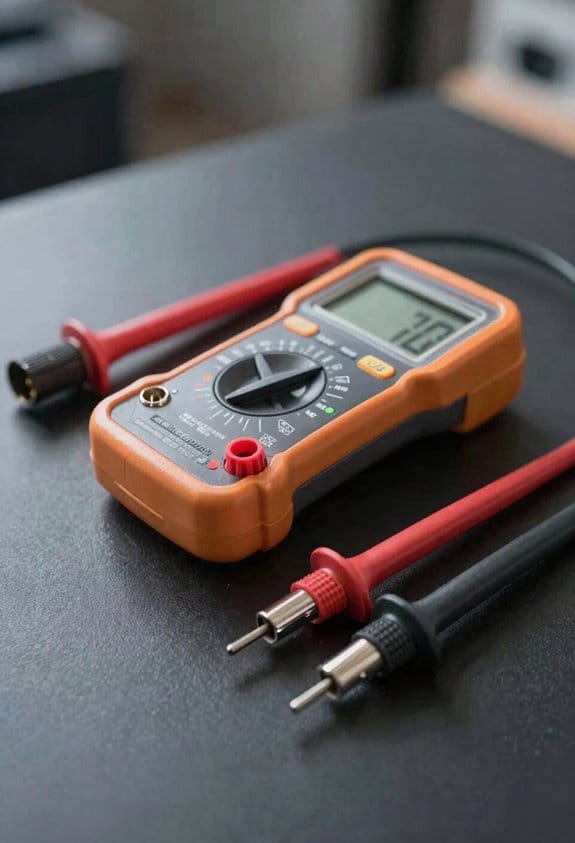
Ever had a dead scooter right when you’m about to zip across town? A sudden power loss can ruin a whole day, so having the right tools on hand is a must.
I keep a digital multimeter in my kit, set for a 0‑20 V range, a 0‑10 A current readout, and a 0‑20 kΩ resistance function. It’s perfect for checking signal integrity on controller wires and spotting faults fast. A couple of spare fuses—5 A and 10 A—are also in the bag, plus a few quick‑connect terminals for easy swaps.
Worth knowing: a compact oscilloscope probe lets you see voltage spikes and confirm the motor phases are behaving as they should. I also bring an anti‑static wrist strap and a small grounding mat to protect the scooter’s sensitive electronics while I work.
These items together give you clear fault localization, fast testing, and confidence that the scooter will run again.
Got any other must‑have tools for your e‑scooter kit? Let me know what works for you.
Portable Power & Battery Health Tools for On‑Road Use
Ever found yourself stranded on the road with a dead scooter and no shop in sight? I’ve learned a few tricks that keep me moving, and they’re simple enough for anyone to try.
I carry a compact power bank that puts out 12 V – 24 V at up to 5 A. It’s perfect for jump‑starting a scooter in just a few minutes. Alongside it, I pack a battery optimizer that balances cells, monitors temperature, and shows charge percent. The optimizer pairs with a portable solar pack that folds into a 10‑W panel, charging the bank in about three hours and slipping into a backpack without fuss.
Here’s the trick: pick a solar pack that has a built‑in USB‑C output, a rugged case, and a waterproof seal. Those features mean you can charge in the rain or on a dusty trail without worrying about damage. I also keep a multimeter, a 12 V DC plug, and a set of quick‑connect cables for testing voltage, current, and resistance on the go. They’re lightweight, and they let you diagnose problems before they become big headaches.
- Power bank: 12 V – 24 V, up to 5 A
- Solar pack: 10 W panel, folds flat, USB‑C output, waterproof case
- Battery optimizer: cell balancing, temperature monitoring, charge readout
Feel free to add a spare set of fuses and a small flashlight to the mix; they’re cheap and can save you a lot of hassle at night. When you’re out on a long ride, a quick check with the multimeter can tell you if a cable is loose or a battery is losing power.
Truth is, the right gear lets you keep riding without waiting for a shop. You’ll feel more confident knowing you have a backup plan for power and battery health. Have you tried any of these tools on your own trips?
Compact Packing Solutions for Scooters
Ever find yourself stuck on a ride because a tiny piece of gear is missing? You’ve probably tried to cram everything into a bag, only to end up with a mess that’s hard to dig through. Here’s a simple way to keep the essentials tidy and within reach.
I’ve learned that a 12‑inch backpack can hold what you need for most emergencies without weighing you down. Use vertical storage: line up a 5‑inch multi‑tool, a 3‑inch tire lever, and a 2‑inch pressure gauge in one column. This keeps the kit thin and easy to grab.
Modular pouches snap onto the interior straps, each dedicated to a specific group—electrical parts, brake tools, spare screws. The zip‑top closures and reinforced edges keep everything sealed, even on rough rides. I pick a backpack with a 1‑liter capacity, a waterproof front panel, and a detachable belt loop for quick access.
Worth knowing: the layout lets you pull out a hex key or a fuse in under five seconds, even while you’re still moving. The belt loop means you can swing the bag to your side without stopping, and the waterproof panel protects your gear from rain or splashes.
- 5‑inch multi‑tool
- 3‑inch tire lever
- 2‑inch pressure gauge
Try this: keep the pouches organized by function, and you’ll never waste time searching for the right piece. The zip‑top closures stay sealed, so you won’t lose anything on bumpy roads.
If you’ve ever missed a ride because of a missing screw, you’ll appreciate how this setup saves you from those frustrating moments. The backpack’s size fits comfortably under a seat, and the belt loop lets you grab it without taking off your helmet.
Now you’ve got a compact, reliable kit that’s ready for any surprise on the road. Ready to give it a go on your next ride?
Seasonal Audit & Packing Checklist for Your Kit
Ever notice how the last ride of the season leaves your emergency kit looking like a junk drawer? When the bike season wraps up, you’ll want to give the kit a quick once‑over before you stash it away. I pull out each piece, toss out anything that’s worn, expired, or missing, and then rearrange the good stuff so it’s ready for the next adventure.
I run through a simple checklist that covers tools, tire gear, and electrical bits. First, I make sure the multi‑tool set, hex keys, and tire levers are still solid. Then I give the pump or CO2 inflator a quick pressure test. The multimeter battery gets a check, I count the fuses, and I look at brake pad thickness. Finally, I wipe down gloves, safety glasses, and the magnetic tray so they’re clean and dry.
Frankly, the trick is to pack the kit by how often you’ll need each item. I put the most‑used things—pump, tire gauge, and spare valve—in the front pocket. The less‑frequent gear—torque wrench, anti‑static strap—goes in the rear compartment. This layout saves you time when you’re on the road.
Worth knowing: after the audit, rotate the items so the ones you reach for most are always on top. It’s a tiny habit that keeps the kit from turning into a mess.
If you ever skip this routine, you’ll end up scrambling for a missing part when trouble hits. So, give your kit a quick once‑over now and feel confident that you’re prepared for whatever the trail throws your way. Ready to try this?
Weather‑Resistant Extras and Emergency Food & Hydration
Ever get stuck on a long ride and realize you forgot the basics for rain and energy? I’ve learned the hard way that a few smart extras can keep you moving without weighing you down.
First, tuck a waterproof pouch into the side compartment. Inside you’ll find a compact rain‑cover, a spare zip‑tied tarp, and a small emergency blanket—each folds flat and fits snugly. Add two packets of electrolyte tablets (250 mg sodium, 100 mg potassium each) so you can replace salts after a sweaty stretch. A high‑energy bar, a packet of dried fruit, and a lightweight water‑purification tablet round out the food side. For light and safety, slip a mini‑flashlight (3 lumens), a whistle, and a multi‑tool screwdriver into the same space. All of this stays under a 200‑gram limit, so you won’t feel the drag.
Worth knowing:
- Waterproof pouch: rain‑cover, tarp, blanket.
- Electrolyte tablets: 250 mg sodium, 100 mg potassium each.
- Snacks: high‑energy bar, dried fruit, purification tablet.
- Gear: mini‑flashlight, whistle, multi‑tool screwdriver.
These items protect you from rain, wind, and fatigue, while still fitting in your bike’s side bag. You’ll feel more confident tackling unexpected weather or a sudden dip in energy. And because everything is compact, you won’t have to sacrifice space for other essentials.
Frankly, the best part is how easy it is to pack and pull out when you need it. You’ll notice the difference the moment you zip the pouch open and see everything laid out. No more fumbling for a spare tarp or hunting for a snack after a hard climb.
Give it a try on your next ride and see how much smoother the journey feels. Ready to upgrade your kit without breaking the bank?
Frequently Asked Questions
How Often Should I Replace the Tire Slime Sealant?
I replace the tire slime sealant annually, but I always inspect after rides; if I notice any drying or reduced pressure, I’ll top it up sooner to keep punctures at bay.
Can I Use a Standard Car Tire Pressure Gauge on E‑Scooter Tires?
Picture a bike‑pump whispering to a scooter’s tiny valve: yes, a standard car tire pressure gauge works, but check tire valve compatibility and run a quick psi accuracy testing before you ride.
What’s the Best Way to Store the Magnetic Tray During Rain?
I keep the magnetic tray in a waterproof pouch and slip a light coat of rust inhibitor on the metal before sealing it, so rain won’t corrode the parts and everything stays dry and ready.
Do Anti‑Static Wrist Straps Need Regular Calibration?
Like a compass, I tell you the anti‑static wrist strap doesn’t need constant wrist calibration; just occasional electrostatic testing assures it still grounds safely, so you can trust it when you’re on‑the‑road.
Should I Include a Portable Solar Charger for the Kit?
I’d say yes—add a portable solarcharger with lightweight panels. It keeps your battery alive on long rides, fits in the backpack, and provides reliable power when you’re far from outlets.